In this guide, we will present the different solutions capable of fixing the Wifi automatically disconnecting in the macOS Ventura issue. Do you find your macOS Ventura device losing its WiFi connection often? If yes, then you are not alone. Many users have reported this issue, usually caused by incorrect or outdated network settings. Fortunately, a simple fix can help you get your device back online.
In this article, we’ll review some of the most typical reasons for this problem and offer detailed guidance for fixing it. You should be able to fix your macOS Ventura device’s WiFi connection at the end of this article.
Also Read: File Can’t Be Found Error macOS Ventura [Fixed]
How to fix Wi-Fi issues with Mac OS X Ventura
#1. Clear the DNS cache on your Mac
If only your Mac has Wi-Fi problems out of all your devices, the issue is most likely with your Mac. Your Mac uses DNS to convert URLs into IP addresses. Your Mac retains the information for websites you frequently visit, so it won’t have to look it up each time. To flush the DNS cache, you need to follow these steps:
Launch System Preferences and then select Maintenance from the sidebar.
To clear the DNS cache, choose the checkbox next to it.
Finally, Press the Run button.
#2. Forget Unprotected Wi-Fi networks
Did you know your Mac “remembers” the Wi-Fi network you joined? That’s helpful if you frequently use the network, such as at work or school.
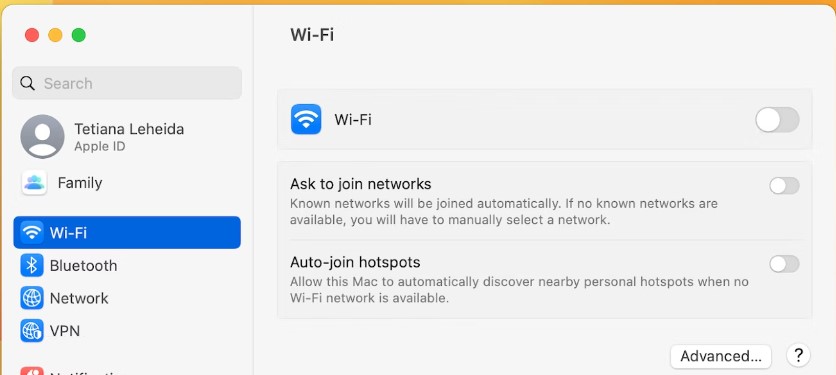
Open Wi-Fi hotspots aren’t precisely safe since while you’re browsing the internet, someone could intercept your info. Your Mac will attempt a connection if you have previously used an insecure network and are within range of it in the future.
Thus it makes sense to get rid of outdated Wi-Fi networks. You can do it manually, but using third-party apps like CleanMyMac is much more convenient if several of them exist. How? Read on.
Open CleanMyMac X, then select Privacy.
After selecting Wi-Fi Networks, click Scan.
To see the networks, click the arrow next to Open Networks, then click the checkbox to select all of them.
Choose Remove.
Also Read: How To Reorder Preferred Wifi Networks In macOS Ventura
#3. Get rid of any extra DNS addresses
Although this one is very straightforward, we strongly advise that you only use it if you are familiar with DNS servers and have the necessary technical skills to operate them. Let’s eliminate unusual DNS servers:
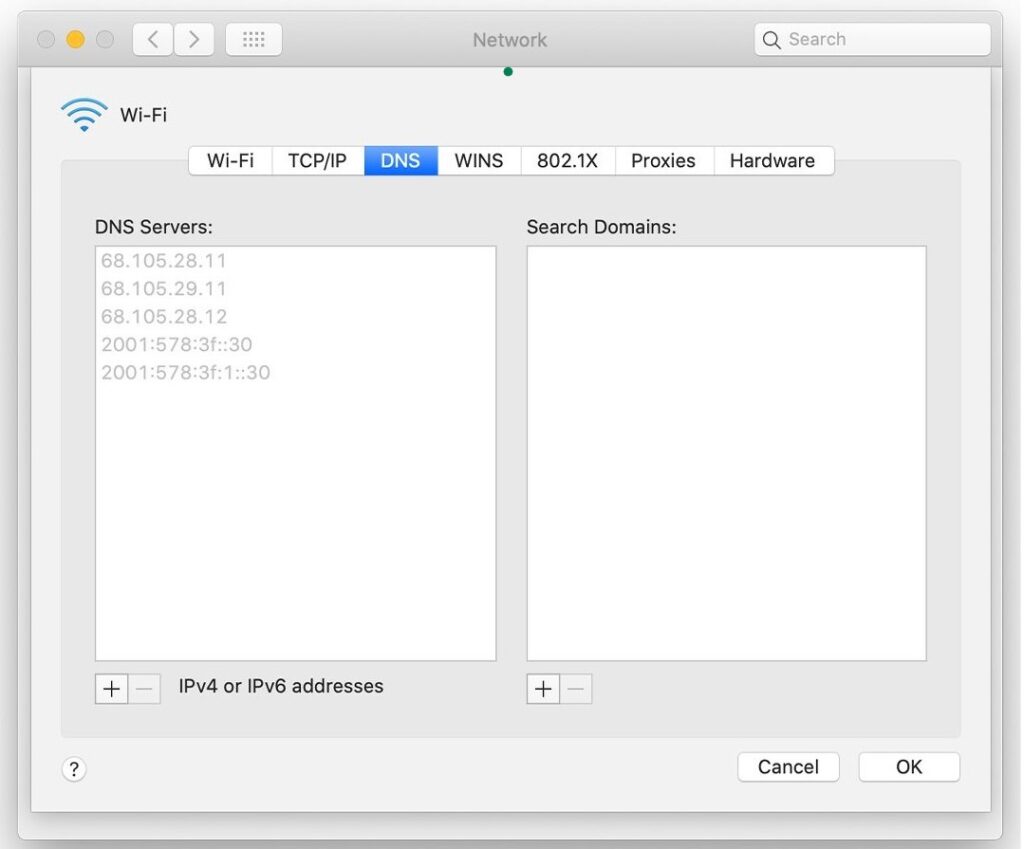
Access System Settings > Wi-Fi.
Next to your network, select Details.
Go to the DNS tab.
Use the minus button to eliminate all DNS addresses other than 8.8.8.8.
Use the + button to add an 8.8.8.8 server if there isn’t one on the list.
Click the OK button.
Restart System Settings and reconnect to your network.
#4. Temporarily disable AirDrop
Several Mac users have observed that having AirDrop enabled. At the same time, on a busy network or near many different Macs and iOS devices can result in Wi-Fi difficulties.
Regularly check for system software updates to fix this error, which will probably be fixed in a future macOS release.
To fix this problem, in the meanwhile, temporarily turn off AirDrop. You may accomplish this by heading to Finder > AirDrop > Allow this Mac to be discovered by: > and selecting “No One.”
You can still use AirDrop; just be sure to switch it back off when you’re done using it to avoid this particular Wi-Fi issue.
Also Read: Quick Action Touch Bar Not Working In macOS Ventura [Fixed]
Restart Mac in Safe Mode
Try starting the Mac in safe mode and using WiFi there if you’ve tried the steps above but still have problems with your wireless network. Safe Mode startup momentarily disables login components, which may aid in further troubleshooting the internet connectivity issue. Safe mode booting is simple, although it varies depending on whether the Mac is an Apple Silicon or Intel model.
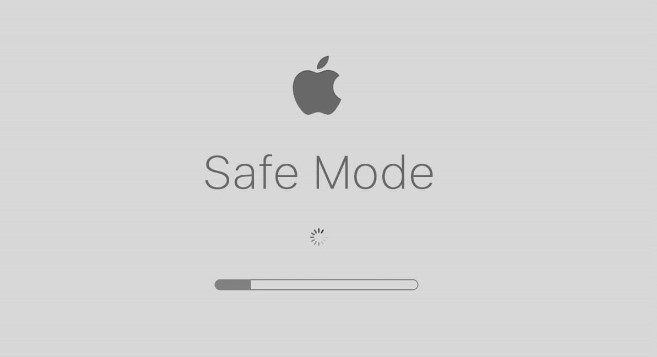
Hold the SHIFT key while restarting an Intel Mac until you log in.
To access the Options screen for Apple Silicon Macs (m1, m2, etc.), turn off the Mac, let it sit turned off for 10 seconds, then press and hold the POWER button.
Hold down the SHIFT key to start the Mac in Safe Mode while selecting “Continue in Safe Mode.”
When the Mac enters Safe mode, you’ll notice that many preferences and customizations are temporarily disregarded, which can help you troubleshoot Mac issues.
Try connecting to WiFi or the internet from Safe mode. If it works there but not in normal boot mode, a third-party tool or configuration will likely interfere with internet operation. You should try deleting any such filter apps, such as a third-party firewall or antivirus software.
Restart the Mac as usual to exit Safe mode.
Also Read: Magic Mouse Not Working In macOS Ventura [Fixed]
Conclusion
These are the different troubleshooting methods you can employ to resolve WiFi automatically disconnecting in the macOS Ventura issue.
1. Clear the DNS cache on your Mac
2. Restart Mac in Safe Mode
3. Forget Unprotected Wi-Fi networks
4. Get rid of any extra DNS addresses
5. Temporarily disable AirDrop


