Several customers have complained that Time Machine has stopped when they try to back up their Mac using Time Machine after updating to Monterey, it works OK at first but then stops a few minutes before the backup is completed. Time Machine’s control panel keeps displaying the most recent backup as the one taken just before the Mac was updated to macOS Monterey.
Do you have a similar problem on your Mac now that you’ve upgraded to macOS 12 Monterey? The issue at hand is unquestionably urgent, as Time Machine is one of the most crucial functions on a Mac. Any issues with it might put you in danger of losing data. So, to resolve the problem, use the tips and solutions offered in this article.

What’s the deal with my Mac backups failing all the time?
You can have trouble backing up using Time Machine if your macOS isn’t up to date or if you update to a new macOS version that isn’t compatible. This might be caused by macOS upgrades or faults like Time Machine Backup error 109, a backup disc fault, or inadequate storage. Regardless of why Time Machine isn’t backing up, you may follow this step-by-step tutorial to fix Time Machine backup issues.
What should you do if Time Machine fails to back up your data?
Before starting any of the troubleshooting stages, it’s usually a good idea to go through a few basic checklists that will help you solve the problem quickly.
Fixing a Time Machine That Isn’t Working:
- Make sure your Mac’s software is up to date.
- Check to see whether Time Machine is backing up again after restarting your Mac.
- If you’re using an Airport Time Capsule, make sure the firmware is up to current.
- Check to see if your Mac and the backup disc are on the same network. If you’re using the AirPort Time Capsule or the server to backup data, for example, ensure sure you’re connected to the correct device network.
- Make sure your drive is turned on if it’s attached to a port on your Mac or an AirPort Extreme Base Station.
- If you’re not using a USB hub, connect the drive straight to your Mac.
- If you’re backing up to an external third-party drive, check sure the firmware is up to current on the drive or contact the manufacturer for help.
External hard disc compatibility with Mac Time Machine
If the external hard drive you’re using on your macOS Monterey-powered Mac isn’t formatted correctly, the Time Machine function won’t work. This is most likely the cause of the Mac Time Machine not working problem. FAT and NTFS (suited for Windows) are the usual file systems for most external hard drives, however, Time Machine does not support these file systems. Furthermore, the APFS file system that Mac supports is incompatible with Time Machine. Check your external hard drive’s file system as follows:
Connect your Mac system to the hard drive.
- Open Finder and choose the drive from the left-hand sidebar.
- Select Get Info from the context menu by right-clicking. Press Command + I if you like.
- In the Backups Info box, the file system format of your hard disc will be shown.
If your external hard drive’s file system format is one of the unsupported file system formats, you’ll need to reformat it and change the file system. Follow the instructions below to alter the file system format:
#1: Plug the external hard drive into your Mac.
#2: From the Dock, open the Finder and go to Applications > Utilities > Disk Utility.
#3: Select your external drive from the list on the left side of the Disk Utility window.
#4: Click the “Erase” button at the top of the window.
#5: Change the format of your disc to Mac OS Extended (Journaled) in the pop-up box and click Erase.
Your external hard drive is now compatible with macOS Monterey’s Time Machine.
What Can I Do If My Time Machine Isn’t Backing Up?
To resolve the Time Machine not backing up issue, follow the procedures outlined below.
- Stop the backup process currently running.
- Time machine backup exclude spotlight from indexing
- Restart the Time Machine.
- Turn on Time Machine after restarting your Mac.
- When your time machine breaks, you can recover your important data.
Turn off the current backup.
If your time machine isn’t backing up, follow the steps to stop the current backup.
- Go to the Apple menu.
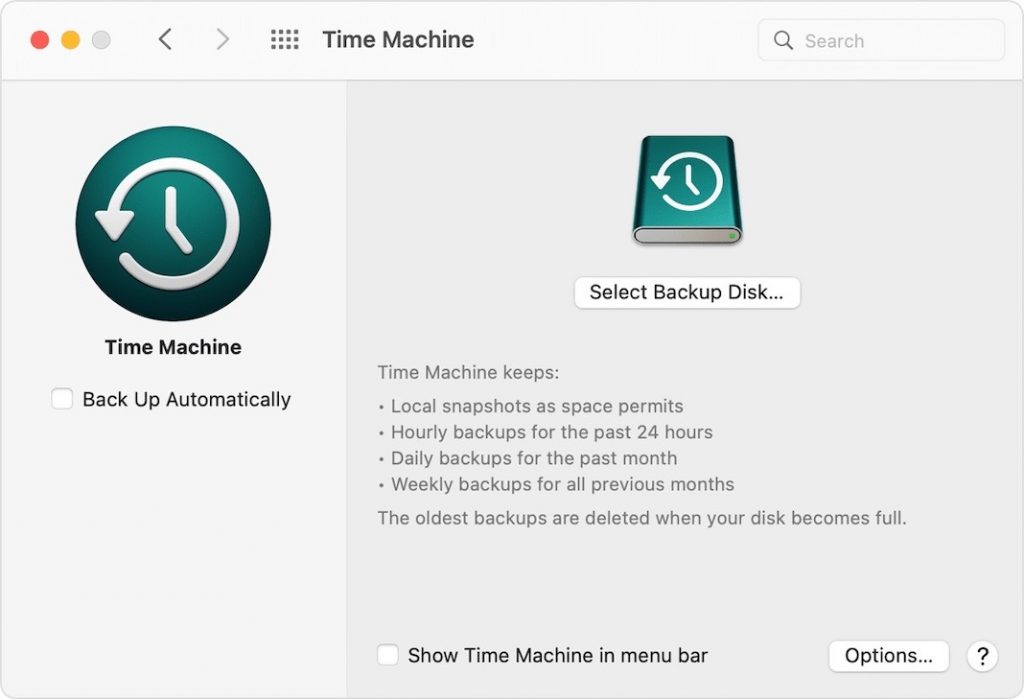
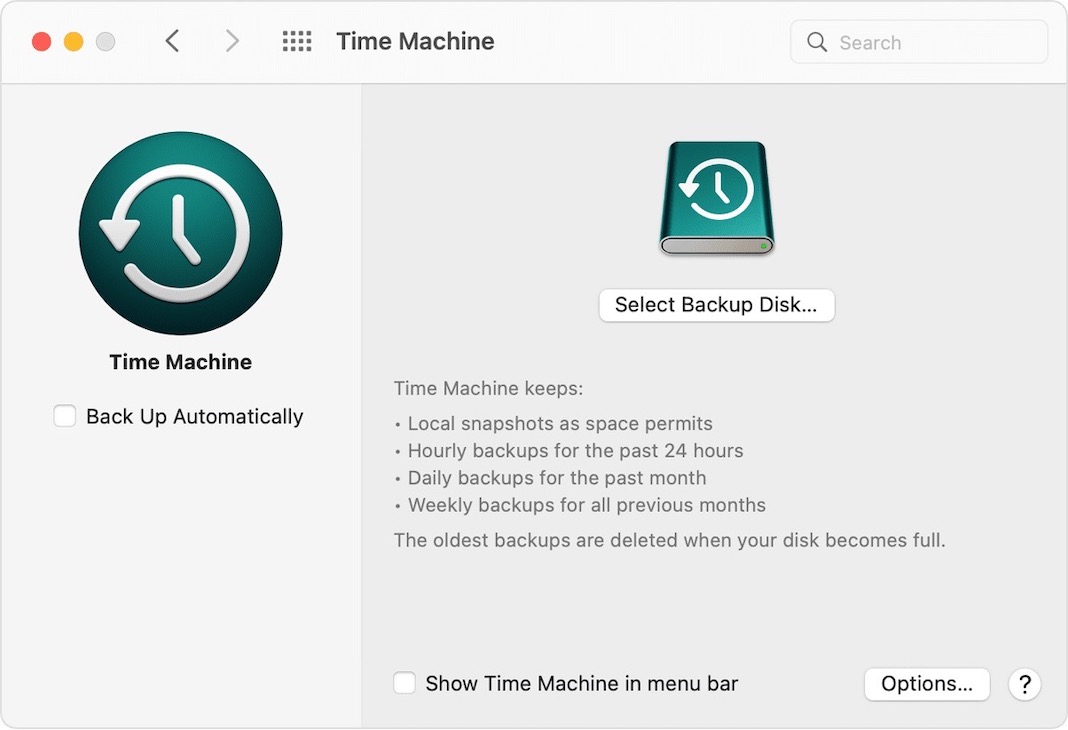
- In System Preferences, click on the Time Machine icon.
- A notice reading ‘Preparing Backup’ will appear if the backup is currently in progress.
- You can stop the current backup operation by clicking on the (X) symbol.
Exclude Spotlight from time machine backup indexing.
Spotlight is a Mac tool that allows you to rapidly retrieve documents, music, photos, and apps. Time Machine may fail to backup because the Spotlight program is indexing the data on the hard drive.
 As a result, omitting this program from indexing the Time Machine speeds up the backup process. To do so, simply follow the directions.
- Go to the Apple menu.
- Choose System Preferences.
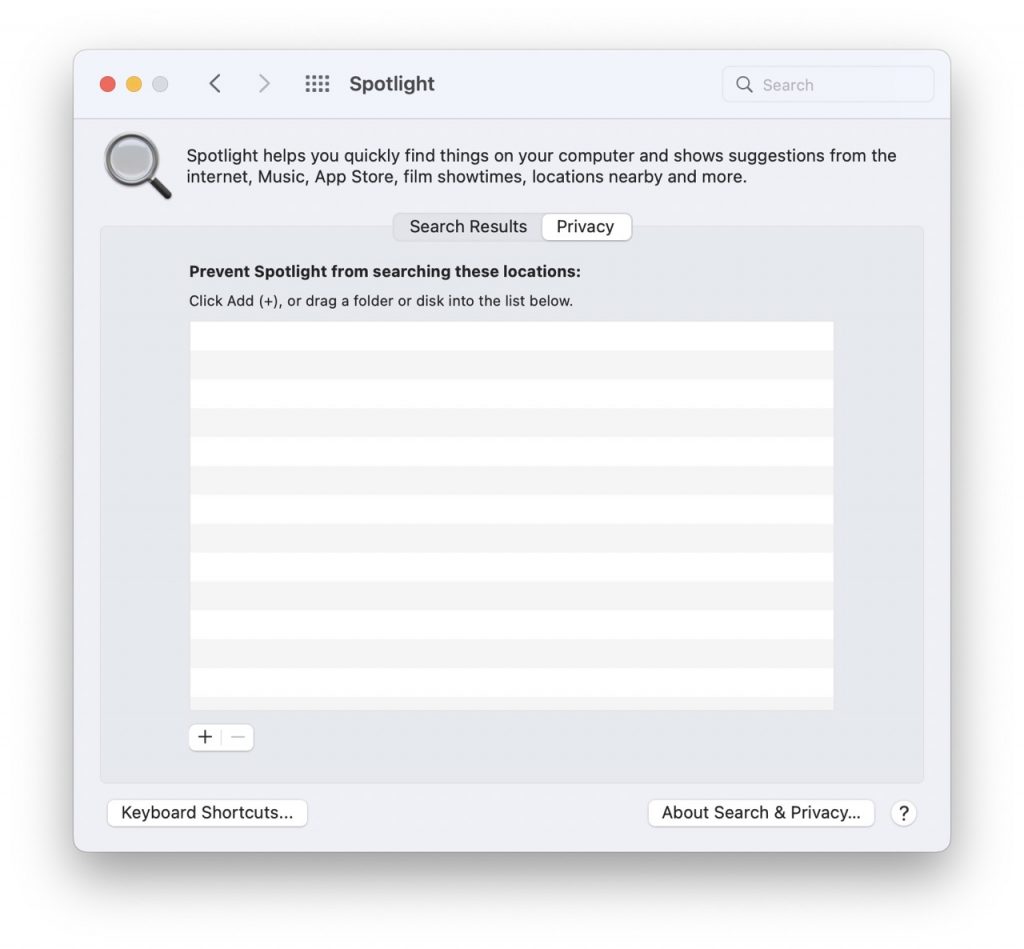
- Select the Spotlight symbol.
- Toggle to the Privacy tab.
- To find the backup folder, press (+).
Restart the Time Machine.
The final step in resolving the Time Machine backup problem is to manually restart the backup process. Here’s what you’ll need to do to do this:
- Navigate to /TimeMachineBackupDrive/Backups.backupdb/Backup Name in the Finder window, where Backup Name is the name of the backup assigned.
- Look for a file with the extension.inProgress in the backupdb folder and remove it.
Restart your Mac and enable Time Machine once more.
Restart the computer after successfully removing the file, and then turn Time Machine back on. This time, Time Machine will begin backing up the data once more, and if the Time Machine not backing up the problem will be resolved.
If your Time Machine still isn’t backing up after going through the steps above, there’s a problem with the backup drive. So, If this is the case, you should get a new drive. If you only have some data on your backup disc, you’ll need to be proactive and utilize data recovery software to get it back. Furthermore, retrieving a lost Time Machine backup is a difficult task.
Conclusion
Backups made with Time Machine on a regular basis might be dependable in the event of data loss. But you can never be too ready in case the Time Machine app doesn’t work and your Mac’s data isn’t backed up. As a result, you may avoid a situation like this by keeping your macOS and drive firmware up to date.


