Sharing files between applications is a fundamental task that can enhance productivity and streamline workflows. In Windows 11, Microsoft has made it easier than ever to share documents, images, and other files directly through various apps using the integrated share feature. This detailed guide will walk you through the process of sharing files with apps in Windows 11, covering everything from basic methods to tips for using third-party applications.

Step 1: Prepare Your File for Sharing
Before you can share a file, you need to ensure it’s in a suitable format and location that is accessible to the applications you plan to use. Here’s how you can prepare your file:
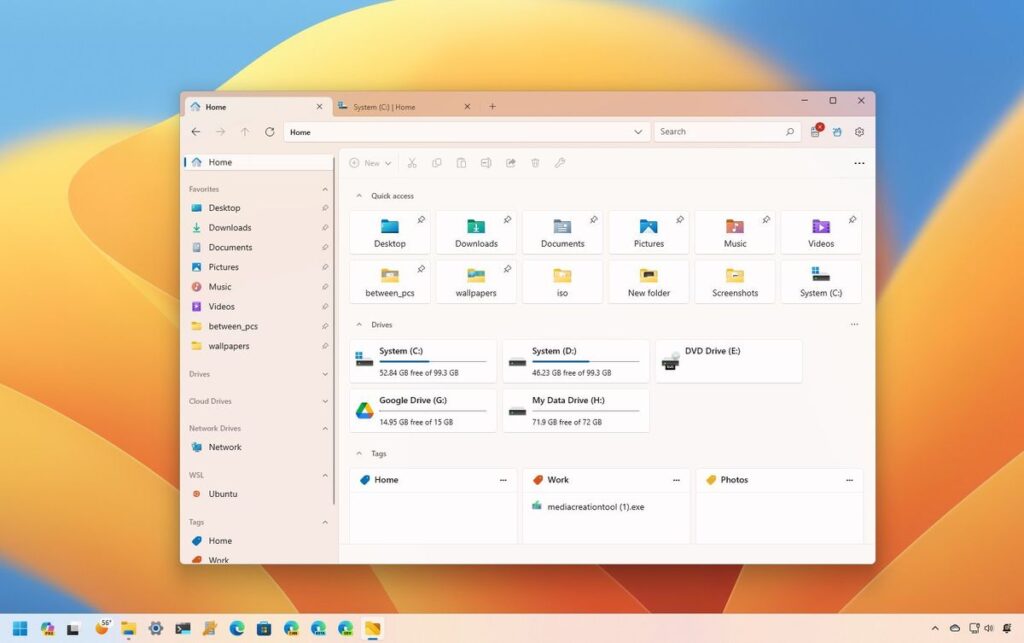
- Locate Your File: Use the File Explorer (accessed via
Win + Eor the taskbar icon) to navigate to the folder where your file is stored. - Check File Format: Ensure the file format is compatible with the application you intend to use for sharing. For example, if you’re sharing a photo via a social media app, formats like JPEG or PNG are preferred.
Also Read- How To Change Maximum Storage Size For Recall Snapshots In Windows 11
Step 2: Using the Windows Share Feature
Windows 11 has a built-in share feature that is integrated into the File Explorer, making it straightforward to send files across different applications without leaving the desktop environment.
- Access the Share Feature: Select the file in File Explorer, then click on the ‘Share’ tab on the ribbon at the top. This will open the share menu, showcasing applications that can be used to share the file.
- Choose an Application: From the share menu, select the application through which you wish to share the file. The list can include email clients, social media platforms, or any installed app that supports file sharing.
Also Read- How To Show Or Hide Items In Disk Management In Windows 11
Step 3: Customize Sharing Options
Depending on the application chosen for sharing, you might have several options to customize:
- Adding Recipients: For apps like Email, you will need to enter the email addresses of the recipients. Some apps may allow you to choose recipients from your contact list.
- Edit Before Sending: Many applications offer basic editing tools before sharing. For instance, you can add captions, tags, or edit images directly within the share window.
Step 4: Advanced Sharing with Third-Party Apps
If the default sharing options in Windows 11 do not meet your needs, third-party apps like Dropbox, Google Drive, or OneDrive offer more robust functionalities:
- Install the Application: Download and install the app from the Microsoft Store or the app’s official website.
- Integration into File Explorer: Once installed, these apps generally integrate directly into the File Explorer, adding a context menu option for easy file sharing.
- Using the App for Sharing: Right-click on the file, hover over the third-party app option, and select ‘Share’ or ‘Send’. You may have to log into the app and set up sharing permissions the first time.
Also Read- How To Add Or Remove Home In Navigation Pane Of File Explorer In Windows…
Step 5: Monitor and Manage Shared Files
After sharing your files, it’s important to manage access and monitor usage, especially if sharing sensitive information.
- Track Who Has Access: Use the app’s dashboard to see who has accessed the file and when.
- Revoke Access: If you need to stop sharing, most apps allow you to revoke access rights from the same menu where you shared the file.
Best Practices for File Sharing in Windows 11
- Regularly Update Your Apps: Keep your applications up-to-date to ensure you have the latest features and security updates.
- Use Strong Passwords: When sharing sensitive files, ensure that your apps and recipient accounts are protected with strong, unique passwords.
- Back Up Important Files: Before sharing files widely, make sure to have backups in case the files are altered or deleted by recipients.
Conclusion
Sharing files with apps in Windows 11 is designed to be a fluid, intuitive process that accommodates a range of needs from basic personal use to advanced business requirements. By leveraging both built-in and third-party solutions, you can effectively manage how your files are shared and ensure they reach the intended recipients securely. Whether you’re sharing photos, documents, or large data files, Windows 11 provides the tools necessary to do it efficiently.


