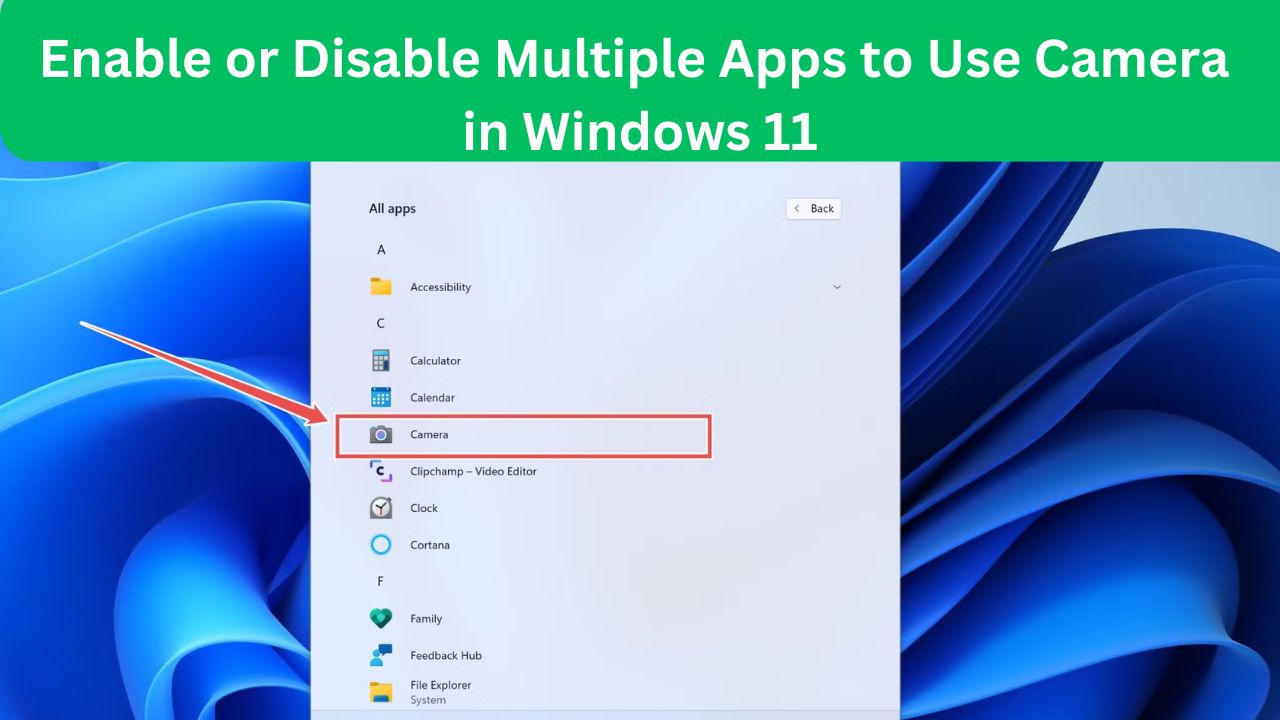
In today’s digital age, cameras are integral to our daily lives, from video conferencing and social media to security monitoring. However, ensuring that only trusted applications have access to your camera is crucial for maintaining your privacy and security. Windows 11 provides robust settings to help you manage which apps can use your camera. In this article, we’ll share quick and easy tips on how to enable or disable multiple apps to use the camera in Windows 11, empowering you to take control of your device’s privacy.
Why Manage Camera Access?
Before diving into the steps, it’s important to understand why managing camera access is essential:
- Privacy Protection: Prevent unauthorized apps from accessing your camera without your knowledge.
- Security Enhancement: Reduce the risk of malware or spyware exploiting your camera.
- Resource Management: Ensure that only necessary apps are using your camera, optimizing your device’s performance.
Also Read- Quick Tips-Enable Or Disable Basic Camera Mode In Windows 11
Quick Tips to Enable or Disable Multiple Apps to Use Camera in Windows 11
1. Accessing Camera Settings
To start managing camera access, you need to navigate to the camera settings in Windows 11:
- Step 1: Click on the Start button and select Settings (you can also press Win + I to open Settings directly).
- Step 2: In the Settings window, click on Privacy & security from the left-hand menu.
- Step 3: Under the App permissions section, select Camera.
2. Turning Camera Access On or Off for the Entire System
Before managing individual app permissions, you can control camera access system-wide:
- Enable Camera Access:
- Ensure the toggle switch under Camera access is turned On.
- If prompted, confirm by clicking Yes to allow access.
- Disable Camera Access:
- Turn the toggle switch under Camera access to Off.
- This will prevent all apps from using your camera.
3. Managing Camera Access for Specific Apps
Windows 11 allows you to enable or disable camera access for individual applications, giving you granular control:
- Step 1: Scroll down to the Camera permissions for apps section within the Camera settings.
- Step 2: You will see a list of apps that have requested access to your camera.
- Step 3: Toggle the switch next to each app to On or Off based on your preference. (Replace with actual image URL if available)
Also Read: Turn On Or Off Updates For Other Microsoft Products In Windows 11
4. Controlling Desktop Apps Access to Camera
In addition to Windows Store apps, desktop applications also require camera access permissions:
- Step 1: In the same Camera settings page, scroll down to the Allow desktop apps to access your camera section.
- Step 2: Toggle the switch to On to allow desktop apps or Off to restrict access.
5. Checking App Permissions Regularly
It’s a good practice to periodically review which apps have camera access to ensure no unauthorized applications are using your camera:
- Step 1: Return to the Camera settings page as described above.
- Step 2: Go through the list of apps and verify that only trusted applications have access.
- Step 3: Disable access for any apps that you no longer use or trust.
6. Using the Camera Privacy Indicator
Windows 11 features a privacy indicator light on your camera. When the camera is in use, the light turns on, providing a visual cue that an app is accessing your camera. If the light is on without your knowledge, it’s a sign to check your camera settings immediately.
7. Advanced Privacy Settings
For users seeking additional control over their camera settings, Windows 11 offers advanced privacy options:
- Step 1: In the Privacy & security settings, explore other sections like Microphone and Other devices to manage related permissions.
- Step 2: Adjust settings to enhance overall privacy, such as disabling camera access for background apps.
8. Using Third-Party Privacy Tools
For enhanced privacy management, consider using reputable third-party privacy tools that offer more detailed control over camera permissions and monitor app access in real-time.
Also Read- How To Resume BitLocker Protection For Drive In Windows 11
Additional Tips for Maintaining Camera Privacy
- Physical Camera Cover: Use a physical cover or tape to block your camera when not in use.
- Regular Software Updates: Keep Windows 11 and all your applications updated to ensure you have the latest security patches.
- Antivirus Protection: Use reliable antivirus software to protect against malware that could exploit your camera.
Conclusion
Managing camera access in Windows 11 is a straightforward process that significantly enhances your privacy and security. By following these quick tips to enable or disable multiple apps to use the camera, you can ensure that your camera is only accessible to trusted applications. Regularly reviewing and adjusting your camera permissions, combined with additional privacy measures, will help you maintain control over your device’s camera and protect your personal privacy.


