In this troubleshooting guide, we have mentioned the different methods for resolving the files not showing up in the Finder search in macOS Ventura.
Mac’s finder search is valuable because it enables users to search for files and folders by simply putting their names in the search field. It is a practical tool that aids in file organization for users. The finder search occasionally fails and needs to function properly owing to bugs or other issues.
When the Mac finder search doesn’t function, it can be annoying since you can’t find the files you’re looking for, which wastes time and is inefficient.
As a result, we have created this great list of solutions that you may use to resolve the problem of the files not showing up in the finder search.

Also Read: Freeform Not Working In macOS Ventura [Fixed]
Are files not showing up in Finder Search in macOS Ventura? Here’s How To Fix
#1. Restart Finder
Even the most dependable and best apps occasionally fail. You could find that your computer is a little slower and less responsive if you use Finder regularly. Additionally, you can notice that the downloaded files aren’t appearing in the Finder search.
These signs point to the need for a restart of your Finder app. It’s an easy remedy. What you should do is:
- Use the shortcut command + option + escape on your keyboard.
- The “Force Quit Application” list will appear in a window. the bottom of the page.
- Choose Finder.
- Press Relaunch button
Check to see if your files have appeared once Finder has been restarted. The Finder possibly encountered some bug that prevented it from updating the folder appropriately. Most of the time, the restart will do the trick.
Also Read: Finder Not Working In macOS Ventura [Fixed]
#2. Modify Finder’s default search settings
The finder tool’s default search can be modified as a workaround for Mac’s finder search issue. This solution can be quickly and easily put into practice by following the procedures outlined below.
- Launch your MacBook’s Finder program.
- Afterward, navigate to the finder app’s preferences or settings [on macOS Ventura].
- Find the “When performing a search.” option by hovering over the advanced settings section and looking for it at the bottom. On it, click.
- Users can modify the finder app’s default search behavior from the “When performing a search.” setting.
- Try looking for the folder or disc you had problems finding in the Finder search app.
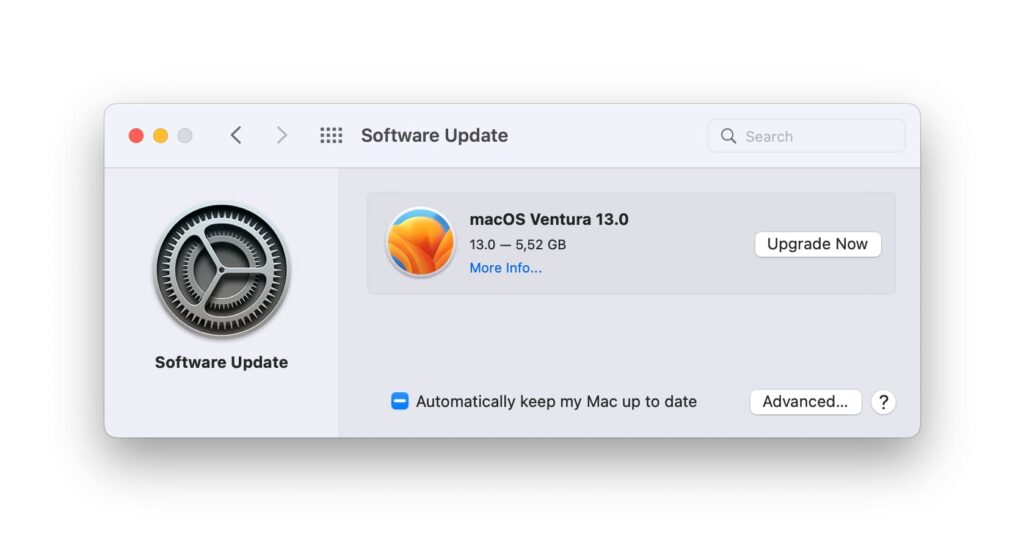
#3. Upgrade your Mac
It is advised that you switch to a newer MacBook model if the finder program takes a very long time to find the files and folders that you type into.
The demand for the system is growing with each software update, and older Mac models will need help to handle this load efficiently. Consequently, purchasing a new Mac will address your issue.

Also Read: Cannot Sign Into iMessage On macOS Ventura [Fixed]
#4. Delete the Finder PLIST file
Your MacBook’s finder search may occasionally need to be fixed due to preference setting files or PLIST files. This can result from viruses or bugs damaging the files on your machine.
The most superficial way to solve this problem is to remove the PLIST file from your system. By following the instructions in this section, users can finish this process.
- On your Mac, launch the finder window.
- Now, to open the Go To panel hit the CMD, SHIFT, and G keys on your keyboard.
- Enter the path /Library/Preferences/ in the “go-to” panel, then hit the go button.
- Now locate the “com.apple.finder.plist” file and right-click on it.
- To delete the PLIST files, choose “move to trash” from the menu.
- To permanently remove those files from your system, go to the trash app and empty it.
- Restart your MacBook once again.
Once you’ve finished, your MacBook will have the PLIST files successfully erased. Open the finder program once more, and this time, try looking for the discs or folders that previously gave you trouble on your Mac.
Also Read: How To Change The Startup Screen In macOS Ventura
#5. Rebuild Spotlight in the GUI
Rebuilding the index of the spotlight app can resolve the problem of the finder search not functioning correctly on Mac since they share the same index.

The users can use GUI to rebuild the Spotlight index in addition to the approach described above for rebuilding the index using the terminal program. Users must take the steps listed below to use this approach.
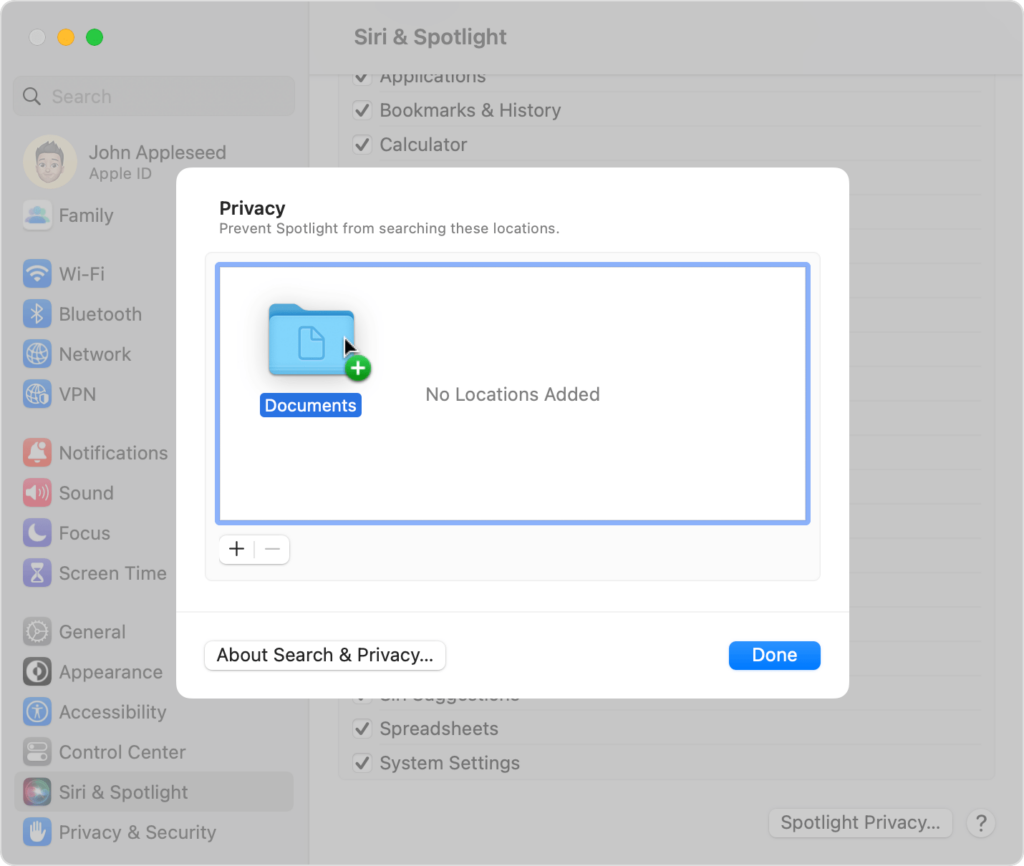
Go to the Apple menu item on macOS Ventura’s top menu and select System Settings.
Next, choose Siri & Privacy > Select the category you want to be found using Mac Spotlight search by scrolling to the section marked Search Results.
Under “Spotlight Privacy,” we may handle adding or removing external drives. To delete a folder from the list, select the folder from the list, then click the [-] button. And incorporate Allow into Mac Spotlight search.
Also Read: Issues with Deeper on macOS Ventura
#6. Install macOS again
The finder search on your device may not function due to issues during the macOS installation. Therefore, we advise that you reinstall macOS if you have tried all the remedies listed above and are still having problems.


