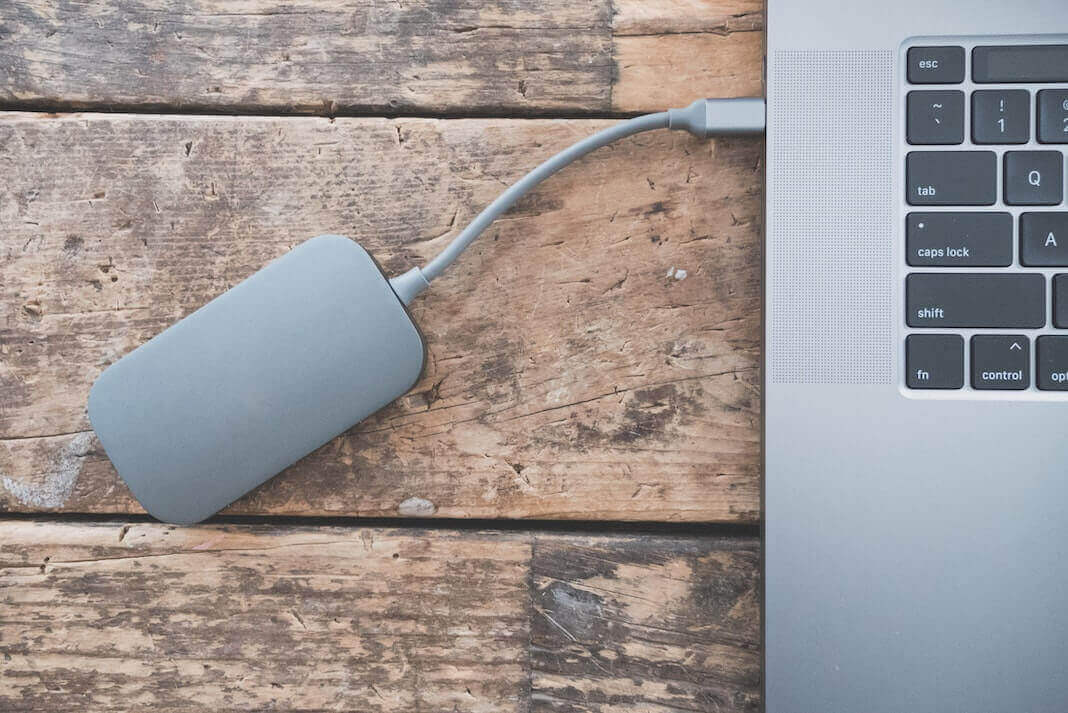
If your Mac didn’t recognize your external hard drive, troubleshooting may have been difficult. Many individuals have complained that their Macs cannot detect their external hard drives.
Learn all you need to know to fix any problem with the help of this comprehensive manual. We shall explain the causes and solutions in great depth. If your disk becomes corrupted or you lose your data by mistake, we will also provide you a free hint on how to retrieve it.
Potential Causes of an Unmounted External Hard Drive in a Mac
- External drives not being detected might occur for a variety of reasons. In this part, we’ll go through some of the most typical causes of this problem and how to fix it.
- An improperly connected drive means that your Mac cannot read the contents of the drive. Verify the hard disk is plugged in and that the USB port is functioning properly.
- The issue may be the result of a damaged or corrupted hard disk.
- Possible causes of connection loss include a faulty USB or HDMI cable. Even though the cable appears in perfect condition outside, inside damage may have rendered it useless.
- Problems that can be fixed by restarting your Mac sometimes arise after using macOS for an extended period without a restart. Restarting your Mac might sometimes fix any problems with the operating system.
- Mac OS is unable to mount or access the external hard disk.
How can I address the problem where my external hard drive won’t mount on macOS Ventura?
Fix 1: Make sure the hard disk is securely connected.
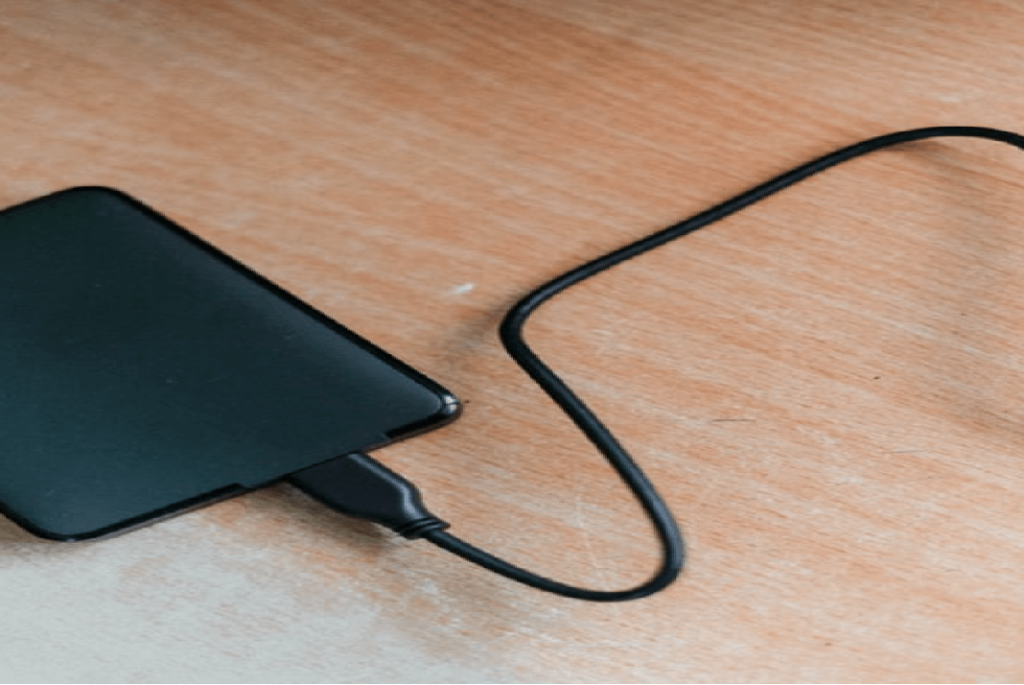
Given that cables are required for communication between your Mac and external hard drives, a slack connection might be to blame if your Mac does not recognize the latter.
If the connection is unreliable, even moving the computer around won’t allow you to install the external hard drive. In the event of a loose or otherwise malfunctioning connection, the cable itself might get rather warm. The USB cable is the medium of connection; as such, its quality is paramount.
Fix2: Restart Your Mac
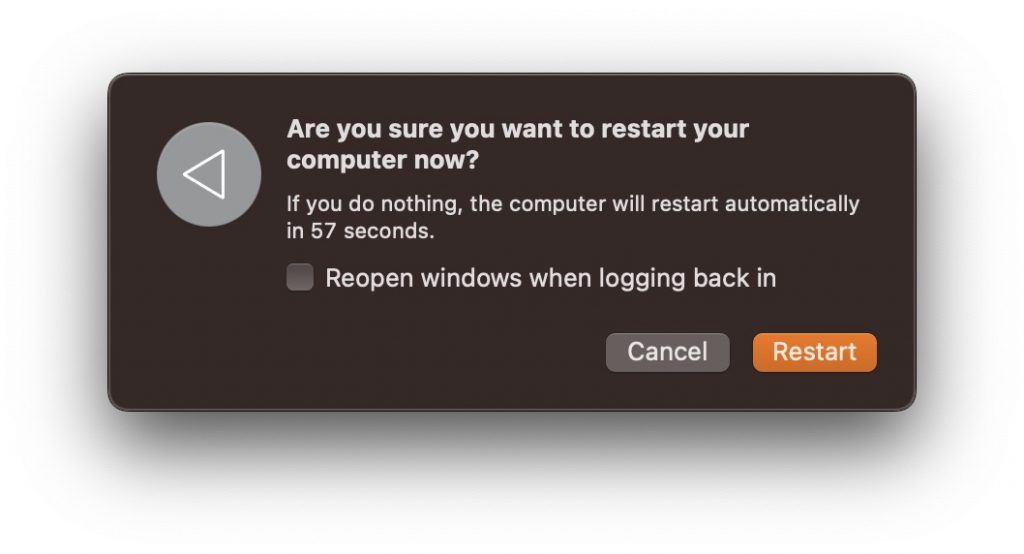
One of the quickest ways to repair small data damage and restore the hard disk in Mac is to restart the computer. The effectiveness of this method in resolving these early Mac problems is rather high. To fix the issue of an external drive not being recognized by your Mac, try restarting your machine.
You can restart your device by clicking the Apple logo. If you press and hold the power button for a few seconds, you should see a dialogue box appear; when it does, hit R. It will offer macOS a clean slate by erasing all of the system memory. As soon as your Mac boots up, you should see if the external drive shows up in the Finder. The following workaround requires editing the Finder setting.
Fix 3: Try first aid to fix your external hard drive.
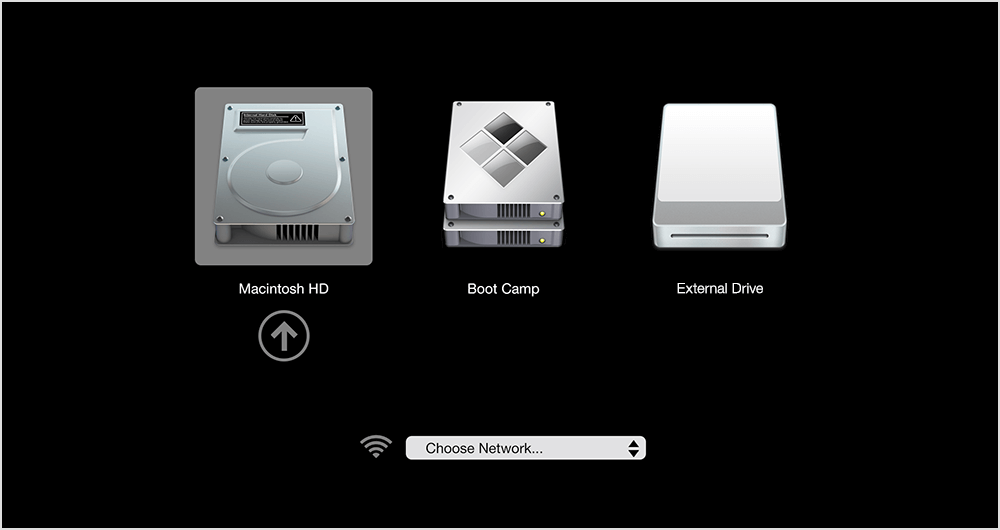
Possible disk issues might cause your Mac not recognizing the external drive. First Aid is a tool that may be used to diagnose and repair disk issues without erasing any information. It’s a built-in Mac app that can detect disk problems and try to repair them. If you’re having trouble, try these solutions:
1. open your dock’s “Launchpad” icon. In the search bar, type “Disk Utility.”
2. the application’s icon. Please select it and press the button to activate it.
3. Navigate the disk utility by clicking on the various options in the left panel.
4. locate the external hard disk that isn’t displaying normally and choose it.
5. Click “First Aid” and then “Run” in Step 6. When the computer detects a problem with the hard drive, it will alert the user.
6. , if First Aid did not solve the problem, run it again and wait till it finishes.
7. is to copy the files to another drive and use the following approach to format the disk if it still does not identify any errors.
Fix 4: Ensure the USB port or hub isn’t mismatched, broken, or dead.
You can try another USB port or a USB hub if your Mac does not recognize your external hard drive or USB flash drive. This is because USB 3.0 and USB 2.0 ports are functionally distinct: Is there a solution to the problem of external hard drives failing to mount on macOS version Monterrey, Big Sur, or Ventura that uses the USB 3.0 interface? Compared to USB 2.0, higher transfer rates mean greater power, more bandwidth, etc. Mounting issues with external hard drives in macOS Ventura/Monterey/Big Sur may also be caused by a lack of electricity or broken USB connectors.
This error may be tested by removing the faulty external hard disk and replacing it with a good one, which should then be installed normally.
Fix 5: Choose when you want a Macbook to sleep and wake up.
If the disks aren’t sleeping after a period of inactivity, this might be a clue to what’s causing the problem; try “The “Use hibernation to save power (put hard drives to sleep when feasible)” option in the Power section of the System Preferences is not enabled.
1. Select Apple Menu > System Preferences from your Mac’s main menu, and then click Battery from the left-hand panel. If you need to see this, scroll below.
- To change these settings, go to the right side and click “Options.”
- To enable the hibernation of hard drives, choose the option to do so while it is not in use.
2. When your computer is asleep, you may update it. Select an option from the drop-down menu when you click Enable Power Nap.
3. Let your Mac wake up for a second so others can use shared services (if necessary): Select an option from the pull-down menu that appears next to “Wake for network access.”
4. If the behavior is unconnected to the aforementioned configuration, try removing wired input devices or an additional display.
5. If the problem persists, try running First Aid using Disk Utility to examine and repair the disks. Using Disk Utility to Fix a Broken Storage Device on a Mac – Apple Support
Fix 6: Other checks
If First Aid determined that the disks were healthy, you should eject and unplug each drive individually. When you’re ready to restart, remove all drives from your Mac, attach just one, and then select the Apple menu icon in the upper left. After the Mac has finished restarting, you should sign in to your account to determine if the problem still exists.
Whether problems remain, you should make a new test admin user account and log in as that user to determine if the problem still occurs. The instructions for making a new test user are included in this and the subsequent article.
“If prompted, enter your password in the New Account pop-up window and select the desired account type.
A system administrator is a person who can create new accounts, manage existing ones, install software, and modify system preferences. You’ll be asked to establish a new user account when you initially set up your Mac. More than one person can be in charge of your Mac. New admins can be made, and existing users can be promoted to admin status. Never enable a permanent login for a superuser. In such a case, all it takes is a restart for an unauthorized user to obtain full administrative access to your Mac. Keep your Mac safe by keeping your administrator password and user name private.”
2. After you’ve made your test user, click the Apple menu icon in the upper left corner, then select Sign Out.
3. Sign in as the dummy user to see whether the problem still appears.
Fix 7: Entering Safe Mode
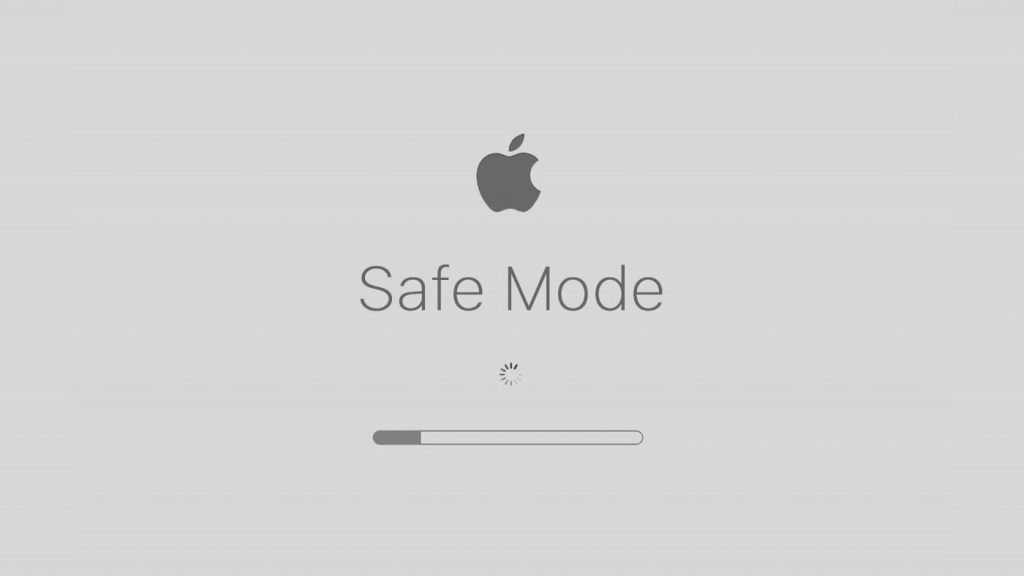
Find out if your Mac has Apple silicon and proceed accordingly.
Apple silicon
1. power down your Mac.
2. To access the starting choices box, you must turn on your Mac and hold down the power button for a few seconds.
3. choose your starting disk while holding Shift, and then select “Continue in Safe Mode.”
4. Launch your Mac and sign in. In some cases, you may be required to re-enter your login information.
Processor by Intel
1. After turning on or restarting your Mac, press and hold the Shift key until the Mac is ready to use.
2. Then, when the login box appears, you may let go of the key and sign in to your Mac.
3. You may have to re-enter your login information. A “Safe Boot” option should appear in the top-right corner of the first or secondary login window.
Fix 8: Use Disk Utility
You may have trouble getting MacOS to detect the external drive if you first formatted it on a different system. Formatting the disk for use with a Mac is required before it can be recognized. Here’s how to properly format your Mac’s external disk:
1. Connect the hard disk and launch Disk Utility from the Launchpad. Disk Utility may also be accessed by simultaneously pressing the CMD and Spacebar keys.
2. Pick the Drive You Want to Format from the Left Panel.
3. Select the “Delete” menu option.
4 Select a format that works with MacOS from the list.
Choose the disk format that works with your Mac.
5 If you choose to erase the disk, macOS will immediately begin formatting it.
Hence, these are the ways that you can try on your MacBook to check with disk errors. Apple is working to fix the issue. Anyways you can always connect to Apple support for specific solutions.


