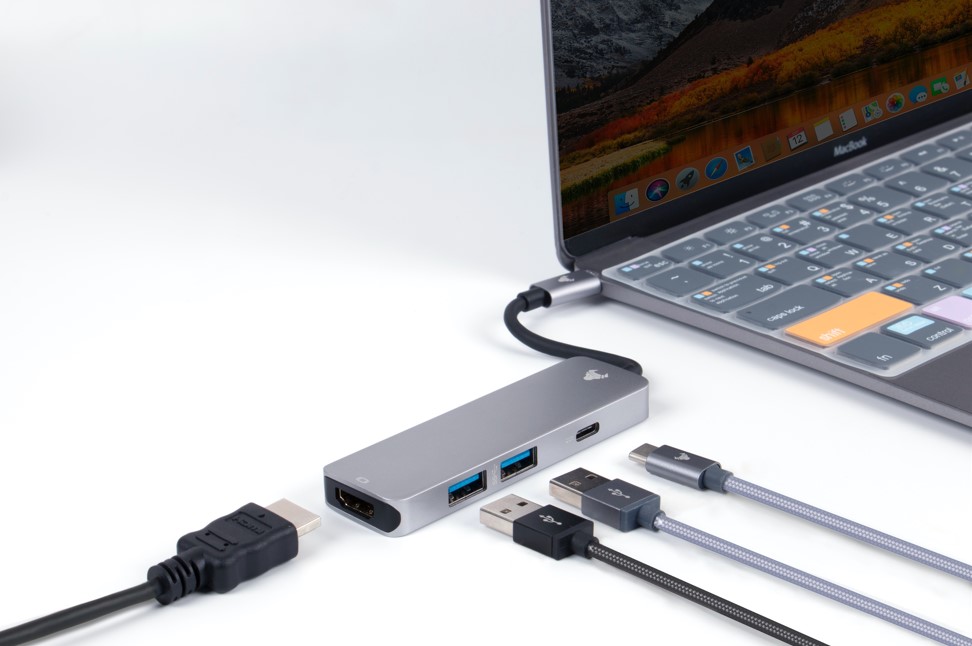
Apple’s macOS 13.3 update brought forth a spectrum of new features and improvements, enhancing the prevalent user experience. Nonetheless, for some users, this update presented an unexpected issue that rendered their USB devices unusable after a few hours of the display being asleep.
Besides that, many Apple users have reported similar issues on the Apple forum with USB devices becoming unusable after a few hours on macOS 13.3. Down below are some of the common critical observations and details from the users’ experiences:
- USB devices affected: Users have reported that various USB devices become unusable, including MIDI keyboards, Wacom tablets, Focusrite audio interfaces, and external hard drives.
- Timing of the issue: The problem seems to occur after the display has been asleep for several hours, typically overnight. However, it’s unclear if the issue persists without display sleep.
- Lack of unresponsive processes: Users have noted that there are no processes shown as not responding in the Activity Monitor when the issue occurs.
- Additional symptoms: Once the USB devices become unusable, other problems may arise, such as hang-ups during logout or rebooting, the app freezes when quitting or launching, and high CPU usage by processes like “makequeues” and “OtherUsersStorageExtension.”
These are some of the most common issues faced by most users as per the report on the Apple forum, let’s head on to find out what can be the potential causes of this issue.
Potential Causes Of USB Devices Become unusable after a few hours on macOS 13.3
Following are some of the potential causes of USB devices becoming unusable after a few hours on macOS 13.3:
- Power supply and USB hub: One of the potential causes f this issue might be using a USB hub drawing power from the iMac’s internal USB bridge might overload the system, potentially causing a kernel panic.
- Old external hard drives: It is also suspected that an older external hard drive might be causing the issue.
- macOS update glitch: It is also assumed that the problem could be related to the specific macOS 13.3 update, suggesting that it might contain a glitch affecting USB functionality.
While the precise cause of the issue is not definitively identified, other potential factors such as a failing USB bridge as well as system power management or perhaps conflicts with distinct software and drivers cannot be ruled out. These issues may require further troubleshooting or assistance from Apple Support.
Now, you must be wondering what is the solution to this pesky “USB Devices Become unusable after a few hours on macOS 13.3” problem. Well, out of frustration and inconvenience caused by this issue, many users affected users had tried to reboot their iMac each time they encountered the problem.
Although, after thorough research, we have discovered a few tips and solutions for you to resolve the USB devices becoming unusable after a few hours on macOS 13.3 issue. Let’s see what are those tips and solutions.
Also Read- Problem To Playing Video Codec Sony a7s3 At 100fps- macOS Ventura 13.4 Fixed
Fix To Resolve The USB Devices Become unusable after a few hours on macOS 13.3 Issue
The only solution mentioned and is workable for now involves performing a complete wipe of the Mac and reinstalling macOS 13.4 from scratch. This procedure effectively resets the operating system and removes any conceivable software-related issues or conflicts that might have been causing the USB devices to become unusable.
With this solution, the user reported to annihilates any residual software problems that might have been present before the reinstallation. This approach is often referred to as a “clean install” and can help resolve issues that endure even after applying software updates or troubleshooting steps.
So, if you don’t know how to clean install, here is how you can do it:
Clean Install macOS 13.4
Before moving toward the clean installation process, you need to make sure a few important things:
Part #1. Necessary Storage
Before proceeding with a clean install, it is crucial to assess your storage needs. Ensure that you have at least 16GB of available space to facilitate a smooth installation of macOS Ventura. This is because the installer itself occupies approximately 12GB of space. However, it is essential to allocate additional space for software and application installations on your Mac. If you find that you lack the necessary free space, you can utilize macOS Optimize Storage to remove unnecessary files and optimize storage utilization.
Also Read- DJI Mavic 3 drone 5.1K D-Log MP4 Video Not Working In Final Cut Pro…
Part #2. Backup your Data
If you have substantial data stored on your Mac, it is extremely recommended to back up your computer. Executing a clean installation will result in the entire removal of all files stored on your Mac. Therefore, backing up your data becomes crucial in this process. You can refer to our comprehensive guide for instructions on how to back up your Mac effectively.
Part #3. Clean Install macOS Ventura
Step 1: Download macOS Ventura
- First, you have to launch the App Store on your Mac device and then search for “macOS Ventura.”
- After that, you need to download macOS Ventura 13.4 Final.
Step 2: Create macOS Ventura USB Installer
- Open the Terminal application using Spotlight search.
- Enter the following command in the Terminal also make sure to replace “Installer” with the actual name of your USB drive:
sudo /Applications/Install\ macOS\ Ventura.app/Contents/Resources/createinstallmedia --volume /Volumes/Installer --nointeraction - Finally, press return to execute the command
Step 3: Acclimate Startup Security to Utilize Ventura USB Installer
- Restart your Mac and enter Mac Recovery Mode.
For M1/M2 Mac: Press and hold the Power button until “Loading Startup Options” appears.
For Intel-based Macs: Hold down the “Command + R” keys during startup. - Now that you are in the Recovery Mode, you have to click on the “Utilities” menu and after that finally, choose “Startup Security Utility.”
- Choose “No Security” and enable “Allow booting from external or removable media”, and finally Save the settings and shut down your Mac.
Step 4: Clean Install macOS Ventura 13.4
- First, you have to insert the bootable USB drive into your device.
- Turn on your Mac and hold the Option key until the boot options appear.
- Select “Disk Utility” from the options.
- In Disk Utility, click “View” and choose “Show all devices.”
- Select your Mac’s internal disk, click “Erase,” and choose the APFS format. Confirm by clicking “Erase” to format the disk.
- Close Disk Utility after the formatting process is complete. Next, you have to select “Install macOS 13.4” to begin with a fresh installation of macOS Ventura 13.4.
Hopefully, after performing a clean install you would be able to resolve the recurring issue. Also, keep in mind that performing a clean install drastic solution, and it’s not always necessary or recommended for every issue. However, in cases where other troubleshooting steps have been unsuccessful or the cause of the problem remains unclear, a clean install can help ensure a fresh and stable system environment.
Lastly, as of now, this is the only fix that can help you resolve the issue. You can also report the USB devices becoming unusable after a few hours on macOS 13.3 or similar issues on Apple Community to bring Apple’s attention to the issue. But, first, try clean installing the latest 13.4 macOS Ventura, maybe it will resolve your issue.
Frequently Asked Question
Why does my Mac keep disabling USB?
In many instances, the USB Accessories Disabled/USB Devices Disabled problem arises due to an insufficient power supply for the USB device. Nonetheless, you can overcome this issue by utilizing a self-powered device. A self-powered device is apt of drawing power from either an electrical outlet or its inner battery, facilitating it to operate without relying solely on the power provided by the USB connection.
Why is my USB restricted?
If your USB is restricted, it implies that the USB Restricted Mode feature is activated on your device. USB Restricted Mode is a security feature enforced by Apple on iPhone and iPad devices. It is designed to enhance the security and privacy of your device by precluding certain USB accessories from connecting to it under distinctive conditions.


