


 Header Through Cloudflare")


The iPhone 16 brings with it a groundbreaking feature that’s set to redefine how we capture memories – spatial photos and videos. With Apple’s focus on immersive experiences, spatial photography and videography are designed to enhance how we relive moments by adding depth and dimension to images and videos, allowing for a more immersive viewing experience, especially when paired with devices like the Apple Vision Pro.
In this tutorial, we’ll walk you through everything you need to know about capturing spatial photos and videos on your iPhone 16, including what spatial media is, how to take these shots, and tips for making the most out of this new technology.
What Are Spatial Photos and Videos?
Spatial photos and videos go beyond traditional 2D captures by adding depth and spatial awareness, providing a 3D-like experience. When viewed on compatible devices like the Apple Vision Pro, these images and videos make you feel like you’re right back in the moment. The iPhone 16 achieves this using multiple cameras and advanced sensors to capture different layers of the scene, simulating depth and space.
Also read- How To Fix Apps Not Working On Cellular Data After iOS 18 Update?
How to Capture Spatial Photos on iPhone 16
Capturing spatial photos on the iPhone 16 is simple and integrates seamlessly into the native camera app. Here’s a step-by-step guide on how to do it:
1. Open the Camera App
- First, launch the Camera app on your iPhone 16. The interface will look similar to previous models, but with an added spatial mode feature.
2. Switch to Spatial Mode
- At the top of the camera interface, you’ll see a new option for “Spatial Mode”. Tap on it to switch from standard photo mode to spatial mode. You can also swipe between modes if preferred.
3. Framing Your Shot
- As you prepare to take a spatial photo, the iPhone 16 will guide you through the process of capturing depth. Keep the subject in focus, and make sure there is adequate distance between the foreground and background to maximize the 3D effect.
- The camera system will utilize multiple lenses and depth sensors to capture spatial information, so be mindful of your environment to take full advantage of the technology.
4. Capture the Photo
- Once you’re satisfied with the frame, tap the shutter button as usual to capture the spatial photo. The iPhone 16 will process the image, layering depth information into the file, making it ready for an immersive 3D experience on supported devices.
5. Viewing the Spatial Photo
- You can view the photo on your iPhone’s screen, but to fully appreciate the depth effect, you’ll need to view it on a device like the Apple Vision Pro. When viewed on compatible devices, the spatial photo will give you the feeling of looking into a scene with real depth, making it more immersive than standard photos.
Also Read- How To Use Camera Control To Open Another App On iPhone: A Step-By-Step Guide
How to Capture Spatial Videos on iPhone 16
Spatial videos take the concept of depth to moving images, giving users an even more immersive experience. Whether it’s capturing a family event or a scenic view, spatial videos will transport viewers into the moment with added dimensionality. Here’s how to capture spatial videos on the iPhone 16:
1. Open the Camera App
- Start by launching the Camera app on your iPhone 16, just as you would for standard video recording.
2. Switch to Spatial Video Mode
- Next, select “Video” mode. You’ll notice an additional option for “Spatial Video” in the toolbar or by swiping through the available modes.
- Tap on Spatial Video to activate it.
3. Capture the Scene
- Like with spatial photos, consider the composition of your video. Spatial videos benefit from dynamic scenes where there is depth and motion. Elements such as foreground objects and background movement will be enhanced when viewed in spatial format.
- Hold your phone steady and hit the record button. The iPhone 16’s advanced sensors and cameras will capture the scene in 3D, layering depth and dimension into the video.
4. Preview and Edit Spatial Video
- Once recorded, you can preview the spatial video on your iPhone, but just like spatial photos, it’s best experienced on a VR or AR device such as the Apple Vision Pro.
- Use Apple’s Photos app or iMovie on your iPhone to trim or edit the video. The editing tools are optimized for spatial content, ensuring that any changes retain the depth and immersion.
5. Share and View
- You can share your spatial videos via AirDrop, iMessage, or upload them to compatible platforms. While regular devices will play the video in 2D, anyone with a Vision Pro or other spatial-enabled device will be able to experience the full 3D immersion.
Tips for Capturing the Best Spatial Photos and Videos
To make the most of the iPhone 16’s spatial capture abilities, keep these tips in mind:
- Create Depth: For the best results, always try to have elements in the foreground, middle, and background of your scene. The more layers you can create, the better the 3D effect.
- Avoid Flat Environments: Scenes that lack depth or contrast, such as walls or flat surfaces, won’t take full advantage of spatial photography. Instead, opt for dynamic environments like parks, streets, or open spaces.
- Use Motion: Spatial videos shine when there’s movement within the frame. Capture scenes where people or objects are moving in and out of the frame to enhance the feeling of immersion.
- Lighting Matters: While the iPhone 16 is excellent in low-light environments, good lighting enhances the spatial effects. Capture your photos and videos in well-lit areas for the clearest results.
- Experiment with Angles: Play around with different shooting angles. Capturing objects from different perspectives (higher or lower angles) can result in more interesting spatial content.
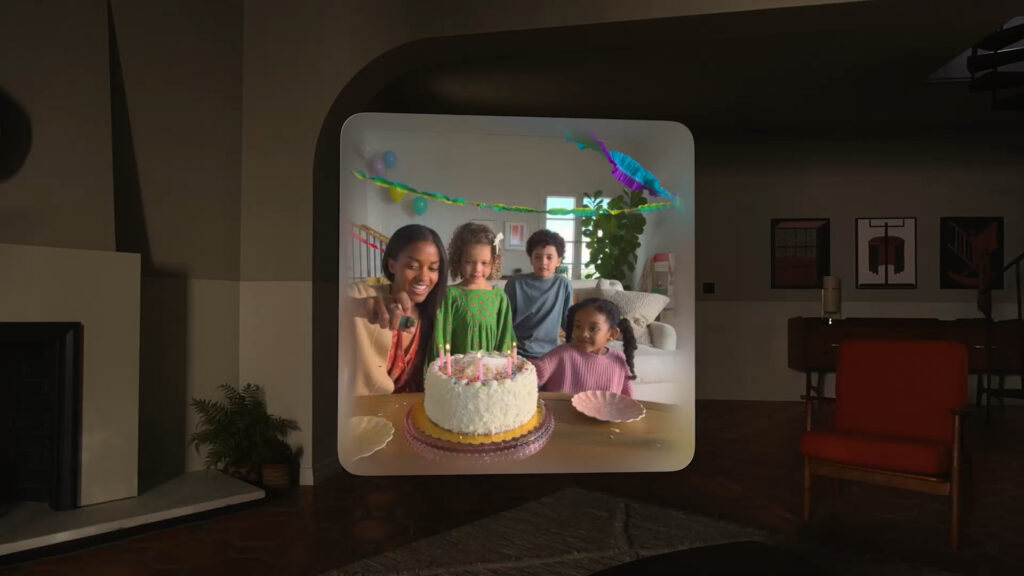
Viewing Spatial Photos and Videos on Apple Vision Pro
To get the most out of your captured content, view your spatial photos and videos using Apple’s Vision Pro. The device is designed to display spatial media in an immersive format, allowing you to truly appreciate the depth and layers captured by the iPhone 16.
Here’s how to transfer and view your spatial media on the Vision Pro:
- Transfer Files: Use AirDrop or iCloud to send your spatial photos and videos from your iPhone 16 to the Vision Pro.
- Launch Media Viewer: Open the Vision Pro’s media viewer app, and select the spatial content to experience the full 3D effect.
- Enjoy Immersive Viewing: Once opened, you’ll be able to navigate and view your photos and videos in a completely immersive environment, making you feel like you’re back in the moment you captured.
Conclusion
The iPhone 16’s spatial photo and video capabilities bring a new dimension to photography and videography. With its ability to capture depth and space, you can now create and experience moments like never before. Whether you’re taking a snapshot or shooting an immersive video, these features will revolutionize the way you preserve and share your memories.
Start experimenting with spatial photos and videos today, and make the most of the iPhone 16’s powerful new technology!


