


 Header Through Cloudflare")


The iPhone 16 models have introduced advanced camera control features that allow users to capture stunning images with professional-grade precision. Whether you’re a seasoned photographer or a beginner, these new tools make it easier to adjust settings and take control of your photography experience. In this tutorial, we will guide you step by step on how to use the Camera Control features on your iPhone 16 to maximize your photos and videos.
Step 1: Open the Camera App
The first step to accessing Camera Controls is, of course, opening the camera.
- Swipe left from the lock screen, or
- Tap the Camera app from your home screen or the app library.
Once the camera is open, you’ll be ready to start exploring the new controls and features.
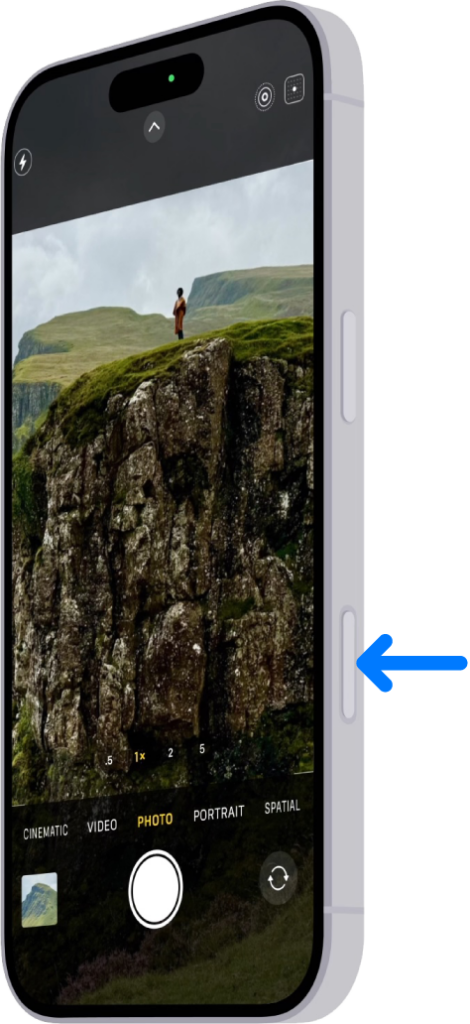
Step 2: Access the Camera Controls
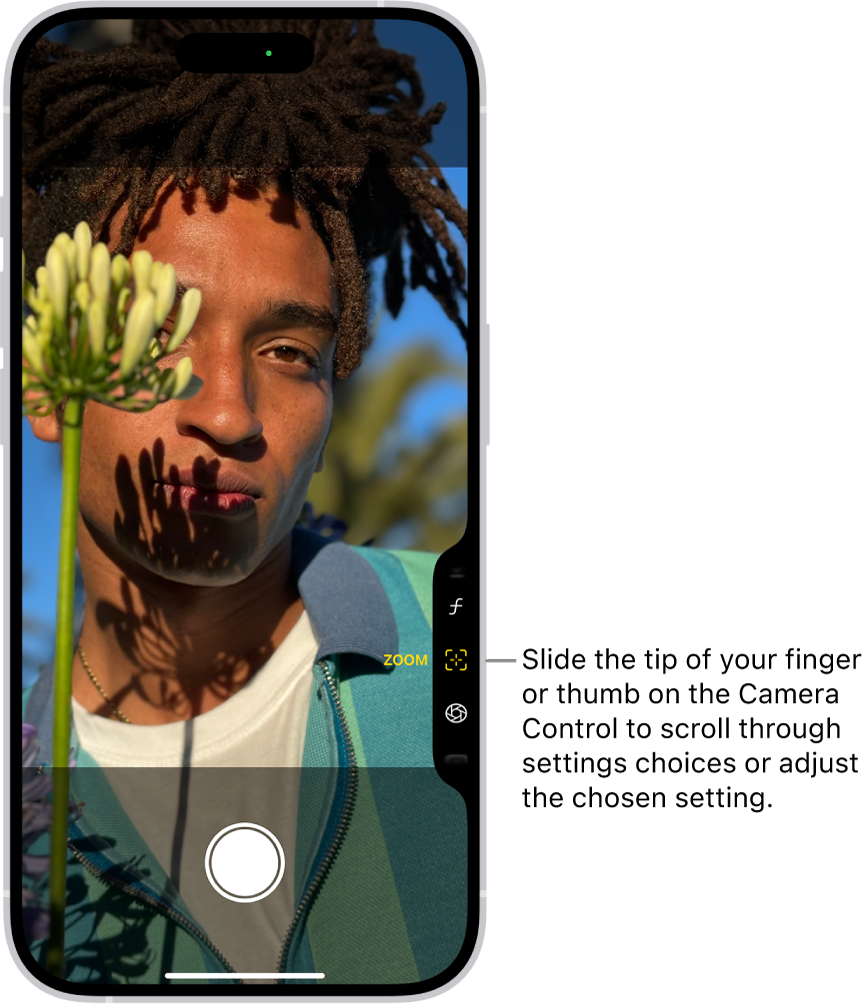
Once you are inside the camera app, several icons will appear on the screen. These controls help you fine-tune your shots.
- Camera Modes: You will see different modes such as Photo, Portrait, Cinematic, Panorama, and Video. Swipe between them at the bottom of the screen.
- Control Bar: Tap the arrow at the top of the screen to reveal the camera control options. This is where you will find advanced settings, including exposure, flash, night mode, and more.
Step 3: Adjust Exposure and Focus
iPhone 16 models allow for more precise control over exposure and focus to give you a professional-level photography experience.
- Tap to Focus: Simply tap on the area of the screen where you want the camera to focus.
- Adjust Exposure: After setting the focus, you will see a sun icon next to the focus square. Slide your finger up or down to adjust the exposure manually. This helps brighten or darken your shot depending on the lighting conditions.
Step 4: Use the New Advanced Zoom
The iPhone 16 models feature enhanced optical zoom capabilities, making it easier to capture distant subjects clearly.
- Pinch to Zoom: You can pinch the screen to zoom in or out.
- Zoom Controls: On the screen, you will see zoom buttons (0.5x, 1x, 3x, and up to 6x depending on the model). Tap these to quickly adjust your zoom level.
- Pro Tip: Use the 0.5x for ultra-wide shots and telephoto zoom for detailed close-ups without losing quality.
Step 5: Activate ProRAW and ProRes
For those looking to capture professional-quality photos and videos, the iPhone 16 models support ProRAW for photos and ProRes for videos, providing higher fidelity files for advanced editing.
- Activate ProRAW:
- Go to Settings > Camera > Formats, and toggle Apple ProRAW.
- When in the Camera app, tap the RAW icon at the top of the screen to enable it for your next shot.
- Activate ProRes:
- Go to Settings > Camera > Formats, and toggle Apple ProRes.
- In the Camera app, switch to Video Mode and tap the ProRes option at the top of the screen.
Step 6: Enable Night Mode for Low-Light Photography
The iPhone 16 models come with improved Night Mode, allowing you to take bright and clear photos even in dark environments.
- Automatic Activation: Night Mode automatically turns on in low-light conditions. You will see a crescent moon icon appear when it’s active.
- Adjust Night Mode Exposure: Tap the moon icon to manually adjust the exposure duration for Night Mode. Slide to adjust how long the camera collects light for the image, from 1 to 10 seconds, depending on the light available.
Step 7: Mastering Portrait Mode with Depth Control
One of the signature features of the iPhone camera is Portrait Mode, which now offers even better depth control and lighting effects.
- Select Portrait Mode: Swipe to Portrait Mode at the bottom of the screen.
- Depth Control: After taking the photo, open it in the Photos app and tap Edit. Use the f-stop slider (represented as f/1.4 to f/16) to adjust the blur in the background.
- Lighting Effects: You can also adjust portrait lighting by selecting effects like Studio Light, Contour Light, or High-Key Light Mono.
Step 8: Record Cinematic Mode Videos
The Cinematic Mode on iPhone 16 models allows you to record videos with a depth-of-field effect, much like what you see in professional films.
- Switch to Cinematic Mode: Swipe to Cinematic Mode at the bottom of the camera screen.
- Focus Transition: The iPhone 16 can automatically adjust focus as subjects enter and exit the frame. You can also tap on the screen to change focus manually while recording.
- Editing Cinematic Videos: After recording, you can edit the focus points in the Photos app by selecting the video and choosing Edit.
Step 9: Use Action Mode for Stabilized Videos
The iPhone 16 models come with Action Mode, a feature designed to stabilize video recordings in fast-moving situations.
- Activate Action Mode: In Video Mode, tap the Action Mode icon (a person running) at the top of the screen.
- Record: Start recording while in motion, and Action Mode will automatically stabilize the video, producing smooth footage without needing extra equipment like a gimbal.
Conclusion
The iPhone 16 models offer a variety of advanced camera features designed to enhance your photography and videography skills. From ProRAW and Cinematic Mode to Action Mode and enhanced Night Mode, these tools provide a professional experience in the palm of your hand. By mastering these camera controls, you’ll be able to capture stunning, high-quality images and videos with ease.
Make the most out of your iPhone 16 camera by experimenting with these features and finding what works best for your style and environment!


