Are you struggling with how to transfer photos from your old iPhone to your new iPhone 13?
Transferring photos, videos, and data from iPhone to iPhone is easy now. Earlier, you had to get a USB cable and connect it to your MacBook. Moreover, you had to waste a lot of time backing up the photos first; otherwise, you can risk losing them all. Besides, transferring photos on iOS devices was not simple like in android.
But thanks to the new iOS 13, 14, and iOS 15 Monterey, the process is much simpler and quicker. Photos are an important part of our lives, and in the past, we captured our get-togethers, family parties, celebrations, and important moments in print pictures.
While that is not the case now, our indulgence in clicking pictures has grown significantly. We do not just click pictures for important occasions but for everything that happens in our day-to-day lives. In this age of social media, pictures are mandatory for youngsters.
Therefore I can imagine why you would be so impatient to migrate all your pictures to your newly acquired iPhone 13, iPhone 13 mini, iPhone 13 Pro, and iPhone 13 Pro Max. This blog post has discussed three precise ways to transfer your photos from your old iPhone 9, 10, 11, and 12 to your new one.
Also Read: How To Fix Apple CarPlay Not Working In iPhone 13?
1) Use Wondershare Mobile Trans
Wondershare Mobile Trans is a quick and easy way to help transfer your photos from your old iPhone to iPhone 13. To do that, follow these steps:
Step 1: Go to the website and download it to your computer. After the download, launch the app.

Step 2: Connect both your iPhones to the computer and click on the iPhone module in the Mobile Trans app.
Step 3: Once the app has detected both your iPhones, it will make one iPhone source device while the other is a receiver device.

Step 4: However, if you want to swap the source device with the destination device, click on the Flip button located in the middle.
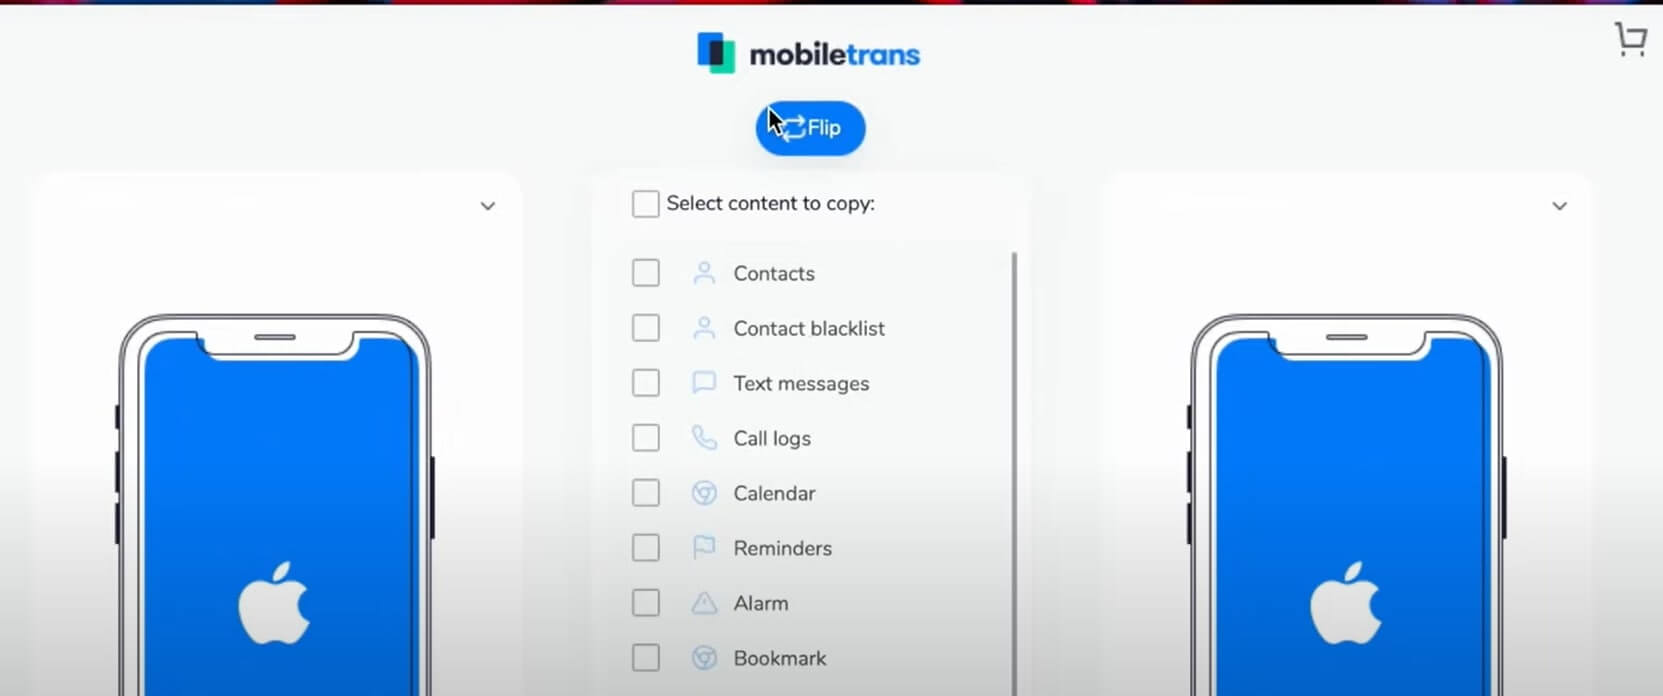
Step 5: From the list of data options, select photos and click on Start.
Step 6: Moreover, you will also get an option from the app asking you for permission to wipe out all the photos after transfer from the destination device. Thus, you can decide to clear it out or keep it as a backup option for the future.
Step 7: Once the transfer process is over, securely remove your iPhones and close the app.
Therefore, in this way, you can transfer all your photos from the old iPhone to iPhone 13 with no hassle.
Must Read: Top 5 Features That Make iPhone 13 And iPhone 13 Pro Max The Best iPhones
2) Transfer Photos iPhone 13: iCloud
Using iCloud is a really good way to transfer all your photos wirelessly. It is a beneficial option for those users who do not have a USB cable. Or in some cases, the cable is not in a working condition. Follow these steps:
Step 1: Pick up your old iPhone 12, 11, 10, and go to the Settings app.

Step 2: Tap on iCloud and then click on Storage.
Step 3: Enable iCloud for Photos so that all of the uploads to the iCloud.
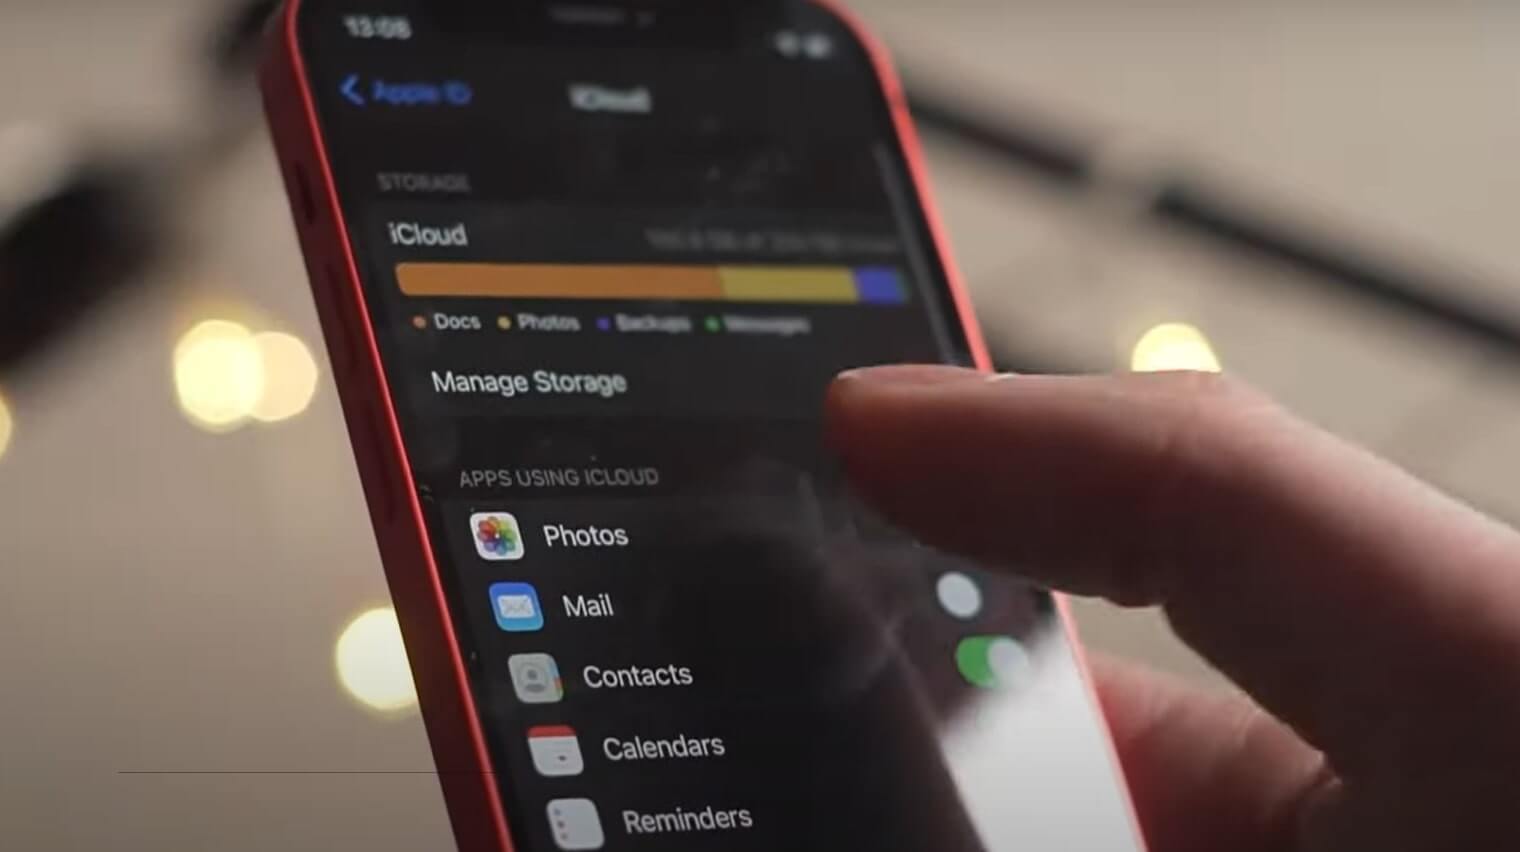
Step 4: Moreover, you have to do a similar thing on your iPhone 13. Again, go to the Settings app.
Step 5: Go to Storage and switch on the iCloud Photos option.
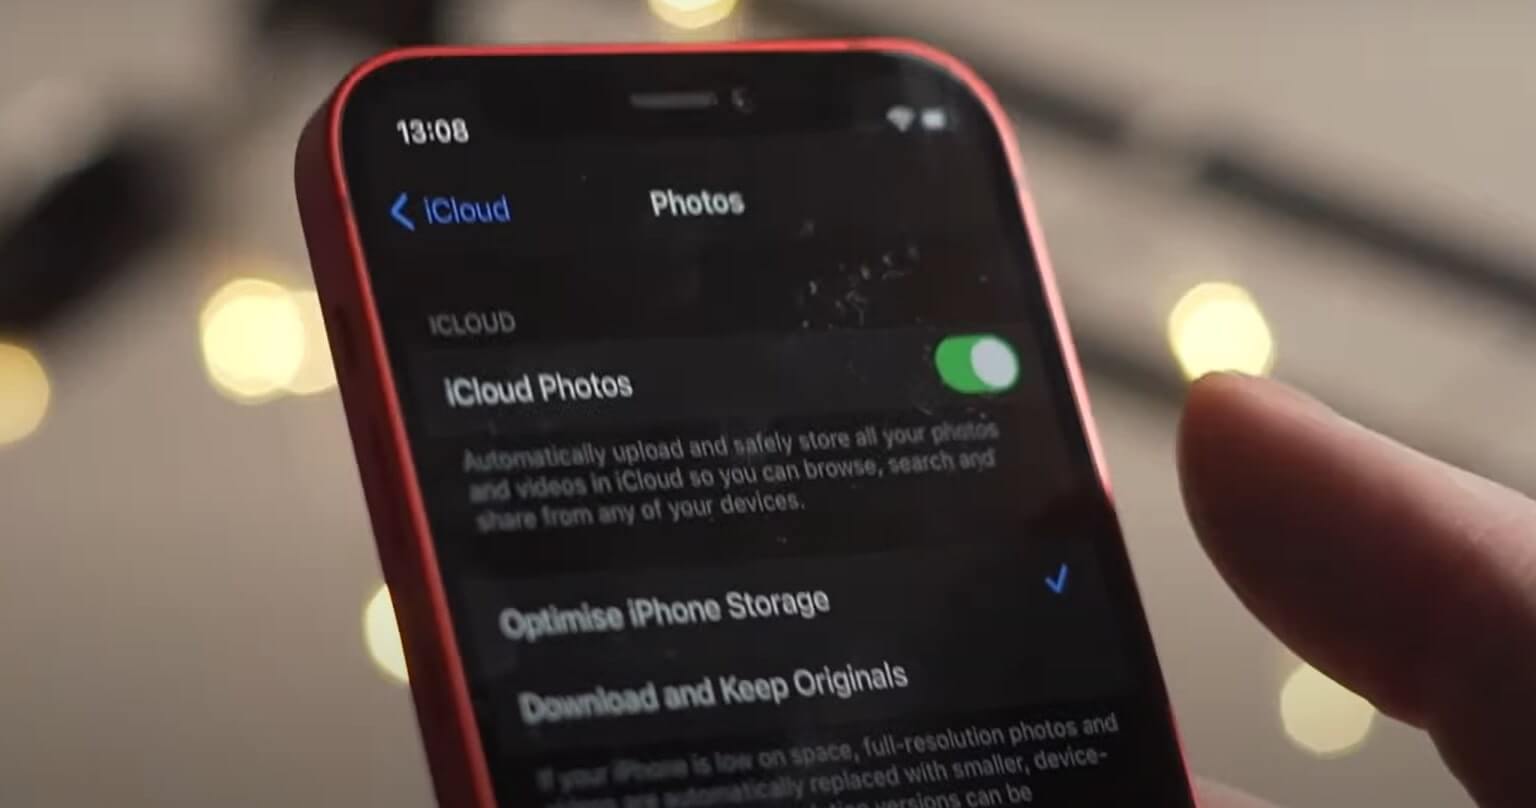
Step 6: Now iCloud will have all the photos you uploaded from your old iPhone.
Step 7: Download all the photos to your iPhone 13 phone.
The downside to using iCloud is you get only 5GB of free storage. Therefore, if you need more, you have to buy some storage.
Should Read: iPhone 13 And iPhone 13 Mini: Cool New Features Discussed In Detail Here
3) Transfer Photos iPhone 13: Use iTunes
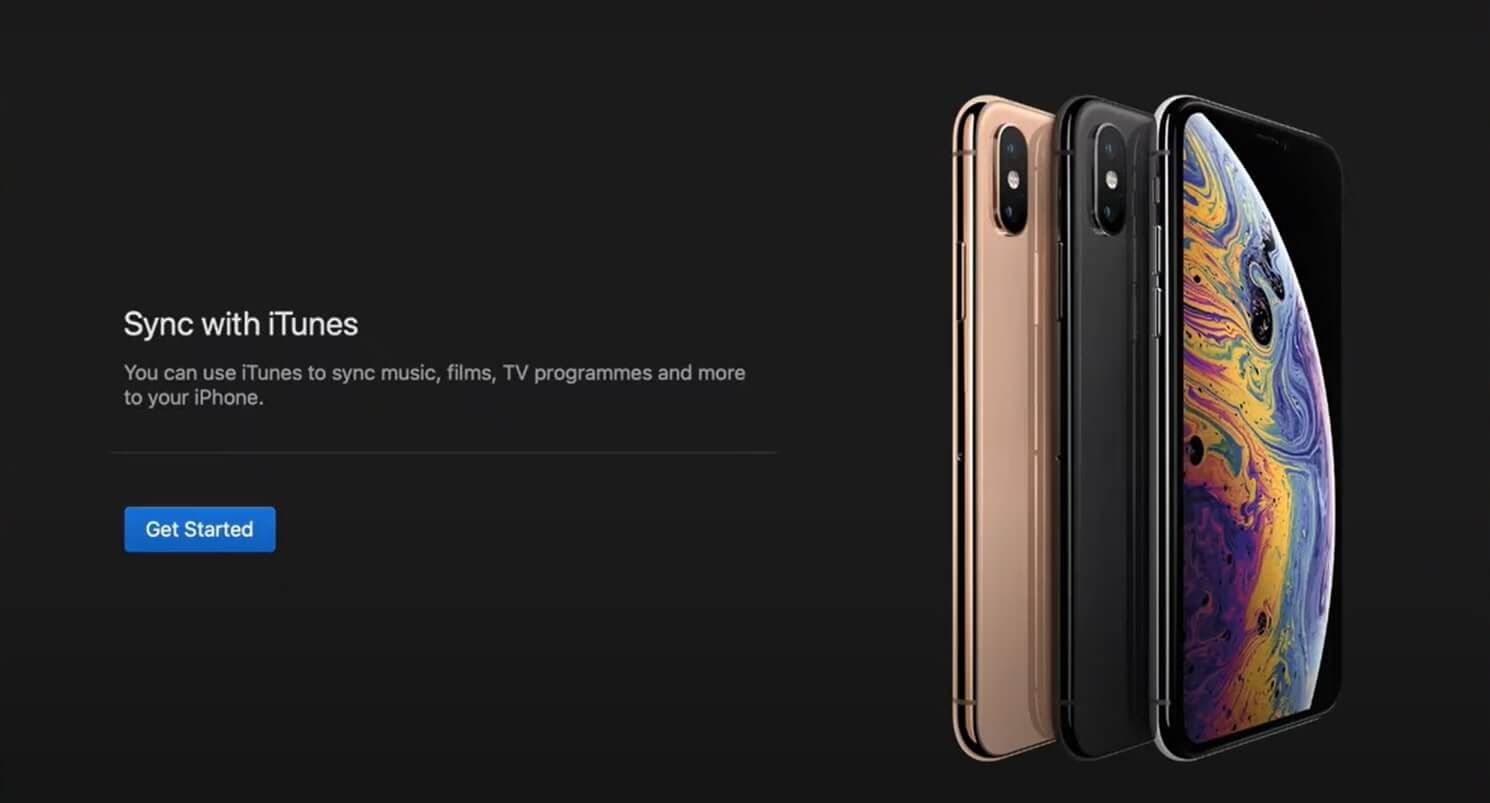
iTunes is also a great and reliable way to transfer all your old iPhone photos to iPhone 13. If you do not know how to do that, follow these steps:
Step 1: Connect your old iPhone to your computer and launch iTunes.
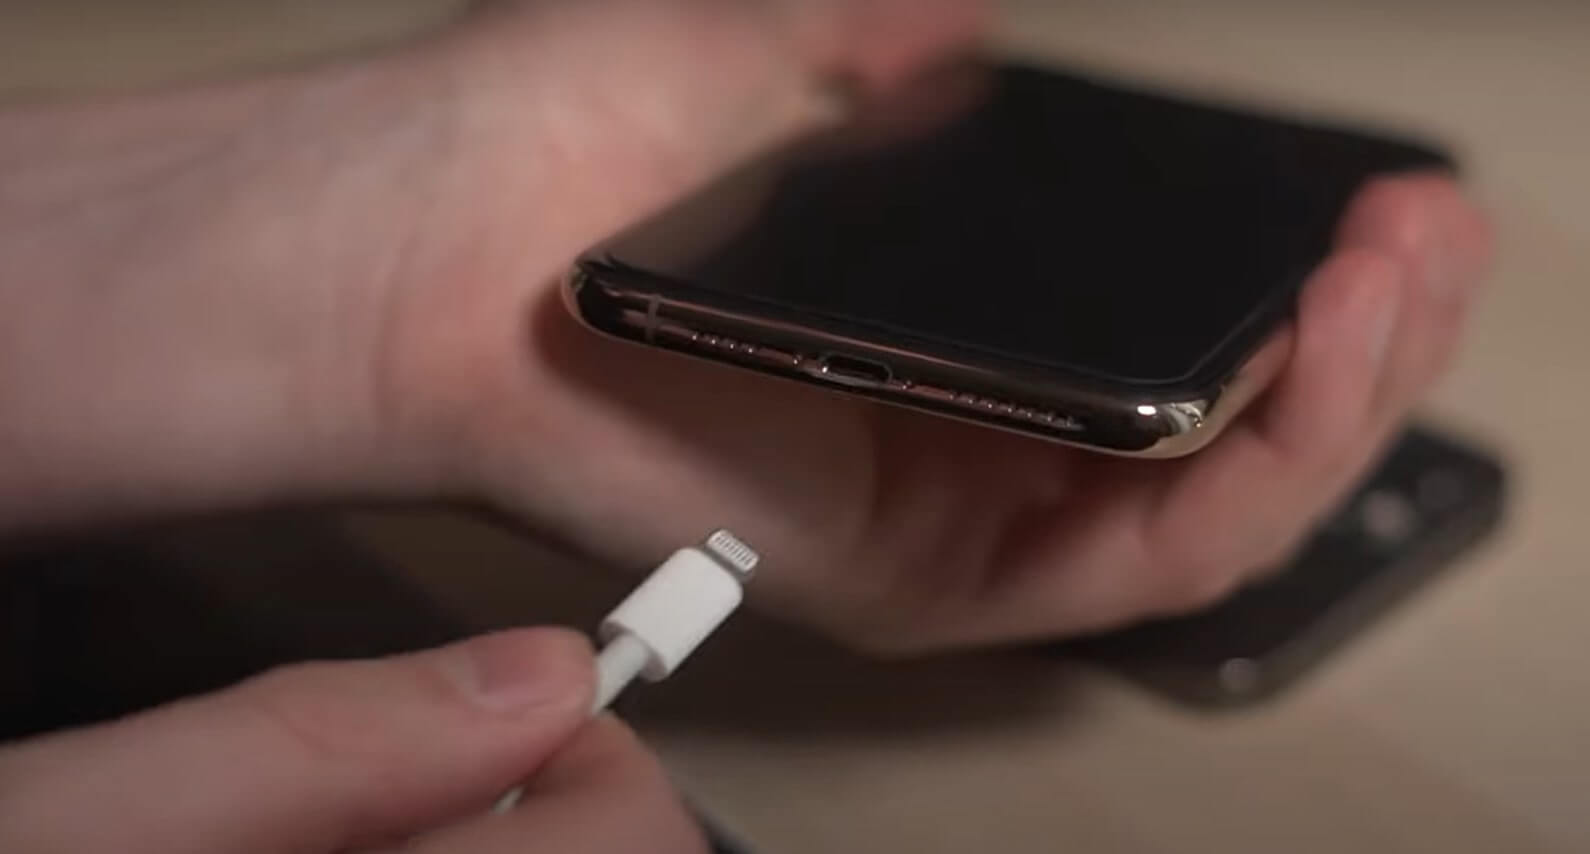
Step 2: Access your photos in iTunes and select the photos you want to transfer.
Step 3: Click on Sync and finish the process. Disconnect your old iPhone.
Step 4: Moreover, connect your iPhone 13 to your computer.
Step 5: Once again, open iTunes and open Photos.
Step 6: Furthermore, click on sync, and this time all your photos will sync with your iPhone 13.
By following these steps, you will be able to transfer your photos. However, at times, this technique can be a little complex. But if you follow exactly this process, you are good to go.
Read: How To Eject Water From An iPhone To Improve Sound Quality?
Conclusion
Besides, you can also transfer photos with Airplane, but there is a high chance of connecting to someone else’s device. Moreover, before you transfer your photos, update your iOS and iTunes to avoid any problems.
Also Read: How To Clean Your iPhone’s Charging Port?


