Do you want to go above and beyond your Oculus Quest 2 using sideload? In this article, I discuss the process of sideloading in detail. As more and more people are using the Quest, they want to explore everything virtual reality offers.
However, for now, the games and apps are still limited, which can be bothering to you if you are a VR enthusiast. Moreover, we cannot deny that the Metaverse has literally opened a new era of technology. It definitely looks promising with endless possibilities and potential.
It is, therefore, an urge for many people who are still testing the waters before investing their resources into them. If you are one of them, you’re in the right place. Read further and try to follow the methods as closely as possible.
Should Read: How To Set Up Xbox Series X?
Set Up Your Oculus Quest 2 Device To Sideload
Before anything else, it is important to set up your Oculus Quest 2. Here’s how you can do it:
Step 1: Go to oculus.com/setup and tap on the words Download software.
Step 2: On your smartphone, go to Google Play and download Quest 2.
Step 3: Furthermore, follow the instructions on the app to connect the headset to your phone and finish the setup process.
How To Turn On/Off The Occulus 2?
Step 1: Press the button on the right side, which is located next to the charging indicator.
Step 2: Now, put on the headset slowly yet smoothly and use the lens to indicate the perfect fit.
Step 3: Use the mobile app to set it up and after using it, press the power button to switch it off.
Step 4: The Occulus Quest 2 will wake up after putting it on your head.
Step 5: If you long-press the power button for about three seconds, it will switch off completely. You will know that it is switched off as the indicator will go off.
Also Read: How To Create An Oculus Account Without Facebook?
How To Connect Oculus Quest 2 To Wi-Fi?
Step 1: To use the Quest 2, you need to connect it to a fast Wi-Fi network. After wearing your Oculus, tap the button on the right side. It will direct you to the Universal menu.
Step 2: Go to the clock icon from the left side to get the settings panel.
Step 3: Select Wi-Fi and switch on the button to enable it. Click on a preferred network and enter the password.
Step 4: Tap on Connect.
Sideload On Oculus Quest 2: Update It To The Latest Version
Step 1: Go to Google and type sidequest. Tap on entering, and the sideload website will appear on top. Click on it.
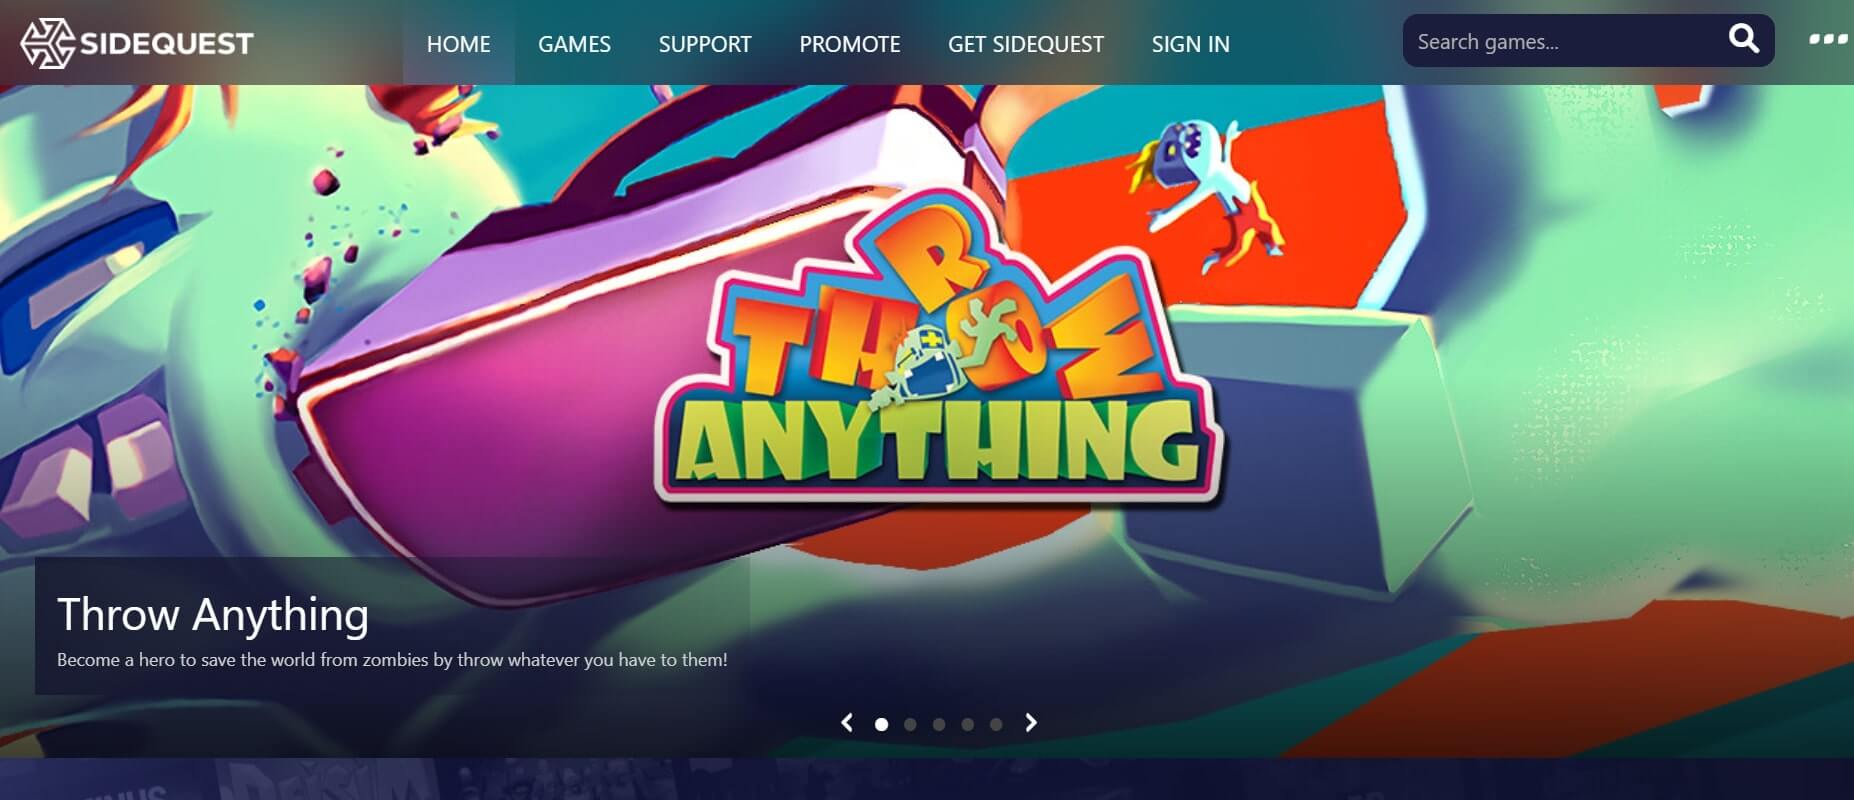
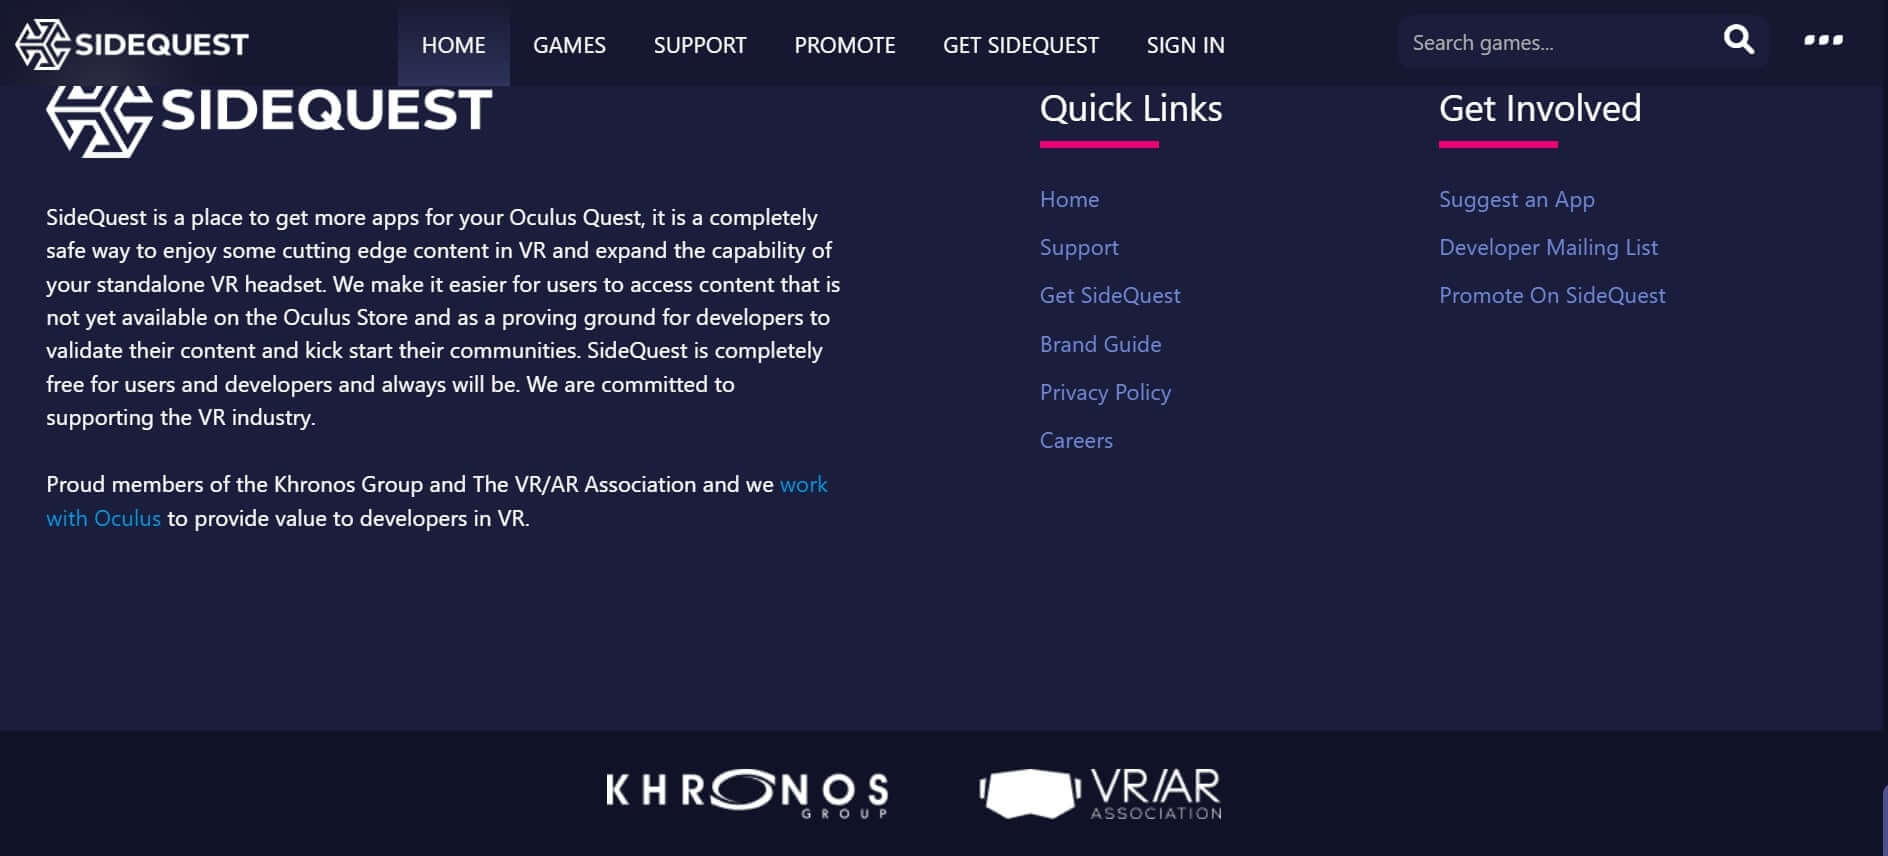
Step 2: Furthermore, scroll down and click on Get SideQuest.
Step 3: Click on Download for Windows/Linux/MacOS, and it will automatically start downloading.
Step 4: After that, you have to create an organization. Click on the link dashboardocculus.com.
Step 5: Make sure you log into the Occulus account and click on Create an Organization.
Step 6: Furthermore, enter your organization’s name, click on I understand, and tap on Submit.
Step 7: You might receive a notification that says that the name already exists for some other organization. If that’s the case, enter another name for your organization.
Step 8: Click on Agree to the terms and conditions and press Submit again.
After that, Occulus will create an organization for you.
Install Drivers [For Windows Only]
Step 1: Click on the link developer.occulus.com and tick the box Agree to terms and conditions.
Step 2: Moreover, click on Download and wait for some time for the process to complete.
Step 3: Now go to your download folder and click on Oculus ADB-driver-2.0.zip.
Step 4: Right-click on it and choose to Extract All. Furthermore, click on Extract.
Step 5: Double-click on the file and click on usb_driver. Then select android_winusb.inf.
Step 6: Right-click on it and choose to Install. A message will pop-up saying- The operation completed successfully. Click on Okay and close the window.
Enable Developer Mode
To enable developer mode in your Oculus, you have to go to your phone, where you have created the account.
Step 1: Go to the Oculus account on your phone and wait for your Oculus device to connect to your phone.
Step 2: Moreover, make sure that you are on the same WI-Fi network as your Oculus device. Go to settings and from there, find your Oculus Quest 2.
Step 3:
- Click on Set Unlock Pattern.
- Tap on the drop-down menu and from here.
- Go to developer mode.
If you see the unlock pattern on your phone as an option, it will help to remove it for now.
Sideload On Oculus Quest 2: Connect USB Cable And Allow USB Debugging
As per sonar systems on YouTube, you should avoid using the USB cable that you have got with your Occulus. They say that it may not always work, and he’s a credible person one can trust. Moreover, according to them, you should buy the UGREEN USB C cable or Anker USB C cable.
These USB types come with a certain resistance that will work very well for the minimum price you will be paying.
Step 1: Disable the unlock pattern.
Step 2: Furthermore, connect the USB cable to your Occulus device. A message will pop up that will ask for permission.
To this, you click on Okay. If you’re doing this from your personal computer, click on Always allow from this computer.
Step 3: Go to the sidequest file and click on it to install.
Step 4: Click on Next, Next and choose the destination you want it to install.
Step 5: Furthermore, click on Okay and install.
Step 6: Wait for some time and click on Finish.
After that, you will see the Occulus Quest dashboard on your screen. Make sure to keep an eye on the round button at the top. If it’s Green in color, your Occulus headset is successfully connected. However, if it’s Red, your device is not yet connected properly.
Sideload On Oculus Quest 2: Choose A Game For Testing
There will be loads of games on the dashboard, and you can select whichever you like.
Step 1: After choosing a game, click on Install to Headset.
Step 2: It will start downloading, and you will be able to see the progress in Red color bar.
Step 3: Wait for some time, and it will automatically start installing without you having to click on anything. After it is over, click on Clear Done.
Step 4: Furthermore, click on Home. You will also need to install a file that will look like this in the picture.
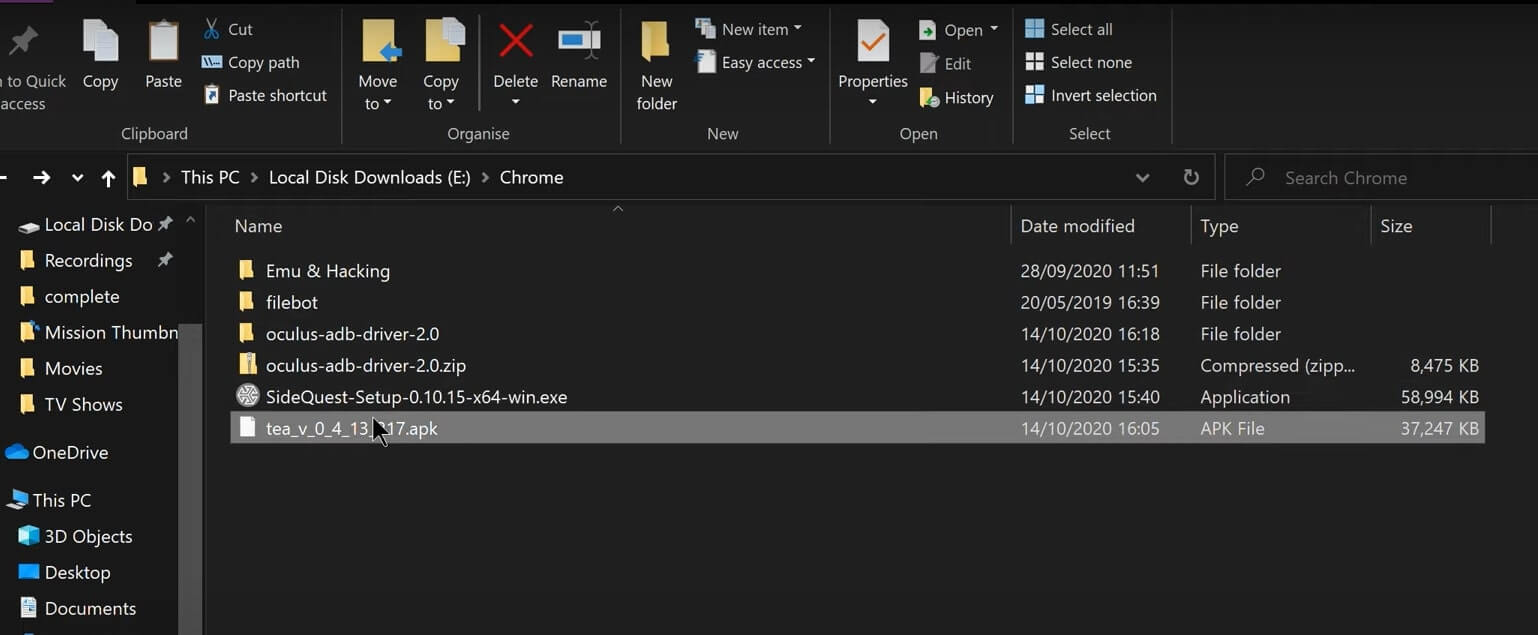
Step 5: On your Occulus sidequest dashboard, click on the download button from the top and click on the apk file.
If that is not working for you, go to Running Tasks and drag and drop your apk files.
Should Read: How To Create An Oculus Developer Account?
Switch To Your Occulus Headset
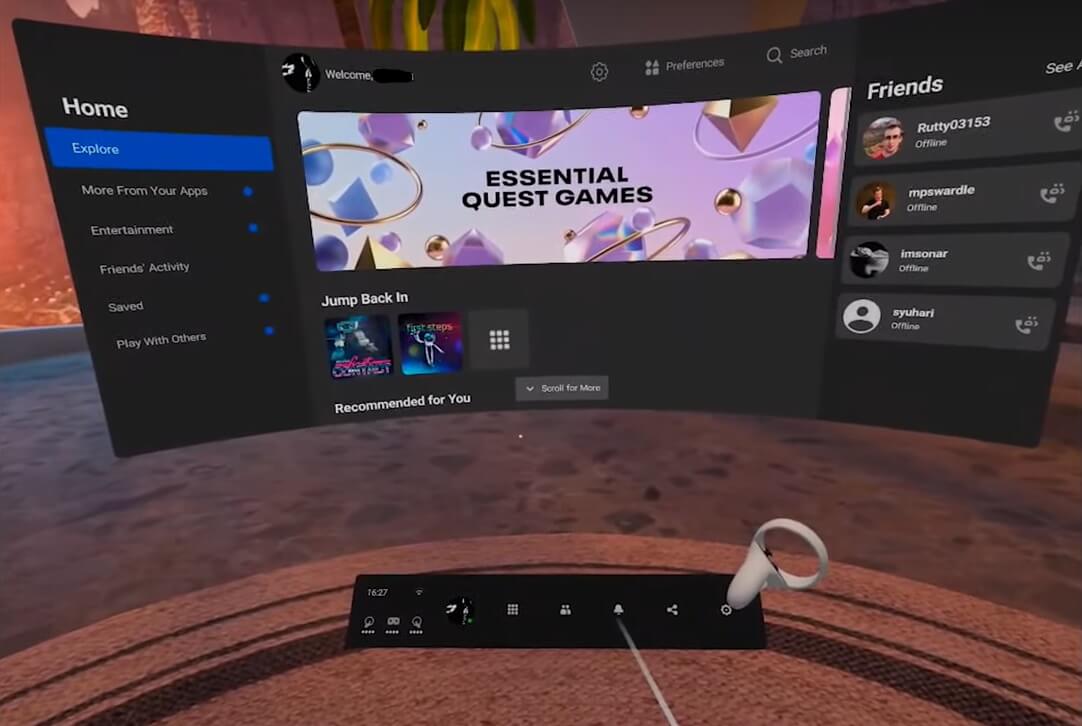
Step 1: After the previous steps, put on your headset, and you should be able to see this screen in the image below. [For reference for those using it for the first time]
Step 2: Moreover, go to Library and choose Unknown sources.
Step 3: Select your game and click on Allow.
Step 4: Furthermore, click on Configuration, settings and video options.
Step 5: Adjust the settings as you want and click on Done.
Step 6: Click on New Game and choose your level of difficulty.
Step 7: Tap on Done, and soon the game will begin.
So this is how you can download apps and games that are otherwise not allowed on the Occulus Quest.
Conclusion
If you are using the Occulus Quest 2 for the first time, here are a few things you can keep in mind.
- Always wear the hand strap that comes with the handgears of your device. It may look unnecessary like a car seat belt, but necessary when immersed in a game.
- Though weird, it is always better to wear your expensive headset near a bed or couch. Then, if it falls over or something, it will not hit the floor.
- When wearing the headset, it should sit comfortably yet cautiously on your head. Moreover, you should take care to find a way to keep your face relaxed while wearing it.
- Always use the pass-through feature, which you can enable by double-tapping on your headset from the side. It is helpful to see your surroundings in case your eyes and head need an urgent break.
These are the few tips I had for you. In order to prevent all sorts of accidents and falls while wearing your brand new Oculus Quest 2 headset.


