Steve Jobs, the CEO of Apple, made what is thought to be his best presentation ever when he announced the iPhone on January 9, 2007. In the five-plus years since then, the iPhone, iPad, and iPod Touch have changed the whole world of mobile computing. They have completely changed the way people use their phones and tablets. People in that world are moving so quickly that iOS is already one of the oldest mobile operating systems that are still being worked on today. That doesn’t mean it doesn’t have enough power or features. In fact, the opposite is true.
Over the years, Apple has made iOS one of the most feature-rich and well-supported platforms on the market. It goes above and beyond when it comes to bringing all the latest technology to people. The iPhone and iPad keep improving with each new update. These new iOS 15 updates brought in better and improved apps like Safari for improved internet surfing, voice memo app to record audio on iPhone and iPad, etc.
Also Read: How To Screen Mirror Your iPhone And iPad To TV
Recording Audio on iPhone and iPad
Recording audio on your iPhone and iPad is easy with a tool called Audio Recorder. This tool can help you record, edit, and playback long clips of sound.
The Voice Memos app also is simple to use and makes it easy to record audio on your iPhone and iPad but also share recorded audio, making it a great tool for collaboration or sharing with friends. It also makes it easy to work together or share with your friends.
There are also a lot of iPhone and iPad apps that can be bought that have even more advanced audio recording and sound editing features.
How To Record Audio on iPhone and iPad using
Voice Memo App

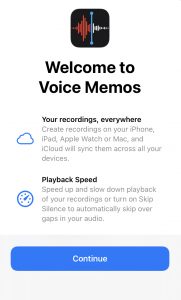
With the Voice Memos app, which is in the utility folder, you can use your iPhone as a recording device when you’re on the go. You can record personal notes, classroom lectures, musical ideas, and more. You can use editing tools like cut, replace, and restart to make your recordings even better as you can.
Move an app from a folder to the Home Screen so you can find and open the Voice Memos app more quickly.
Record voice memos with the built-in microphone, a headset that works, or an external microphone.
All of your recordings show up and get updated when you turn on Voice Memos in the iCloud settings or preferences. This means that when you have the same Apple ID on all of your devices, Voice Memos works.
Also Read: How iPhone And Apple Watch Can Help Protect You From Hearing Loss
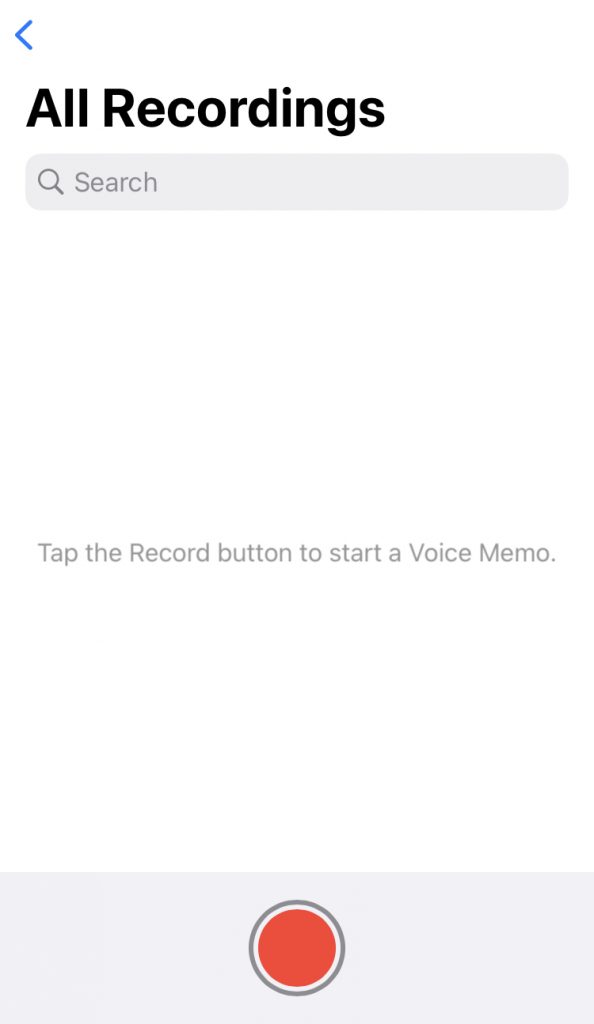
- To start recording, press the Record button. This will start the recording process.

- Closer or farther away from what you’re recording will change the recording level.
- Turn off the recorder.

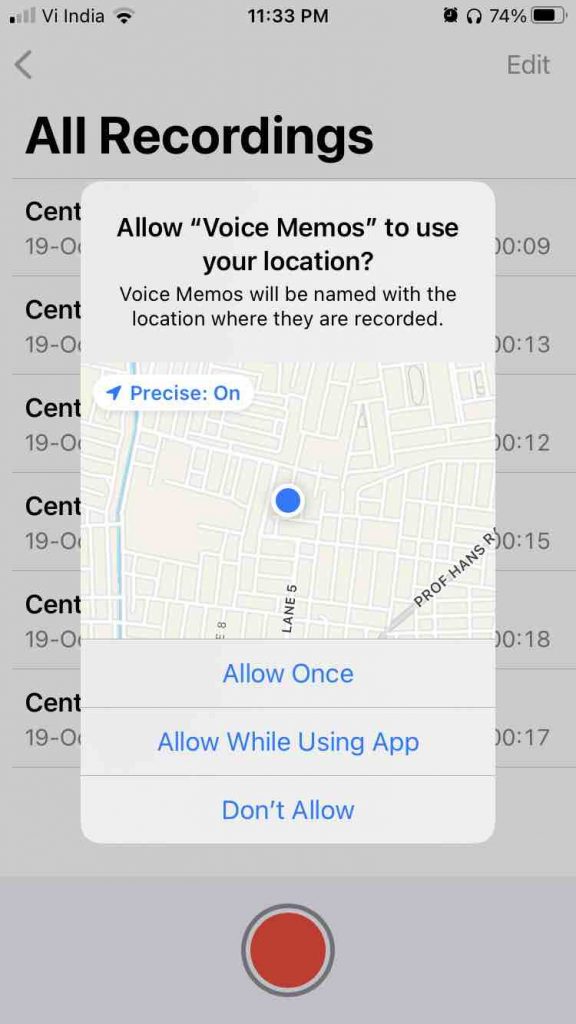
- If you’ve turned on Location Services in Settings > Privacy, your recording is saved with the name New Recording or the name of your location, if you have Location Services turned on. To change the name, tap the recording, then tap the name and write in a new one that you want.
Also Read: How To Delete iOS Update On iPhone?
It’s possible to make a recording in parts, stopping and starting again as you record.
- To start recording, press the Record button. This will start the recording process.
- Closer or farther away from what you’re recording will change the recording level.
- In order to see more information while you’re recording, swipe up from the top of the waveform.
- When you’re done recording, you can press the Pause button to stop it. To start again, press the Resume button.
- If you want to look at your recording, press the Play button on it.
- Before you hit the Play button, move the waveform left or right across the playhead.
- Then, to save the recording, you can tap Done at the bottom of the screen.
Editing Your Recorded Audio on iPhone and iPad
After you record a voice memo, it’s simple to change a part, cut the recording, or delete part of it.
How do you change part of a voice memo?
- Tap the memo you want to change. To change the recording, click the icon with three blue dots. On your iPad or Mac, choose the memo. Then, tap or click Edit to make changes to the message.
- Make sure the blue playhead is at the beginning of the part that you want to change. The blue playhead on your Mac should be placed on the recording overview at the bottom of the app. This will help you choose where to start recording.
- Tap Replace to start over with a new memo.
- To stop recording, press the pause button when you’re done with the recording.
- Tap the Done button to save.
Also Read: 6 Tips To Improve Sound Quality In Apple AirPods Pro
- Tap the memo you want to cut. To change the recording, click the icon with three blue dots. On your iPad or Mac, choose the memo, then click Edit. This will let you change the text on the memo.
- Tap on the screen. On each end of the memo, there are yellow handles with arrows.
- Drag the yellow arrow on the left to where you want the memo to start. To cut from the end, move the yellow arrow on the right to where you want the memo to end. Do this until you get to the end.

- Then, take a look at the trim.
- Click Save. If you’re done making changes to the memo, tap Done.
Remove part of your audio recording on iPhone and iPad
- Tap the memo you want to cut. To change the recording, click the icon with three blue dots. On your iPad or Mac, choose the memo, then click Edit. This will let you change the text on the memo.
- Tap on the screen and you’ll see on each end of the memo, there are yellow handles with arrows.
- Make sure that the left and right yellow arrows go around the part of your memo that you want to delete.
- Then, click Delete.
- Click Save. If you’re done making changes to the memo, tap Done.
Conclusion:
Apple allows you much more customization like while recording you can use a different app simultaneously. To do this, you can switch on your recording and move to your home screen and open another app. Just keep in mind that as long as the other app doesn’t play any audio, your recording will continue in the background. To return to the voice memos, just tap the orange bar on your screen. Happy Recording.


