Recording two microphones simultaneously on separate tracks in Audacity can enhance the quality and flexibility of your audio recordings. Whether conducting interviews, recording podcasts, or creating music, this guide will walk you through achieving this setup. With the help of some additional tools, you can easily record and edit each microphone independently, allowing you to fine-tune your audio project to perfection.
Downloading and Installing Audacity
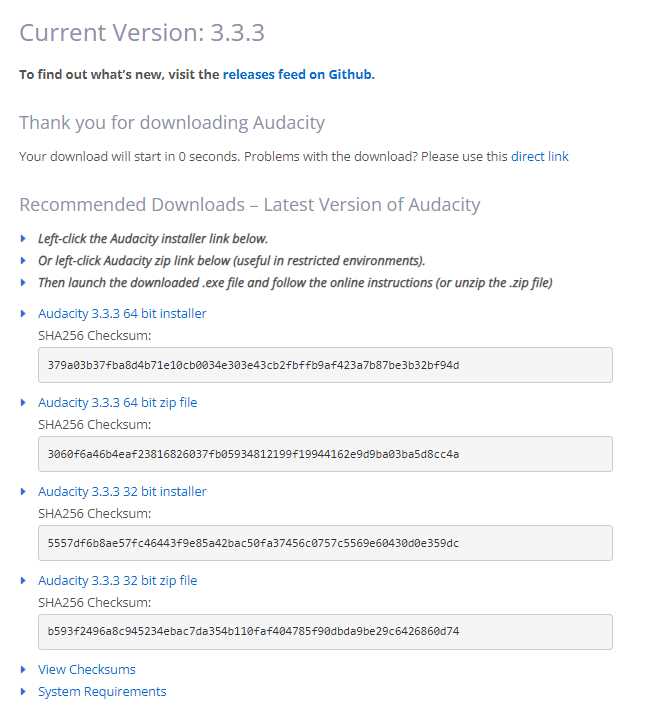
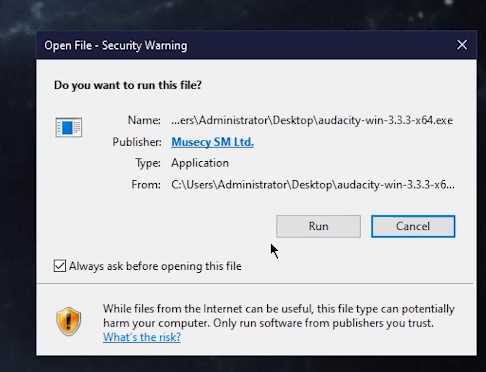
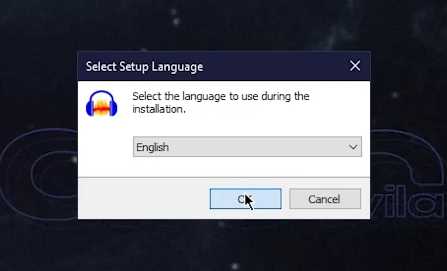
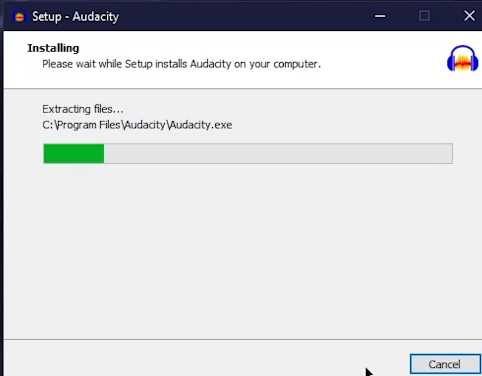
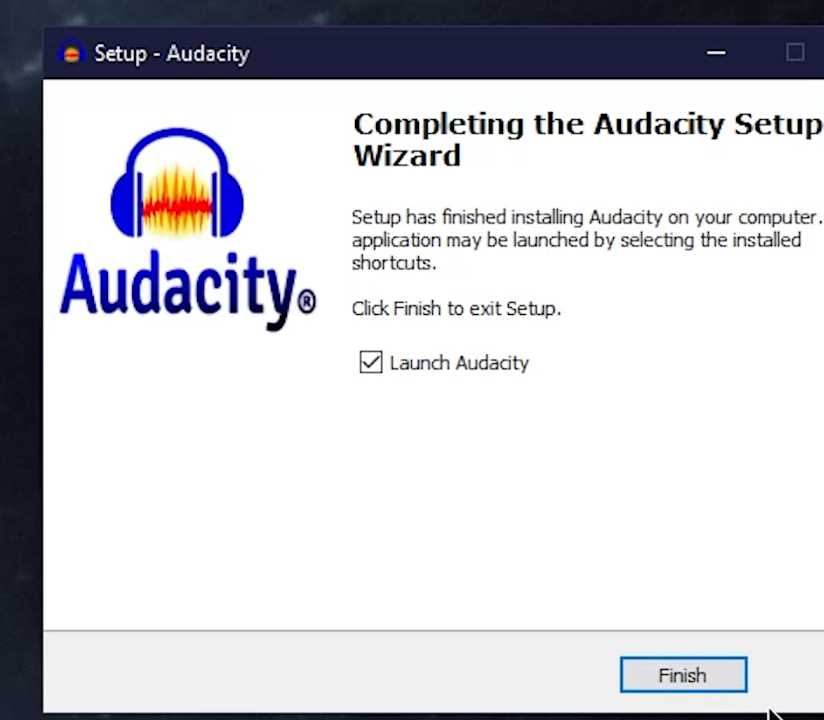
You’ll need Audacity, a free and powerful audio recording software, to get started. Visit the Audacity Team’s official website (https://www.audacityteam.org/) and download the appropriate version for your operating system (Windows, Mac, or Linux). Once the download is complete, run the installer to install Audacity on your computer.

Connect and Test Your Microphones
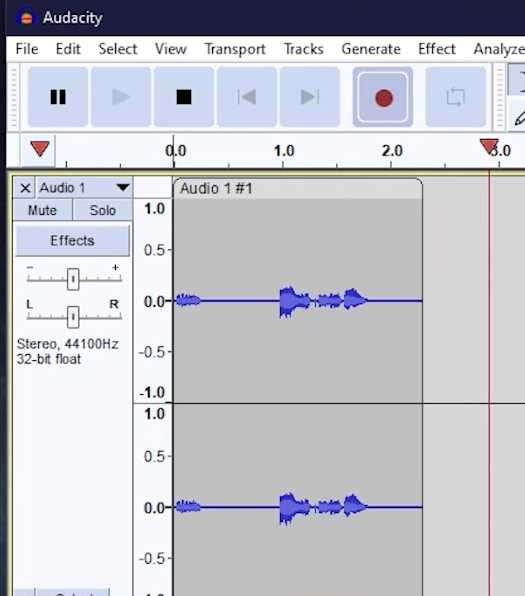
Ensure you have both microphones properly connected to your computer before launching Audacity. To check if your microphones are working correctly, open Audacity and check if your primary microphone is being recognized and can record audio.
Also Read- 15 Tips To Take Control Of Your Privacy On iPhone
Installation of VoiceMeeter Banana
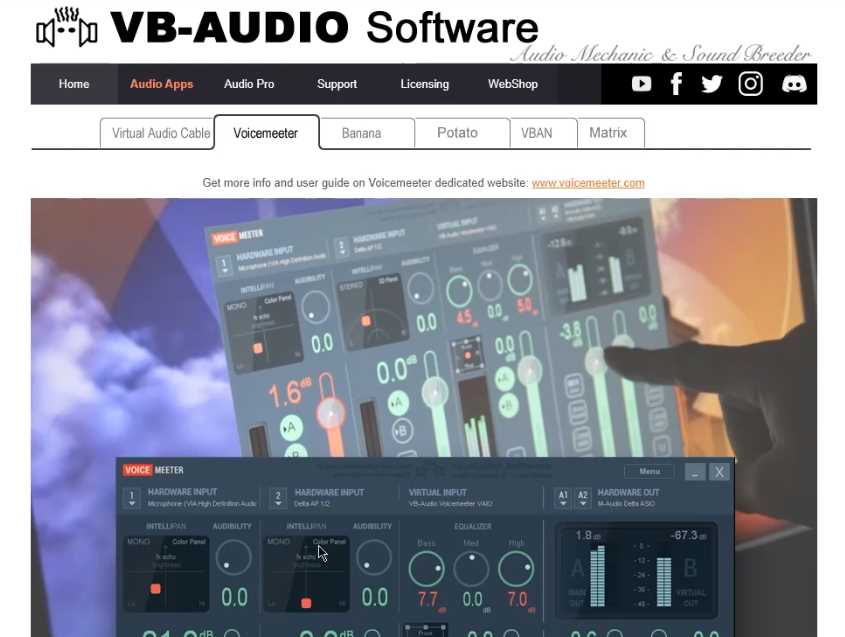
You will need to use a virtual audio mixer to enable the recording of two microphones on separate tracks. We recommend using VoiceMeeter Banana (or Potato) for this purpose. Visit the VB-Audio website (https://vb-audio.com/Voicemeeter/banana.htm) and download your system’s appropriate version of VoiceMeeter Banana. Install the software and follow the instructions.


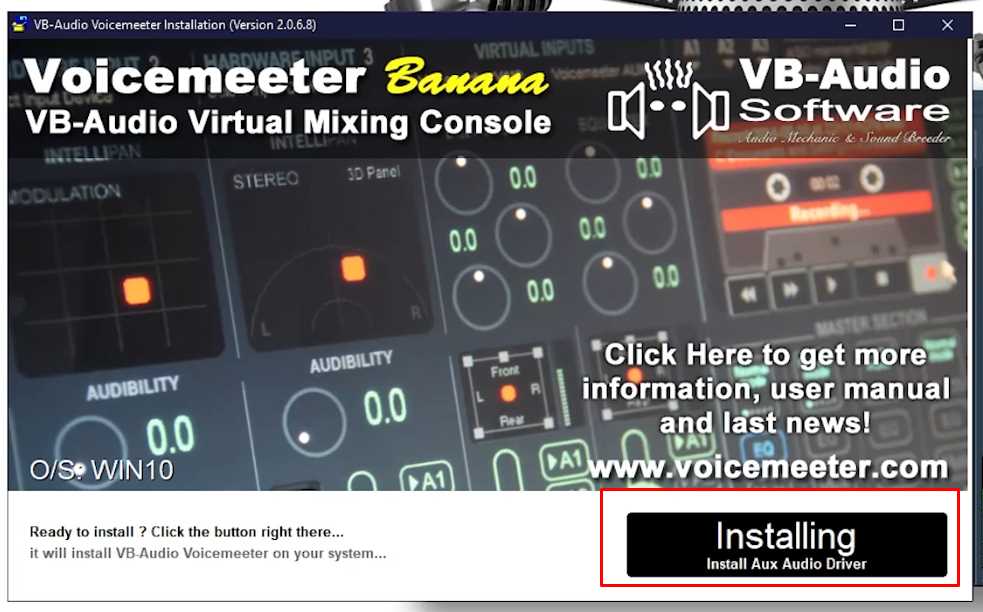

Configuring VoiceMeeter Banana
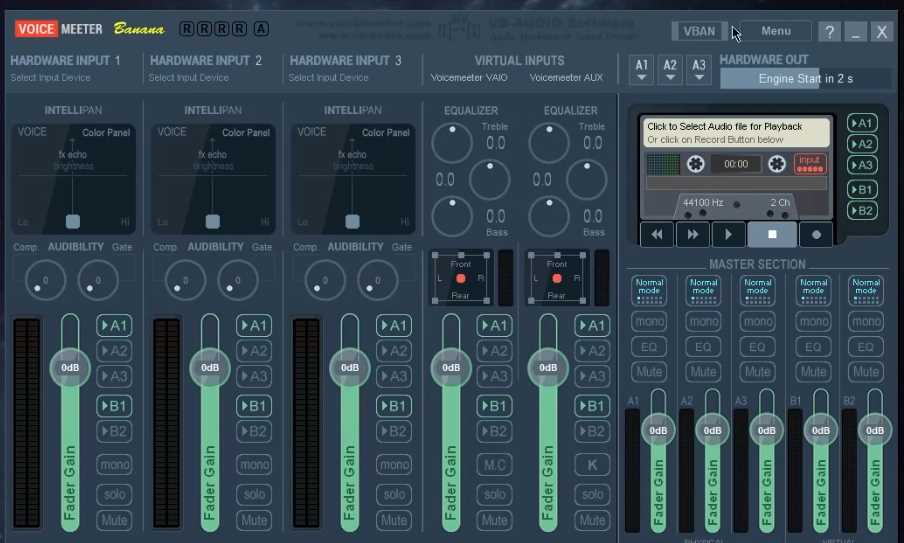
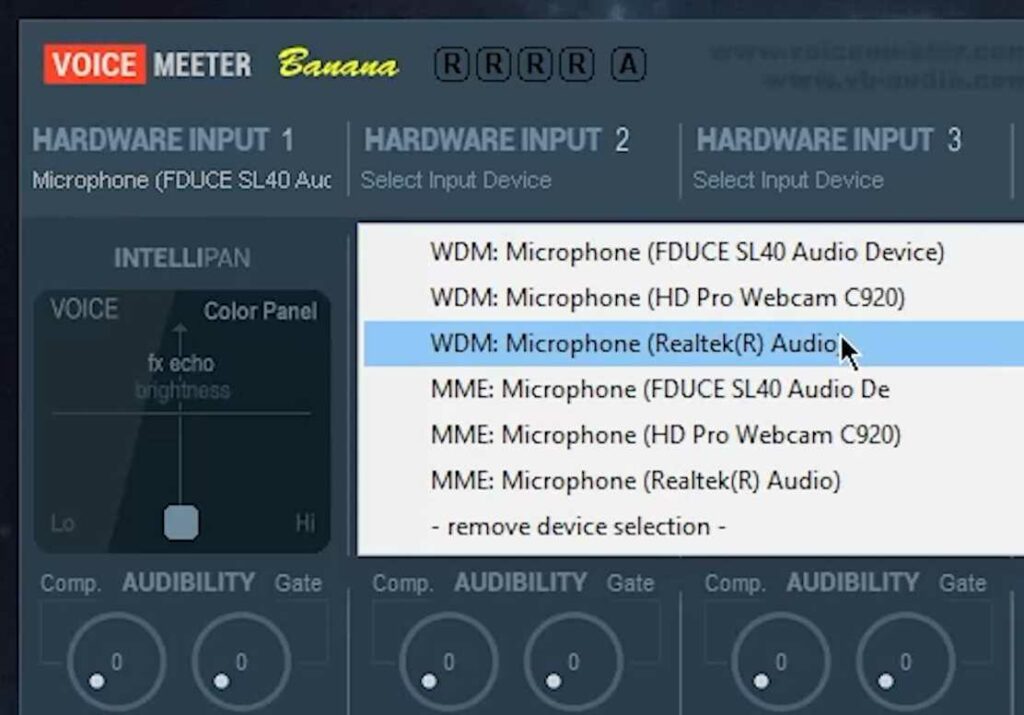
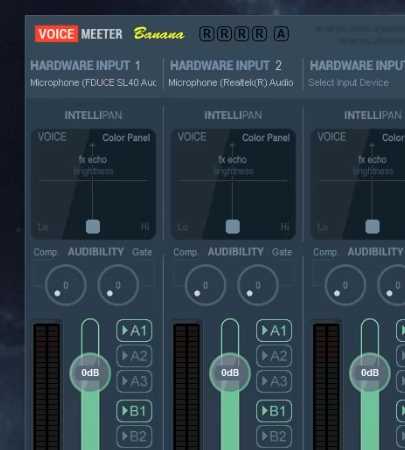
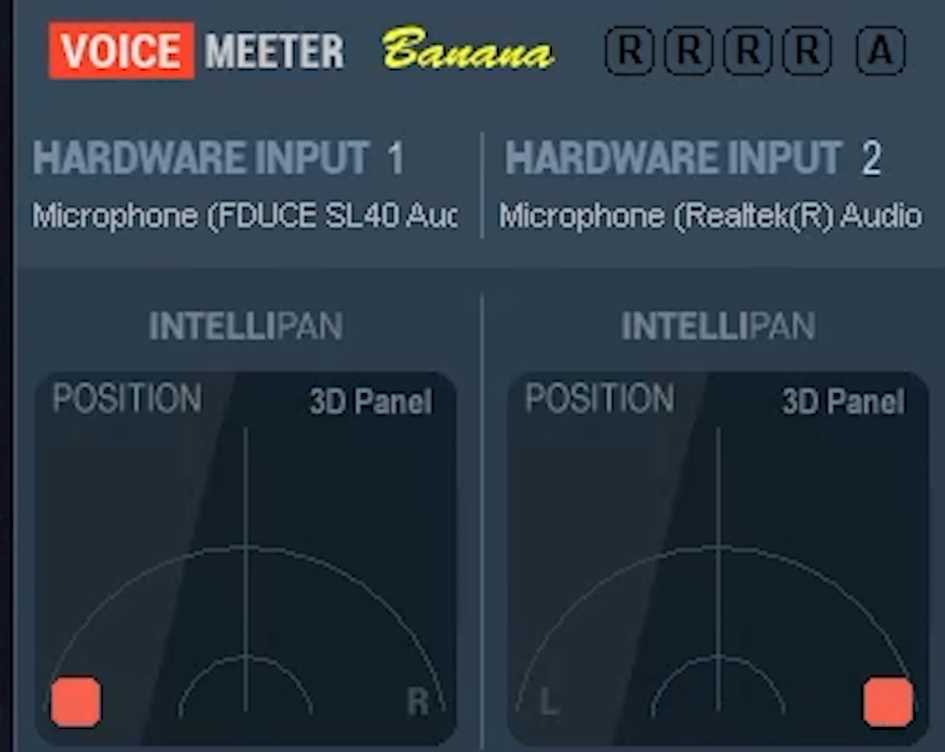
Once VoiceMeeter Banana is installed, open the application and select your two connected microphones as your input devices. Choose your desired output device to send the audio to Audacity for recording.
Downloading VB-CABLE

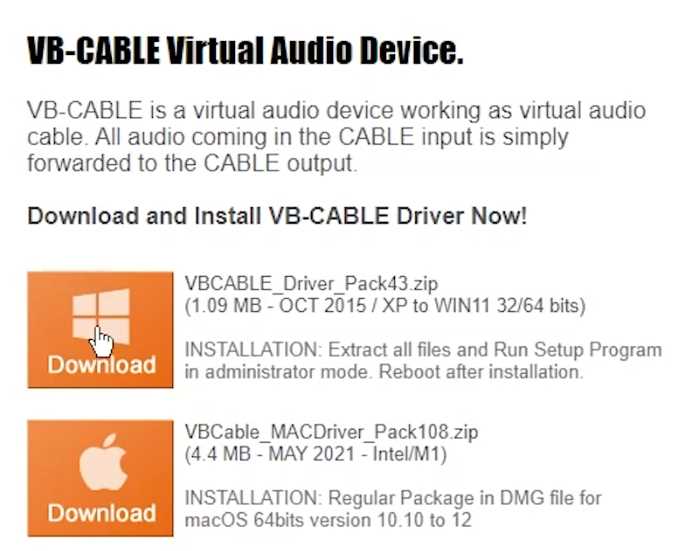
To complete the setup, you’ll need to download VB-CABLE, a tool that allows you to route audio between different applications. The VB-CABLE software is on the official website (https://www.vb-audio.com/Cable/index.htm). Download the Windows Driver Pack, extract the files, and run the installer. After installation, you may need to reboot your system.

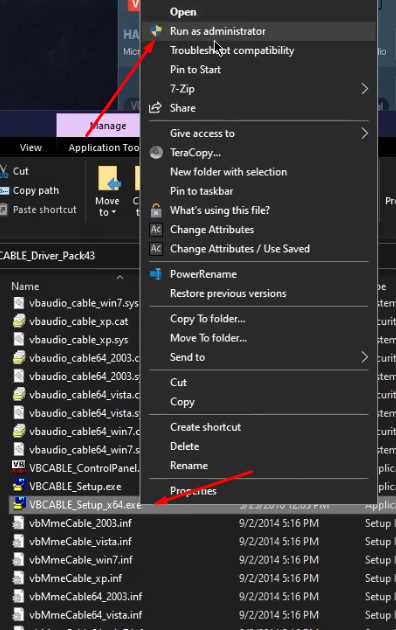

Configure VB-Cable
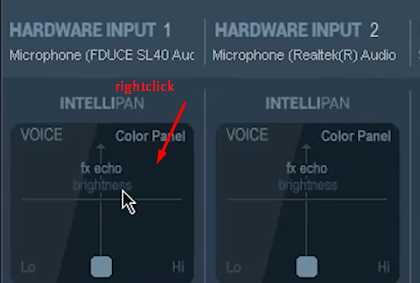
Open VoiceMeeter Banana (or Potato) again and right-click on the Input panel for each microphone. Select the “Hardware Input” and choose each microphone’s corresponding VB-CABLE (VB-Cable) option. This will route the audio from the microphone to the VB-CABLE, which will, in turn, send the audio to Audacity.

Configure Audacity
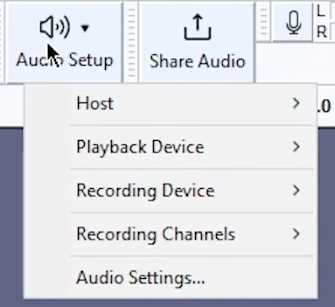
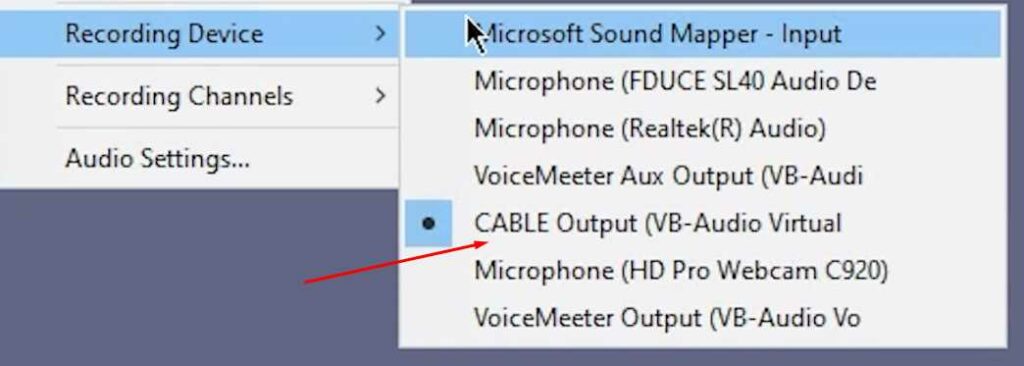
Launch Audacity and go to the audio settings. Change the recording device to the VB-Cable output (VB-Cable). Now, Audacity will receive the audio from both microphones on separate tracks.
Recording
You are now ready to start recording. When you hit the record button in Audacity, it will capture the audio from both microphones on the same track but on different channels [Left and Right]
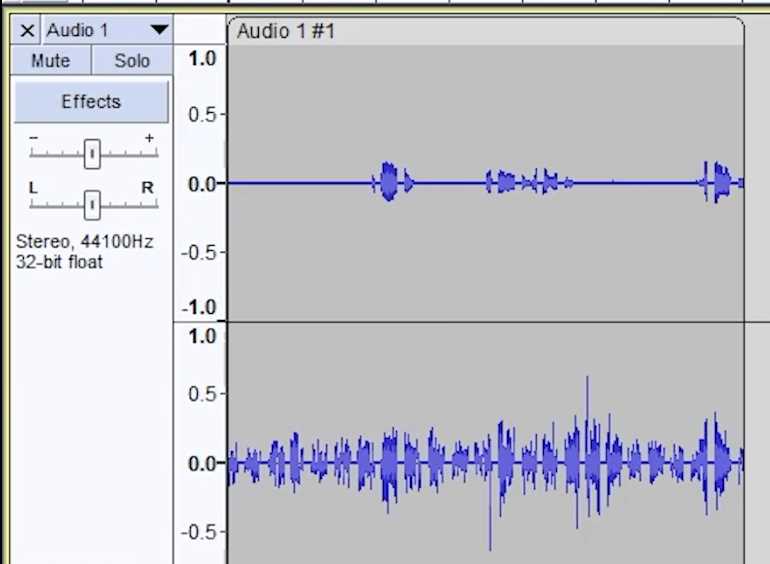
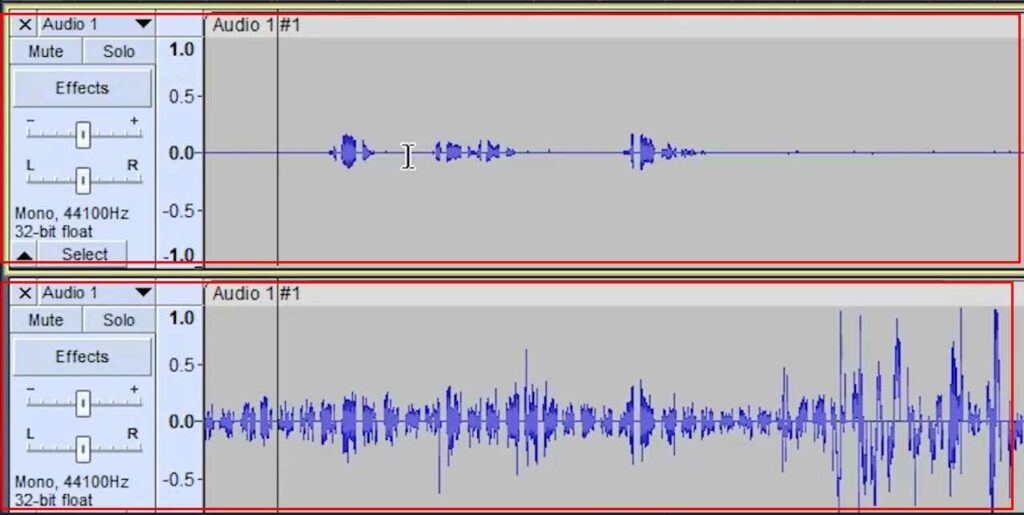
To split them into actual Separate channels. Right-click on an empty area on the left side of the recording track and press on Split Stereo To Mono.

Once that is done, your left and right channels (For this demo, it will be your mic one and mic two separate recordings simultaneously, and you can edit them separately.)
Conclusion
Is there a limit to the number of microphones I can record simultaneously with this setup?
The setup described in the article is primarily designed only to record two microphones simultaneously.
Are there any latency issues with this setup?
Latency may occur when routing audio through software, but with modern systems and proper configuration, the latency should be minimal and not significantly affect the recording process.
Recording two microphones at once in Audacity is an invaluable technique for anyone working with audio recordings. By following the steps outlined in this guide, you can easily achieve professional-grade results and create engaging content. Whether you’re a podcaster, musician, or content creator, mastering this setup will undoubtedly elevate the quality of your projects. Happy recording!
Also Read- 12 Tips On Recording Your Voice While Making Video


