People love Minecraft, from youngsters, and teens, to young adults, even those who are born in the 1900s! So now, if you’re a fan of Minecraft, chances are that the game’s endless possibilities have captivated your imagination. But let’s face it, playing solo can get old pretty fast and not as fun. That’s why having friends join the fun is an absolute must! Fortunately ,for you the reader you have stumbled upon this article where we talk about Aternos – Aternos makes this process easy and accessible to everyone for free!
With Aternos, creating a personalized Minecraft server has never been more easier and straightforward – no need to stress about hardware or software setups that would tickle your brain with codes and multiple exe and even command line usage. In, Aternos they have got everything covered. Plus, with our step-by-step guide below, from sign-up all the way through inviting your friends into your virtual world – we make setting up an Aternos Minecraft server so simple even your 5-year-old could probably do it (well, maybe a little older but you get the idea!). So go ahead and invite some friends over: together, you’ll discover new realms full of adventure and excitement.. or Conquer-especially the world of the infamous Ender Dragon.
Also Read- A New Minecraft Camp Enderwood Add-On Has Been Released
Minecraft.
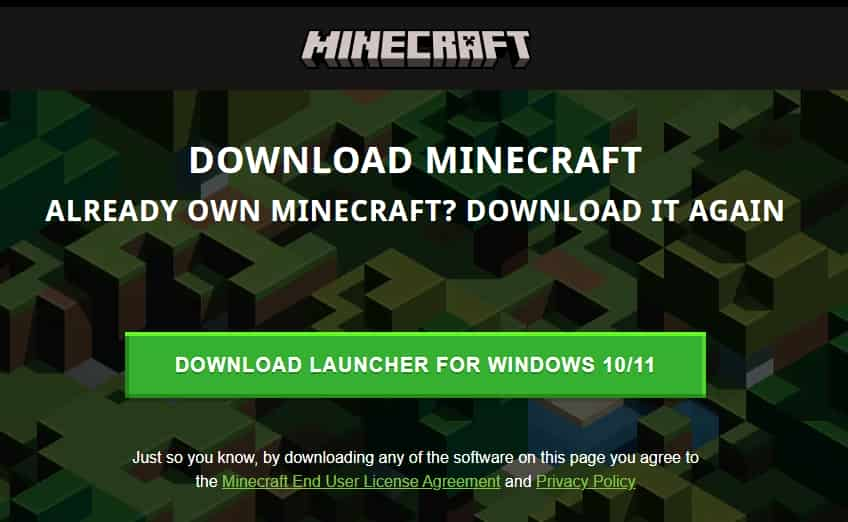
I would assume that you all have your Minecraft accounts ready, but if not, you should go to https://www.minecraft.net/en-us/download and download the installer of the launcher. (Make you bought the game officially from Microsoft or Mojang.)
You can also download it via the Microsoft store.
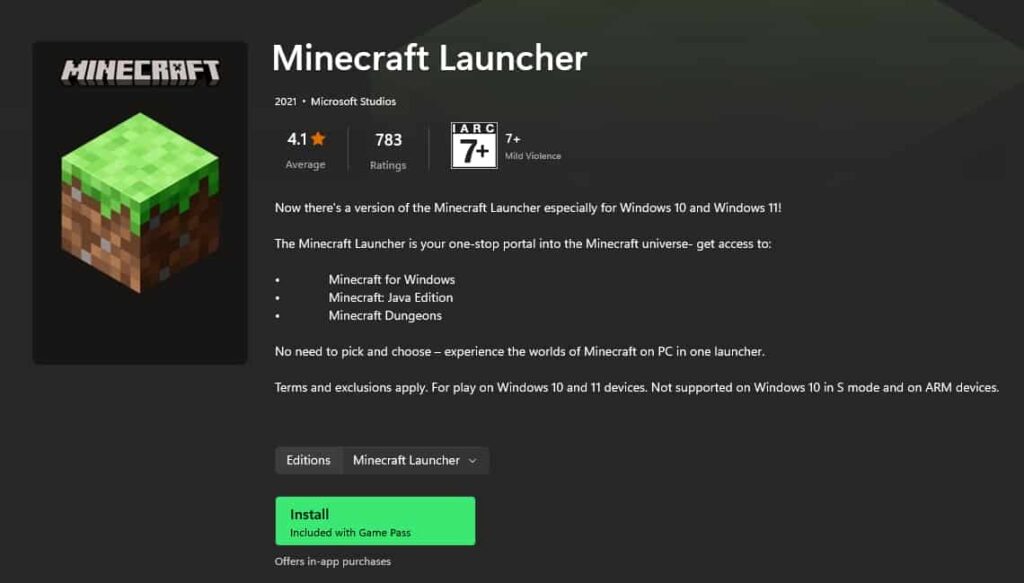
Wherever you have chosen to download the Minecraft launcher, everything should stay pretty much the same to launch the game.
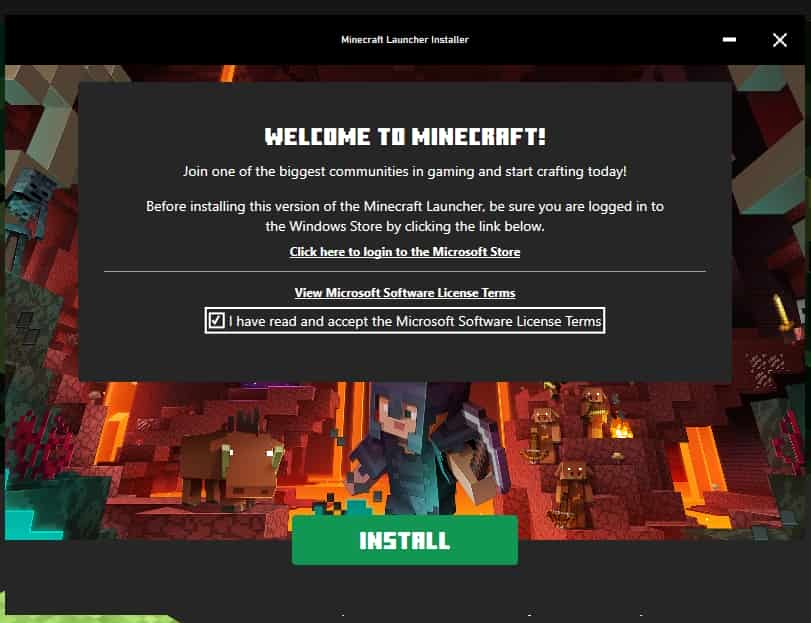
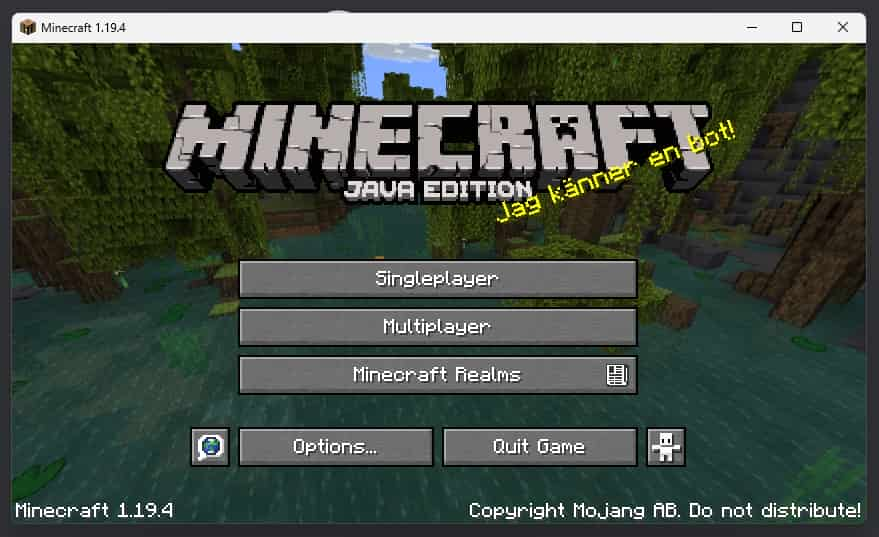
Now that Minecraft is opened, we are ready to move on to the actual guide of how to host and let your friends join your Minecraft server so you can mine, build and explore together!
Setting up the server.
I know we swiftly went through having the Minecraft launcher and account, but that should be a brainer due to this guide being an exact guide for the beginners’ setup of a Minecraft server. It should also be taken into consideration that you are in this guide for the server and not the installation of the Minecraft launcher and buying your account. So let us move on.
For this particular guide, I have chosen to write about the usage of Aternos, so why Aternos?
Well, this is a website that is very known to almost all Minecraft players, for it is so easy to use and does not break any bank due to the site being free and usable anytime.
The above image is the Aternos’ main website you can visit it through https://aternos.org/go/
Once you are on the website, you are then tasked to, of course, create an account; to create an account, just sign up using Google or have a username and pass
You may Also Like to Read: How to Create a Free AI Character that Talks Like a Human
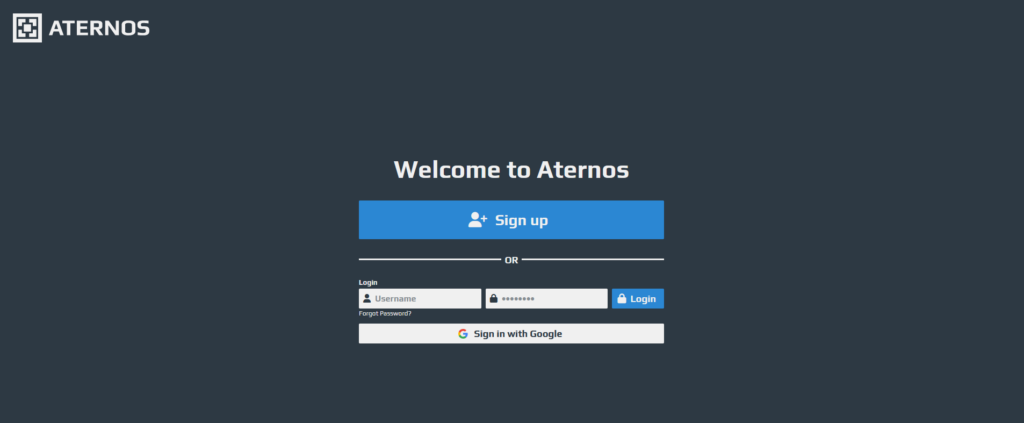
As for this guide, I will be pressing the Sign Up button and enter my liked username and password
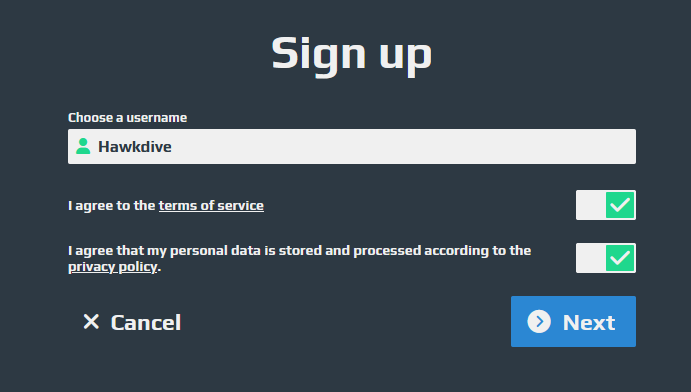
On the next page, it will ask for a password that you want; so enter that and confirm it. (Email’s optional)
Moving on, this would be Aternos’ main tab when you first log in.
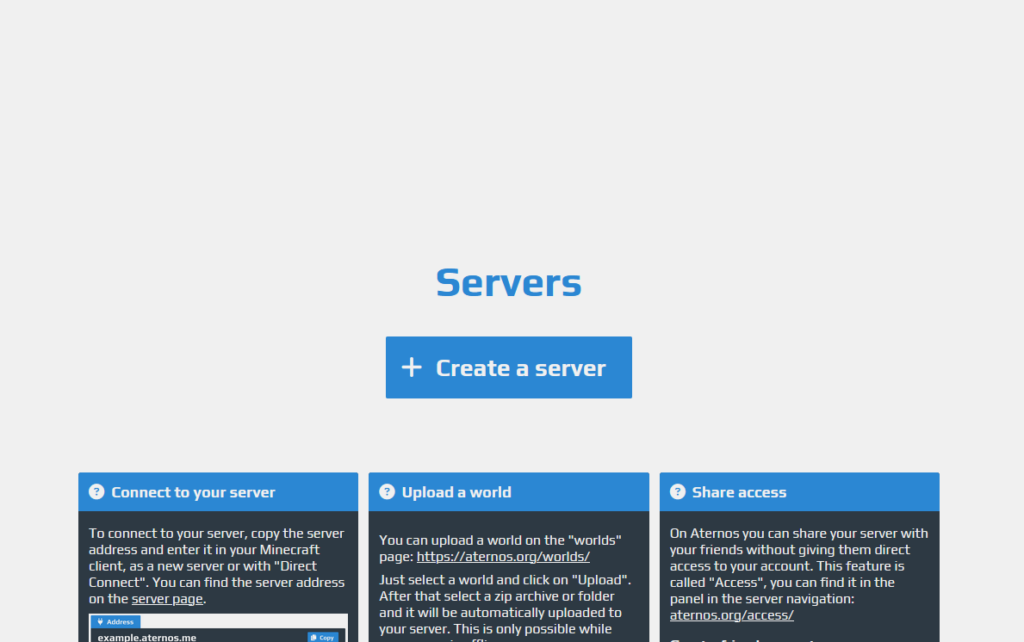
Once pressed, be sure to select the version of Minecraft you and your friends will be playing off, the Bedrock edition or Java (please do a quick research as to what version of Minecraft you guys are gonna play from and with)
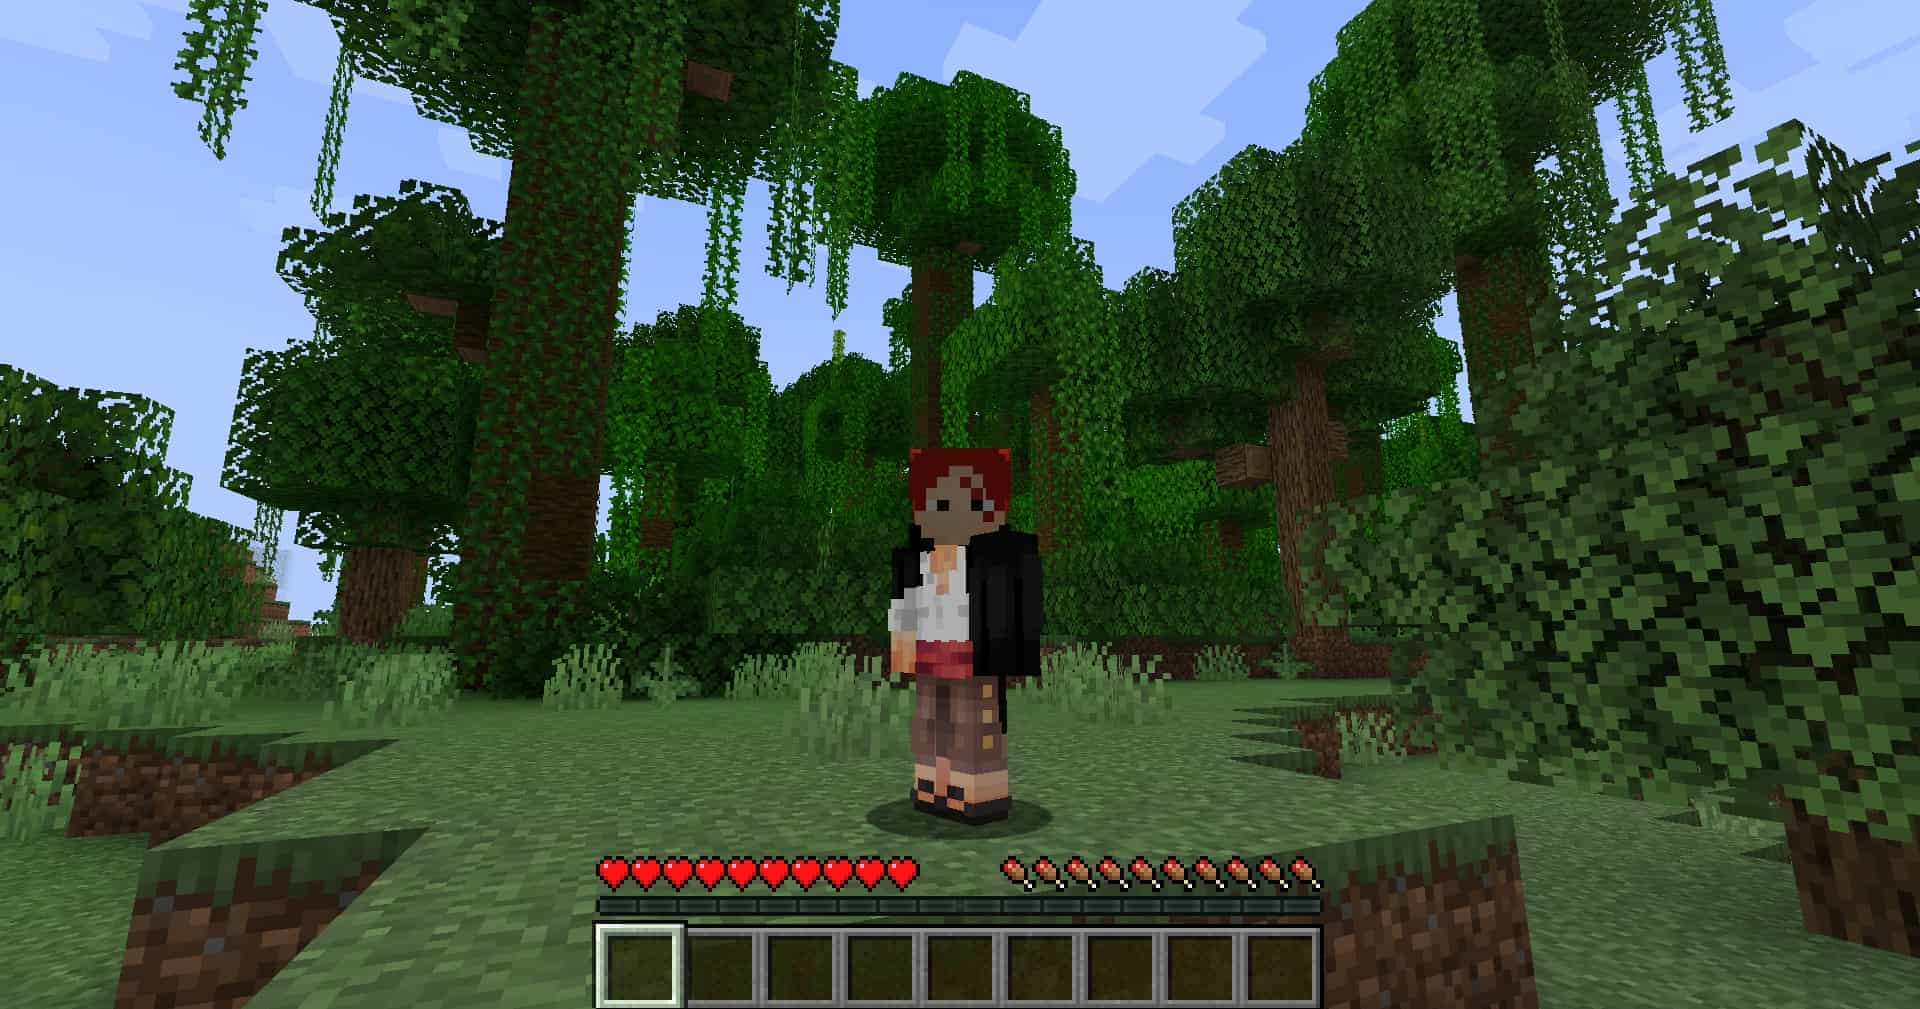
For us, we are using Java Minecraft, as shown at the start. (From this tab, you are also able to change the DNS IP, Slogan, and Image of your server.
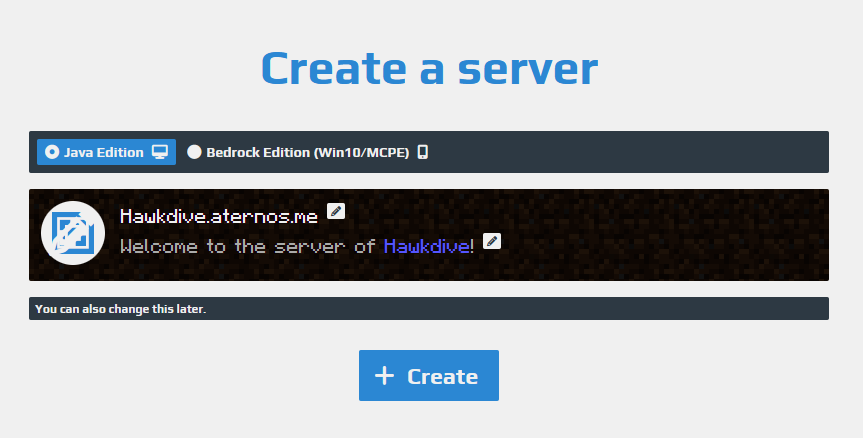
From there, press create, and you will be shown to a new tab full of customizability; do not fear for this is the only real screen that you have to worry about once, and no need to ever touch it again (unless you do want to restart your Minecraft world or mod it.
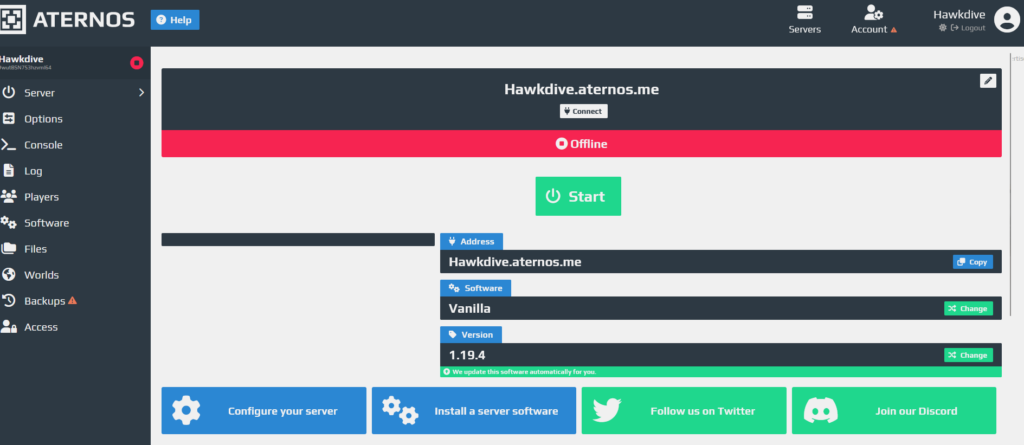
Take note of your address for that is one way to connect to the server and will be shown in this guide for a little while.
Software, you might be wondering what the software is; when you do press, change-you will be sent to a new tab that has many different Java and Bedrock edition software.
In layman’s term, these software versions are modified server creators of Minecraft that allows for plugin and mods to exist; but since this is your first time creating your Minecraft server and this is a beginners guide, just search and select the trusty old default Vanilla.
Also Read- Minecraft Legends Coming To Multiple Platforms This April
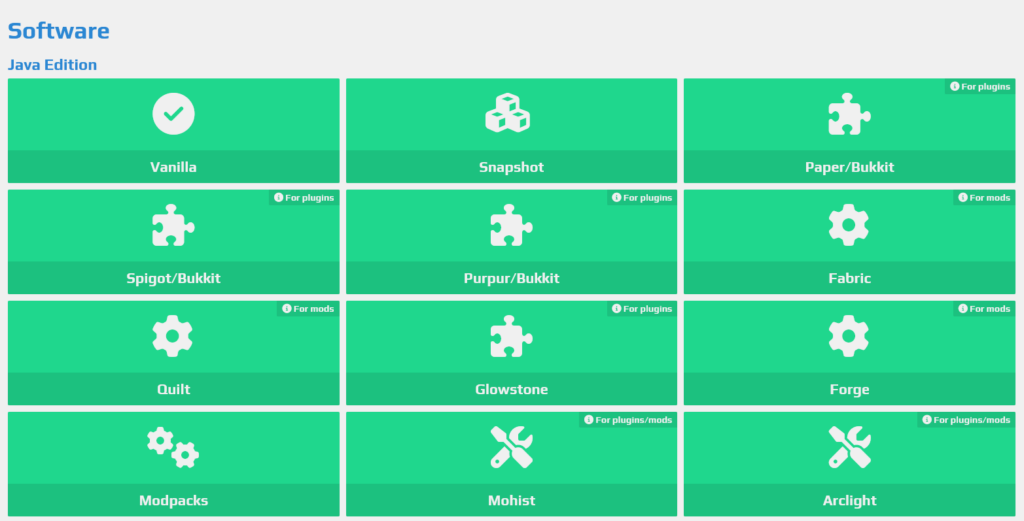
Once you have pressed Vanilla, it will ask you what version of Minecraft you would guys be playing. (So if you do scroll up on the earlier part on Minecraft; the screenshot there says that the Minecraft version that we are playing on is on the current latest which is 1.19.4) So for us, we will be choosing 1.19.4.
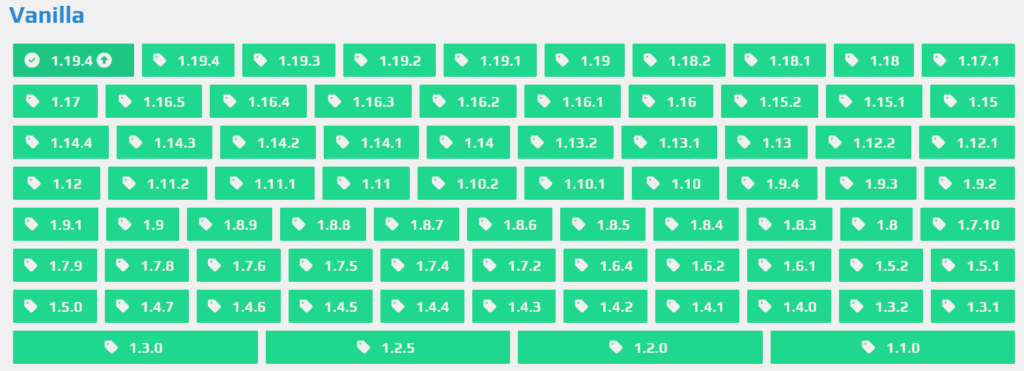
Once selected you will come up with this window.

From there, I want you to go back to the main hub link of Aternos – https://aternos.org/server/.
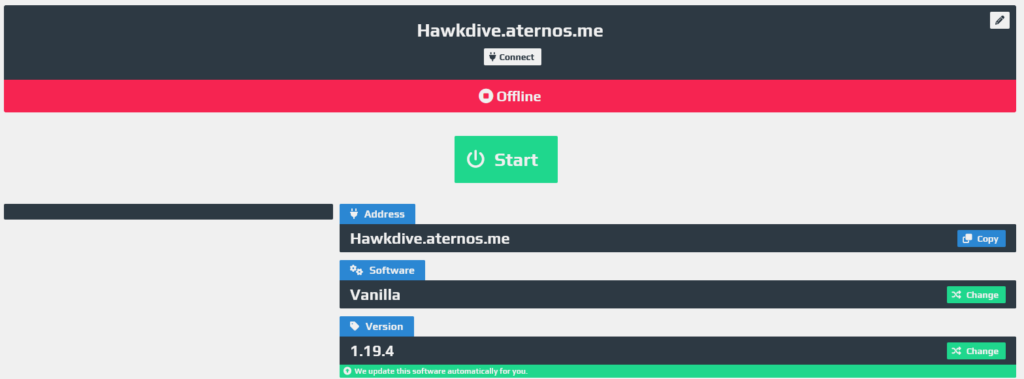
With that, we are now easily able to just press Start to run our server.

When Start is pressed, there would be a waiting queue time for the server to initiate, and this can last between 1~10minutes. So if you and your friends have a deadline for when to play or start the gameplay, then make sure that you have already started the server before that.
Note that the server will close, and you have about 5 minutes to have someone join.

Joining the Minecraft server.
This part would be the same as you and your friends. So once the server has fully started, make sure to go back to your Minecraft client and click on multiplayer.

Then press direct connection or add server (for me I will choose direct connection) and Add your servers’ server address.

Click Join Server, and boom, you will be loaded up into your server.

Now you and your friends are in, and be ready for Minecraft multiplayer is such a fun wholesome moment to bond with your friends or family members of any age.
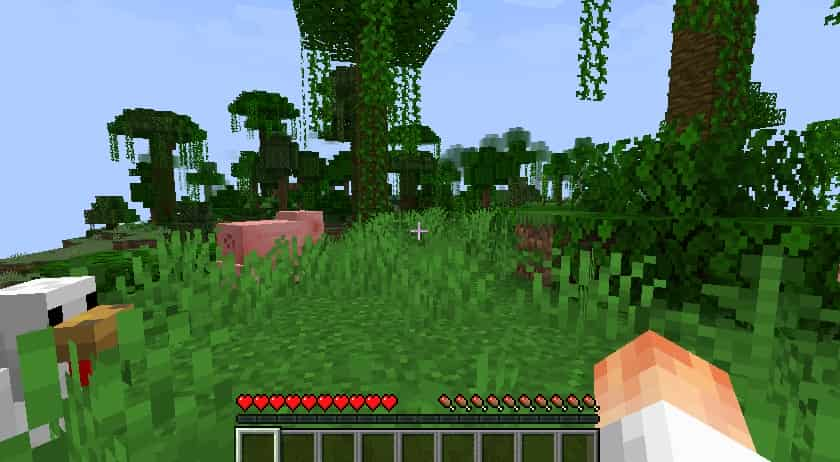
Just a little added note, after using the server, you can just quickly all leave and not allow anyone to join the server for about 5 minutes; that should automatically save the world and power of the server. The next time you play, all you have to do is press Start Server once again.
You may also Like – How To Fix Minecraft Black Screen Issue On Windows 11


