Even when the market has huge, varieties and excellent webcams all around us but still we are finding more and more advanced features for our usage, you might opt to use your iPhone as well as a webcam similar to a webcam. The reason why people like choose to the iPhone as their webcam is because of the clarity and the quality provided by the camera of an iPhone. The second reason why people choose iPhone is because of the mobility that provides them, you can wirelessly that helps to connect the iOS devices without any difficulty, and a webcam. You can show everything without any wired connections it helps you to cover everything easily.
However, here are some of the useful tips and tricks on how to use your iPhone as a webcam for a MacBook or Windows PC
Also Read: [Solved] Mac Camera Not Working After Installing macOS Monterey
Here are some ways that will be useful in connecting the iPhone as a webcam EpocCam:
EpocCam supports both ways for audio and video it is also applicable for external apps and players like YouTube, Skype, Google Duo, ETC…EpocCam is available in two versions Free and Paid versions. In the free version of EpocCam, you are allowed to do a video call of 640*480 resolution it also includes a watermark on the video. IT also works on both MacBook and your Windows PC. In the paid version whereas you should pay around $8 for the premium users of the EpocCam app which helps in playing the video in complete HD quality. It allows you to use the flashlight which you won’t get in the free version. The paid version does not post any kind of Ads when you are on a video call or in a meeting. The paid version is also called as EpocCam Pro.
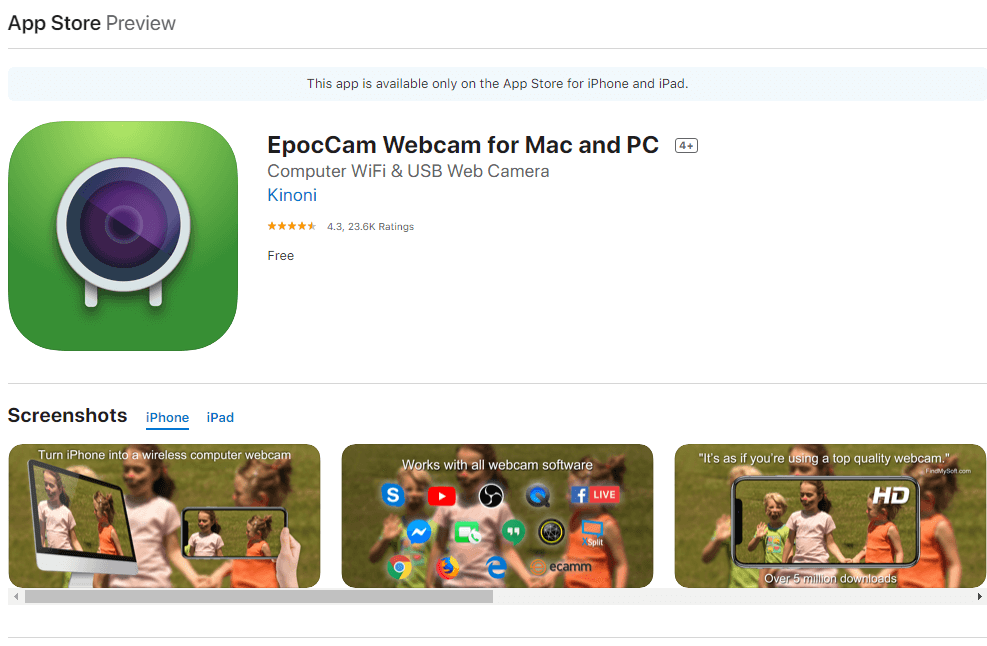
Here is the difference table of the EpocCam and EpocCam Pro versions.
| Features | EpocCam Pro | EpocCam |
| Video Resolutions | 1920*1080 | 640*840 |
| Connection Mode | USB or WIFI | WIFI |
| Zoom | Pinch to ZOOM | NO |
| Focus | Tap to Focus | NO |
| Flash Light | YES | NO |
| HD Quality Videos | Available | NO |
| Water Marks | NO | YES |
These are the steps to be followed to connect it to the MAC or PC.
- Before you get started, download the EpocCam app from the App Store on your iPhone.
- Now install the driver on your Windows PC or MacBook from the site called KINONI.
- Now, you should connect both your MacBook and iPhone to the same WIFI network.
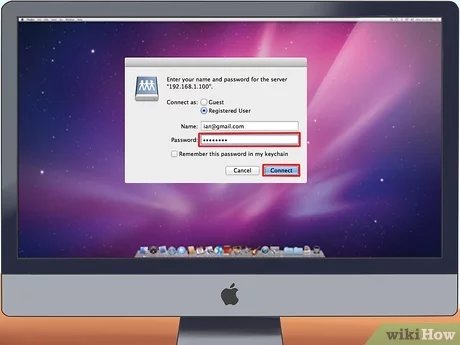
- Now open the EpocCam and launch a suitable video app on your computer or MacBook.
- It will now connect instantly and broadcast the video which is seen on your iPhone. It is a simple process with a third-party app.
In case you don’t like this APP there are many more apps similar to this that you may find interesting or better. They are as follows:
- iVCam webcam
- Instant Webcam
- iCam
- IP Cam
- PocketCam by Sensitive
Here will be more explanation about the apps that have been listed earlier;-
1# iVCam webcam
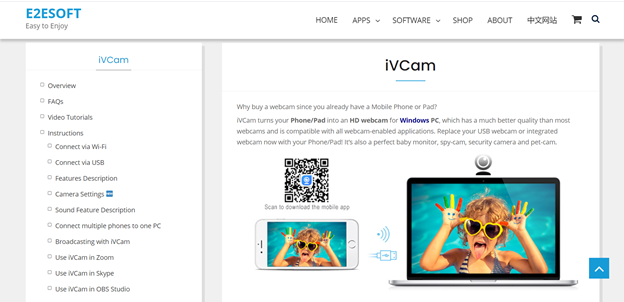
- Use iPhone as a PC webcam just like the previous app
- iVCam webcam is easy to use
- you can run multiple iVcam on your MACBOOK like more views of different objects and more professional
- It allows delivering high-it definition videos with very less latency. The major part of this app is you can set your video in four different qualities like 1080p, 720p, 480, and 360p.
- You have more options to configure the video and the audio quality and frame rate according to your needs. It even supports portrait and landscape views. Importantly, it offers and supports face beauty, video flip, and Flash.
- It is completely free of cost and includes all the features given above.
Also Read: [Fixed] iPhone 13 Camera Too Slow To Load
2# Instant Webcam

- It is fully equipped to stream audio and full-screen videos to many devices on the same WIFI network.
- There is something that makes it stand out from all the other apps, sub-100 millisecond latency30 FPS video, also CD-quality AAC Audio which can be heard more clearly without any interaction or disturbance as well.
- It helps you in choosing your required video quality according to your range of videos and the network you are using.
- You can also use the front according to your needs.
- You can also shoot high-quality videos using a rear camera, which also helps you in downloading the recorded videos right in the browser itself.
- It works with other web browsers like Safari, Firefox, Chrome, ETC…
- This app cost around $1.99
Also Read: How To Be A Pro In iPhone 13 Camera.
3# Icam; Webcam video Streaming

- You can stream multiple live videos immediately on your iPhone, This is the app you should install.
- It has soo many features of recording and also played recorded videos backward as well. It also sends you notifications when the app detects anything new.
- To use Icam; Webcam, you need to download this software or buy its mobile app with the help of Icam cloud, there is also a good feature in this which automatically backups all your videos to the cloud as soon as they are recorded.
- The app gives its best in recording the videos and the quality of the video
- The app costs around $5.
Also Read: How To Fix The Face Id Is Disabled In iPhone 13 Error
4# IP Cam
- You can turn your iPhone into a webcam, it can access the remote web.
- You can also access it from another ios device or computer or through the browser.
- You can view it from third-party viewer’s apps as well.
- It has great features like brightness control, contrast control, flashlight, and night vision.
- It is also compatible with MJPEB streaming as well. There’s an option to adjust the brightness through the call for the comfort of the user.
- This app costs around $2.
5# PocketCam
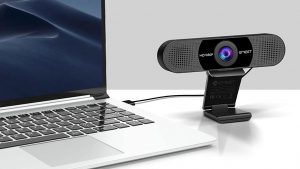
It is an effective tool that trained many of the same tasks just like the other apps on the list, most people like it because it does not require any effort to transform your ios device into a wireless webcam for your Windows PC or MacBook.
- It is an easy setup process and works very well. The features are that it supports apps like iMessage and face time for the best quality audio and video
- The cost of an IP Cam is $5.
That is it for now, this article is mainly about how to make your iPhone a webcam for your Mac. I hope this was informative and helpful. Tell us in the comments section!


