When building and testing online applications, many programmers turn to XAMPP, one of several popular cross-platform web servers. Its native source code, created by Apache Friends, is open to review and modification by the general public. It includes the Apache HTTP Server, MariaDB database, and language interpreters for PHP and Perl. It’s compatible with the Windows IA-32 package and the x64 packages for macOS and Linux. It’s also localized into eleven languages.
What is XAMPP?
The XAMPP stack, created by the Apache Software Foundation, is a cross-platform web server solution that is both free and open source. To name just a few, XAMPP is compatible with Windows, MacOS, and Ubuntu. In addition to being the abbreviation for the main components of the stack package, the letters stand for Cross-Platform(X), Apache, MySQL, MariaDB, PHP, and Perl. Here you will learn how to set up XAMPP on MacOS.
Components of XAMPP
XAMPP was created to show how solutions from different technologies can be grouped. It serves as a private server for evaluating the viability of various technological implementations. XAMPP is an acronym for each alphabet that stands for its primary letters. This package includes the PHP and Perl scripting languages, the Apache web server, and MariaDB database management system. As the letter X shows, it works with several operating systems, such as Windows, Linux, and macOS.
You may use XAMPP with three distinct file types:
- .EXE extension indicates that a file is executable and can be run on a computer like any other piece of software can. This makes them easy to install.
- 7Zip file extension Compressed files with this extension employ various compression and encryption methods. Even though it demands working with more complicated files, formalists tend to prefer it.
- If you need to compress your data without permanently altering it, use the ZIP format. Many compressed files can be included within a single zipped archive. Most files saved in this format employ the Deflate algorithm for compression. When compared to.EXE files, ZIP files are relatively easy to set up.
It follows that .EXE format is the easiest to install, while the other two are hard to do.
Installation
The following are the stages involved in the installation.
1) Download the newest version
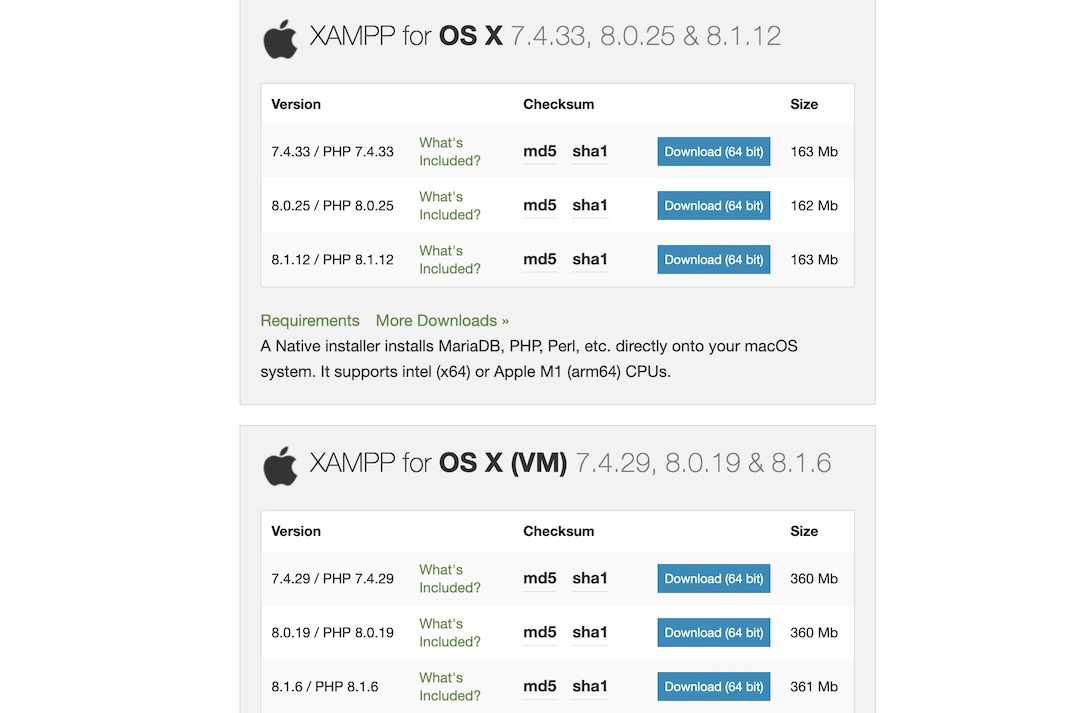
To install XAMPP on MacOS, you need to get the latest version of XAMPP from its official website or copy and paste the link below.

https://www.apachefriends.org/xampp-files/7.2.0/xampp-osx-7.2.0-0-installer.dmg
into the browser’s search bar.
2) Second, open the.dmg file
The disk image that downloads to the Volumes folder needs to mount. The next command can be use to do this.
$ hdiutil mount Downloads/xampp-osx-7.2.0-0-installer.dmg
3) Launch the Program file.
Within /Volumes/XAMPP/, an application data file is produced. Follow this command to open the file.
$ open /Volumes/XAMPP/XAMPP.app
- To proceed, use the Next button.
- Here, we get to decide which installation components to pick. In this step, we check every applicable box and go on to the next.
- In this section, you’ll merely specify the folder where XAMPP will place. To proceed with the setup, select Next.
4) File unmount
We were able to install XAMPP on our computer, so the installer needs to be unmounted right away. Use the command:
$ hdiutil unmount /Volumes/XAMPP
We guarantee that it will answer all of your questions about XAMPP, and you won’t have any issues when following this guide. However, if there is an error or inconsistency, do report it using the comments section


