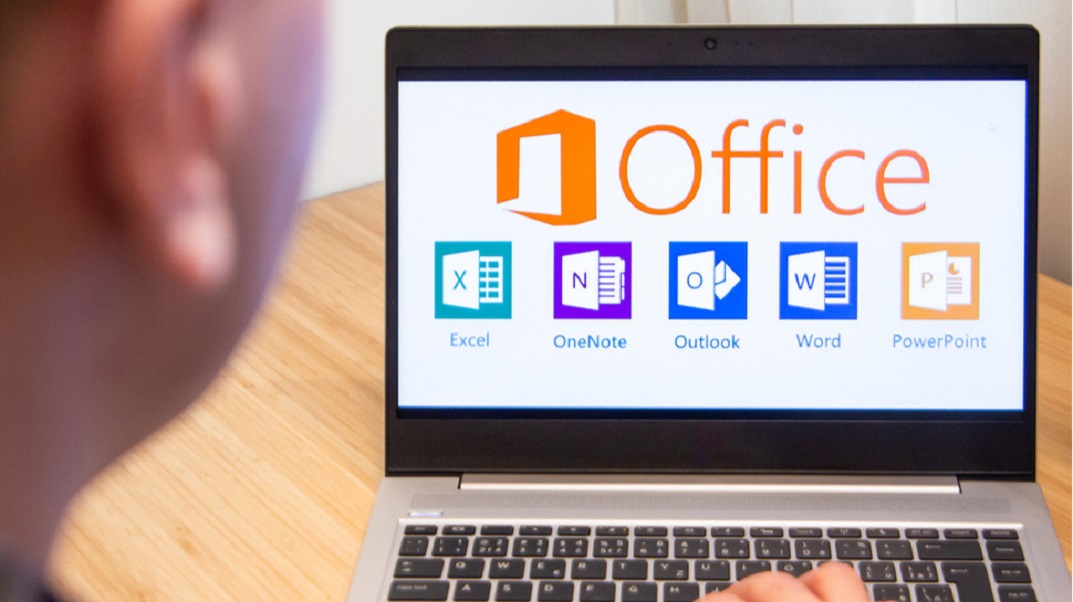
Microsoft Office is the world’s most in-demand office suite, and it works just as well on Mac computers as it does on Windows systems. However, many Mac users seem to be asking themselves, “Should I pay money for Microsoft Office for Mac or go with one of its many free alternatives?” We’ll try to give you the required solution to this question in this article, and we’ll explain all the information you need to download, install, and start using Microsoft Office for Mac if you decide it’s a good fit for you. Microsoft Office 2016, is the latest version from Microsoft for Mac users, retains the flat design and tabbed user interface introduced in Microsoft Office 2013. Word, Excel, Outlook, PowerPoint, OneNote, OneDrive, and Skype are all included.
Must Read: How To Expand Your Brand/Business On Instagram?- An In-Depth Detailed Guide
Microsoft Office for Mac: An Overview
In 1990, Microsoft Office was introduced for Windows 95 for the first time. The first Mac version, Microsoft Office 98 Macintosh Edition, didn’t come out until, you guessed it, 1998.
1# Log in and download Office

- If you’re not already logged in, then go to portal.office.com and click on Sign in.
- Sign in using the account that you used to install this version of Office. When logging in, businesses should select ‘work account.’
- If you’re using a school or work account, go to the Office home page and choose Install Office Apps > Office 2016. (Note: Although the link may mention Office 2016, Office will install the most recent version of the Office programs as determined by your Office 365 administrator.)
Read: How To Add Signature In Gmail
Install Office
- Open Finder, browse to Downloads, and double-click the Microsoft Office installer.pkg file once it has finished downloading (the name might vary slightly).
- Tip: If the Microsoft Office installer. pkg can’t be opened since it’s from an unknown developer; wait 10 seconds and drag the downloaded file to your desktop. To run the installation, hold down Control and click the file.
3# To begin the installation procedure, pick Continue on the first installation screen.

- After reading the software licensing agreement, click Continue.
- Click Agree dialog box, which means you agree to the terms of the software licensing agreement, select Agree.
- Select how you need to install Office and then click Next.
- After checking the disc space requirements or changing the installation location, click Install.
- Note: If you want to install individual Office apps rather than the complete suite, select Customize and uncheck the products you don’t want to install.
- If prompted, enter your Mac login password and then click Install Software. (This is the same login credential that you use to access your Mac.)
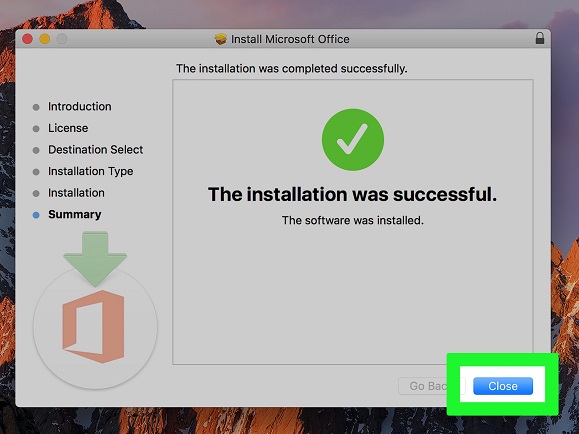
- The installation of the software begins. When the installation is complete, click Close. If you’re facing multiple trouble while installing or activating Office for Mac, see What to Try If You Can’t Install or Activate Office for Mac.
Read: How To Fix A Corrupted Hard Drive And Recover Data On Mac?
Start the activation procedure by launching an Office for Mac app.

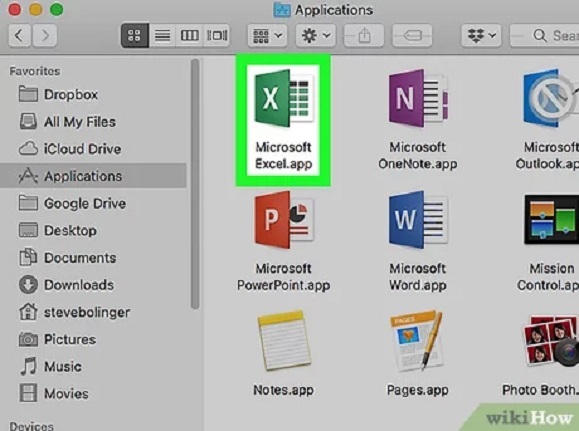
- To see all of your apps, click the Launchpad icon in the Dock.
- In the Launchpad, select the Microsoft Word icon.
- When you open Word, the What’s New window appears automatically. To begin activating, click Get Started. See Activate Office for Mac if you need assistance activating Office If you’re still facing issues while installing or activating Office for Mac, see What to Try If You Can’t Install or Activate Office for Mac.
This is how you can install MS Office on your Mac. If the above procedure didn’t work and you are still struggling for the MS office then you can also buy the MS Family from your App Store for a lifetime version.


