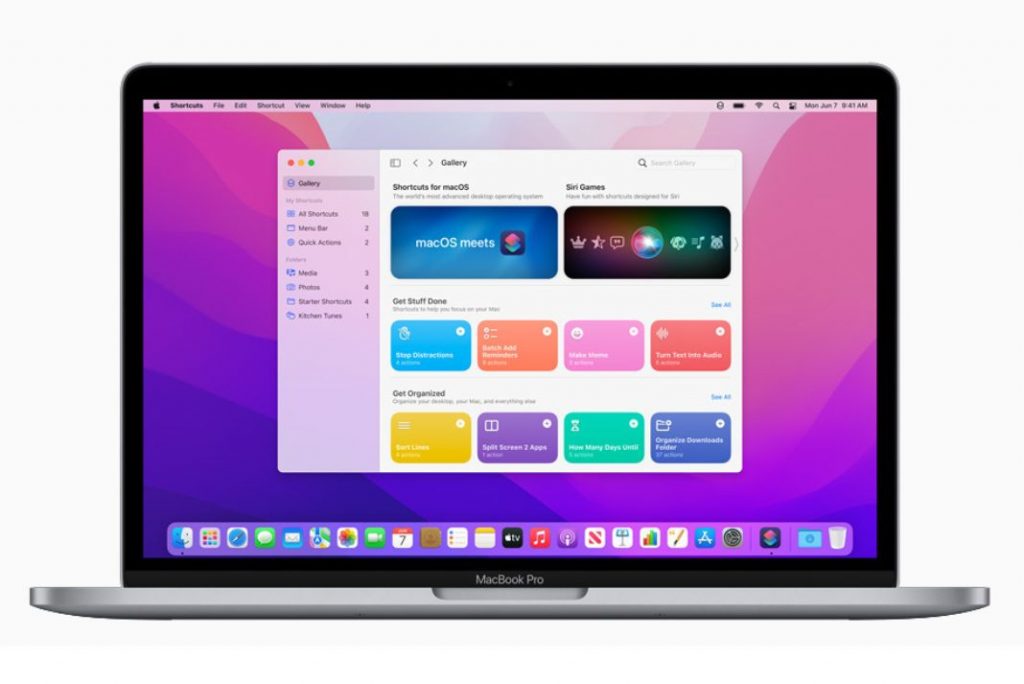
In this guide, we have explained the complete step-by-step procedure to install macOS Monterey Beta On Your Compatible Mac
As you might be aware, Apple has already announced the beta version of the latest macOS Monterey version and users can’t keep calm to download it on their Mac. macOS Monterey, which is set to launch later in the fall season, is set to bring several fascinating features to our machines.
If you are excited about the newest macOS beta version and want to experience the new features, we’ve got you covered. In this detailed guide, we have mentioned the step-by-step procedure to download and install the macOS Monterey Beta version on your compatible Mac. If you are not sure whether your Mac is compatible with the latest Mac OS, there is no need to worry.
Also Read: Account Deleted From Mail On macOS Monterey : Fixed
Below is the list of Mac models that officially support the macOS Monterey Beta version.
- iMac (late 2015 and later)
- iMac Pro (2017 and later)
- Mac Pro (late 2013 and later)
- Mac Mini (late 2014 and later)
- MacBook Pro (early 2015 and later)
- MacBook Air (early 2015 and later)
- MacBook (early 2016 and later)

If your Mac is mentioned on the list here, congratulations! You can install the beta version of macOS Monterey without any worries. So, without wasting any further time, let’s begin!
Prerequisites for installing the macOS Monterey Public Beta
Below is the checklist that contains all the requirements to successfully run the macOS Monterey public beta on your compatible Mac.
- Stable Network Connectivity
- 30 GB or more of the free disk storage
- Backup your Mac on Time Machine (This is essential to prevent the loss of important data)
- Enrolment in the Beta Software Program
Before we go any further, let’s see the steps to back up your Mac in a few simple steps.
Also Read: Activity Monitor Not Working In macOS Monterey? Try These Fixes
How to backup your Mac with Time Machine
Before you proceed to install the public beta of macOS, it is recommended to back up the data already present on your machine. While the process might seem intimidating, backing up your Mac using Time Machine is a breeze. Let’s see how can you backup your Mac with Time Machine to prevent loss of data:
- First of all, you need to connect the External Time Machine disk to your Mac.
- When the connection is successful, access the Time Machine menu.
- Choose the Back Up Now option to begin the backup procedure of your Mac straightaway.
- Depending on the size of the backup, it might take some time for the process to complete.
- Now that your Mac is backup up successfully, let’s enroll in the Apple Beta software program.
Also Read: [Fixed] Location Services Not Working In macOS Monterey
How to enroll in the Beta Software Program
To install the beta version of the latest macOS Monterey, you first need to enroll in the Beta Software Program by Apple. Don’t worry, it is completely free to do so. Follow the steps mentioned below to sign up for the beta software program.
- Launch the preferred web browser on your Mac and access the official link to the Apple Beta Software Program.
- If you are visiting for the first time, press the Sign up button. To sign up with the existing account details, click sign in.
- Provide your Apple ID and password combination followed by the two-factor authentication code if you’ve enabled it.
- Read and agree to the Terms and Conditions for the Apple Beta Software Program and press the Sign up button.
- After you sign in successfully, you will be taken to the Guide for Public Beta.
- Look for the Enroll Your Devices button and press it.
- Finally, click on the macOS Monterey Public Beta program.
That’s it! Now you’ve successfully enrolled in the Beta Software Program.
Also Read: macOS Monterey 12.4 installation stuck? Try these fixes
How to Install macOS Monterey Public Beta
Below we have mentioned the step-by-step process of installing the macOS Monterey Public Beta version:
- Visit the Apple Beta Software Program website using the Safari browser.
- Press the sign-in button and provide the Apple ID and password.
- Now click the blue button that says Download the macOS Public Beta Access Utility button.
- After the download is successful, tap the Apple icon on the top left corner.
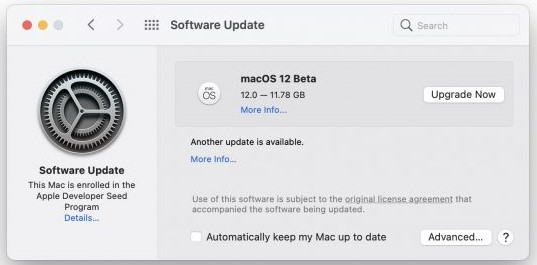
- Choose the system preferences option and then press the System Upgrade button.

Wait until the macOS Monterey public beta is downloaded and installed on your Mac. During this period, it is normal for your Mac to restart a few times. You do not have to intervene in the process as the macOS Monterey installer will start by itself. Once the installation process ends successfully, you need to follow the instructions onscreen to set up the public beta version of macOS Monterey.
Also Read: Safari Not Working After Updating To macOS Monterey? Try These Fixes
That’s all about how to install the macOS Monterey public beta version on your compatible Mac. If you need any further assistance to download and install the macOS Monterey beta version, feel free to reach out to us.


