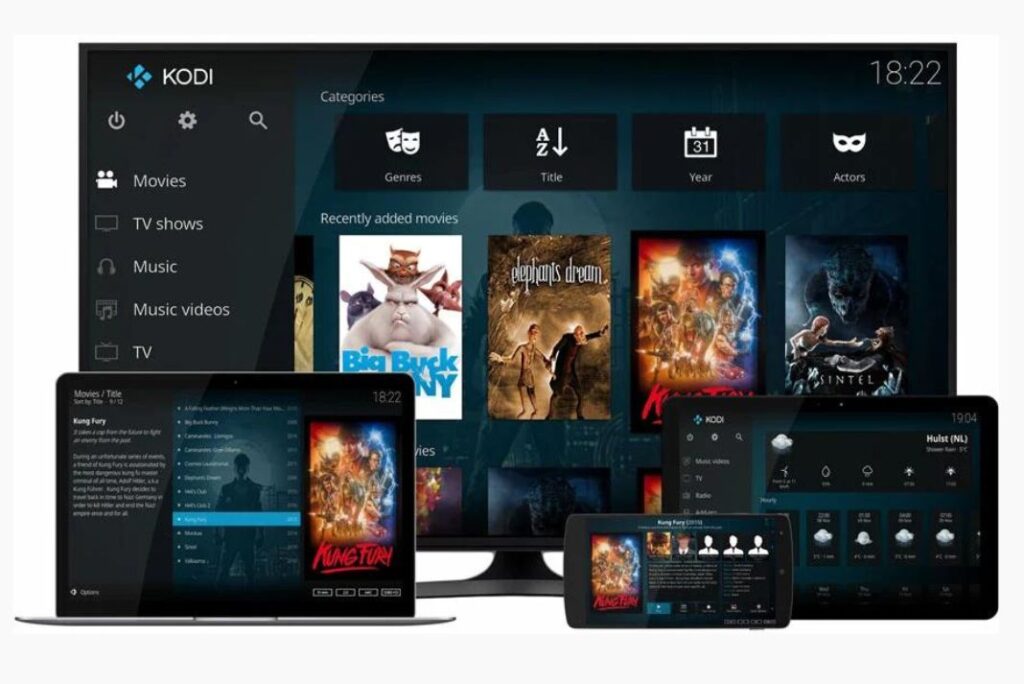
This troubleshooting guide intends to resolve the Kodi not starting issues in Windows 11. Kodi is a well-known open-source media player that lets users stream media from their computer or the internet. Millions of people worldwide use Kodi to watch movies, TV shows, music, and other content. Unfortunately, Kodi can sometimes have problems starting in Windows 11.
In this blog post, we’ll go over the most common causes of Kodi not starting in Windows 11 and provide simple steps to help you resolve the issue. We’ll also go over some troubleshooting tips to get Kodi running again as soon as possible.
Also Read: Apps Won’t Restore In Windows 11- Issue Solved
Reasons Behind Kodi Not Working On Windows 11

There may be several causes for Kodi’s Windows 11 incompatibility problems. However, some of the most frequent reasons for the issue are listed below.
1. Lack of Driver Compatibility: Some of the system’s hardware components might need drivers that work with Windows 11 as it is now installed. As a result, Kodi might not function properly.
2. Lack of System Resources: Kodi may need more RAM or other resources to function properly. As a result, Kodi may not operate correctly on Windows 11.
3. Older versions of Kodi: Due to problems with backward compatibility, Kodi may not work with Windows 11’s most recent release. The software might be unable to function correctly as a result.
Methods to fix Kodi not working in Windows 11
Fix 1: Close Kodi From The Background
If Kodi is not operating correctly, it is, first and foremost, necessary to terminate it from the background. To achieve this, use the Task Manager and choose Kodi as an “end task” option. This will shut down the program and release any resources it might have used.
1. The application can also be closed straight from the Kodi interface. To do this, open the “Settings” menu, choose the “System” tab, and then click the “Exit” button.
2. After closing Kodi from the background, it is essential to restart the application to ensure that any issues that may have arisen while the application was running are resolved.
3. It is also crucial to look through the system logs to determine if any errors can be the root of the problem. You can do this by selecting the “System” tab and the “Log” option and then looking for any potential issues.
If the issue persists after closing Kodi from the background and restarting the application, it may be necessary to try reinstalling it.
Also Read: Microsoft Begins Rolling Out Tabs in Notepad for Windows 11
Fix 2: Reinstall Kodi On Windows 11
One of the most significant ways to eliminate bugs and malfunctions in a program is to perform a fresh installation. Windows 11 and Kodi work together without any issues. Compatibility issues are an indication of a short-term bug. Simply reinstalling Kodi on Windows 11 will solve the issue. So, these are the procedures you must adhere to complete the task.

Uninstall Kodi by going to the Control Panel > Programs > Programs and Features.
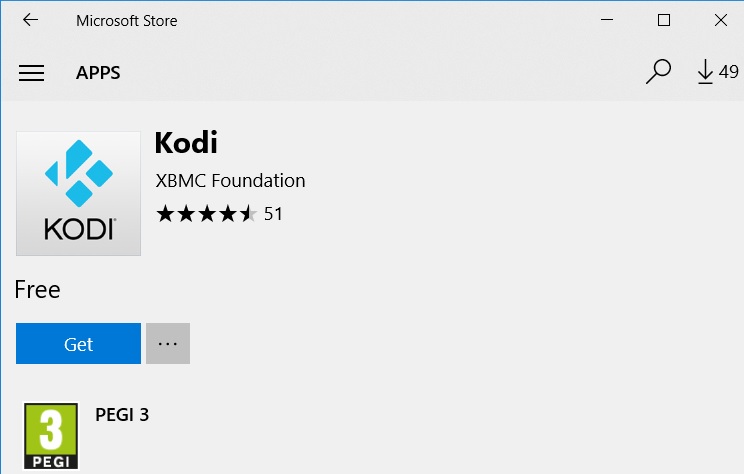
Get the Kodi installer from the Kodi website’s official page.
To reinstall Kodi, launch the installer and adhere to the instructions.
After the installation is finished, restart your computer.
Start Kodi and verify that it functions properly.
Also Read: 8 Best Fixes For Windows 11 PC Going To Sleep Randomly
Fix 3: Update Graphics Drivers
You must first determine the kind of graphics card you have to upgrade your graphics drivers. You can do this by typing “Device Manager” into the Start menu. After starting Device Manager, you ought to see a section for “Display Adapters.” You may learn what kind of graphics card you have from that.
Once you know what type of graphics card you have, you can visit the manufacturer’s website to download the latest drivers for your card. You will most likely need to provide information about your system, such as make and model, to locate the correct drivers.
Once the new drivers are downloaded, you will need to install them. The installation process varies depending on the manufacturer, so you must follow the instructions provided. After the installation, restart your computer and launch Kodi to see if the issue has been resolved.
Also Read: CES 2023: New Windows 11 Gaming Laptops are Back
Fix 4: Move Kodi Add-ons to a Different Folder
1. Back Up Your Add-ons: The first step in moving your Kodi add-ons to a different folder is to back up your current add-ons. This ensures you don’t lose any of your settings or installed files. You can back up your add-ons by copying the Kodi user data folder, which is usually located at the root of your Kodi installation.

2. Create a New Folder: Create a new folder to house your add-ons in the following step. Right-clicking on the desktop and choosing “New > Folder” will let you do this. To make it simple to find later, give the folder a descriptive name like “Kodi Add-ons.”
3. Move Your Add-ons: Now, navigate to the location of your Kodi user data folder and copy all of the add-ons contained within it. Paste them into the new folder that you created.
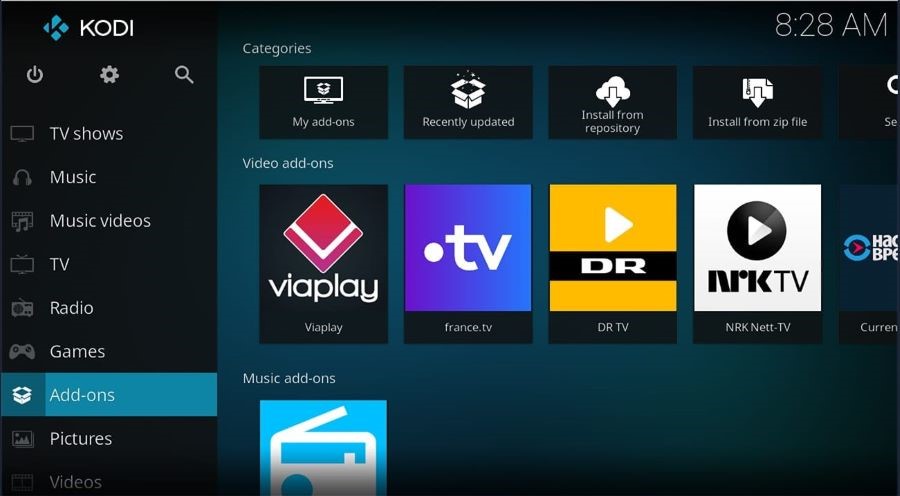
4. Change the Add-on Source: The last step is to change the source path of your add-ons from the old location to the new one. You can do this by launching Kodi and navigating to “Settings > Add-ons > Manage.”
Wrapping Up
Here we reach the end of the article explaining how to resolve the issues with Kodi not starting issues in Windows 11. Hope you were able to troubleshoot the problem in no time. With this, signing off.


