In this article, we will explain how can fix the high CPU usage after upgrading to macOS Monterey.
Apple has released the latest macOS iteration in the last fall along with iOS 15 and iPadOS software. While macOS Monterey brings several features, it is also creating several problems in the previously normal Mac. Their problems are worsened in Macbook not officially supported by the Monterey.
One such problem is insanely high CPU usage after upgrading to macOS Monterey. There can be several after-effects of high CPU usage including decreased system performance, overheating, and application freeze and crashes.
Also Read: How To Fix Loud Fan Noise After Upgrading To macOS Monterey
If you are experiencing any such issue on your Mac, there is a pretty good chance that your Mac is utilizing the CPU to its maximum. It is essential to troubleshoot the high CPU usage to make your Mac work normally.

In this troubleshooting guide, we have put down the viable methods that can troubleshoot the high CPU usage after upgrading to macOS Monterey. So let’s proceed to see what those are:
Also Read: Wi-Fi Not Working After macOS Monterey Upgrade
Restart your Mac
No matter how childish rebooting your Mac looks like, it is effective enough to instantly fix some of the weirdest problems with your Mac and make it work again as intended.
This is because when we reboot any electronic gadget, all the background processes and settings are reset at that moment. Thus restarting your PC is like making a fresh restart that can help subside the high CPU usage issue.

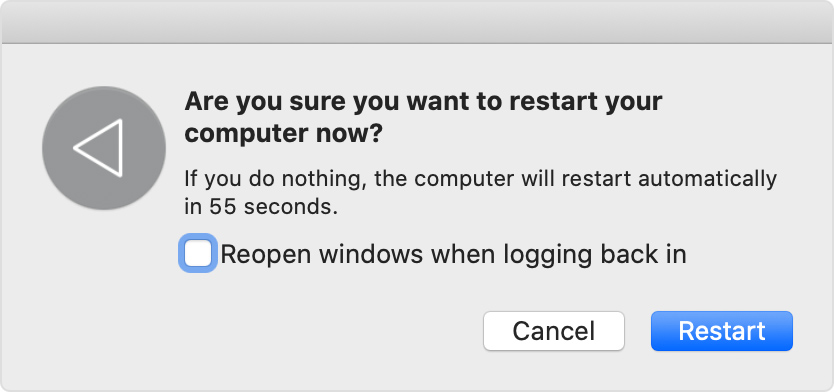
Tap the Apple icon on the top left and tap the Restart option present in the drop-down menu.
Upgrade your Mac
Yes, you’ve heard that right! If you are facing high CPU usage issues after upgrading to Mac, it can be caused due to some pesky bugs present in the software version you’ve upgraded to. To fix these bugs, Apple keeps rolling out new macOS Monterey versions to patch these bugs and errors. In a way, upgrading your Mac to the latest macOS version can be seen as a quick fix.
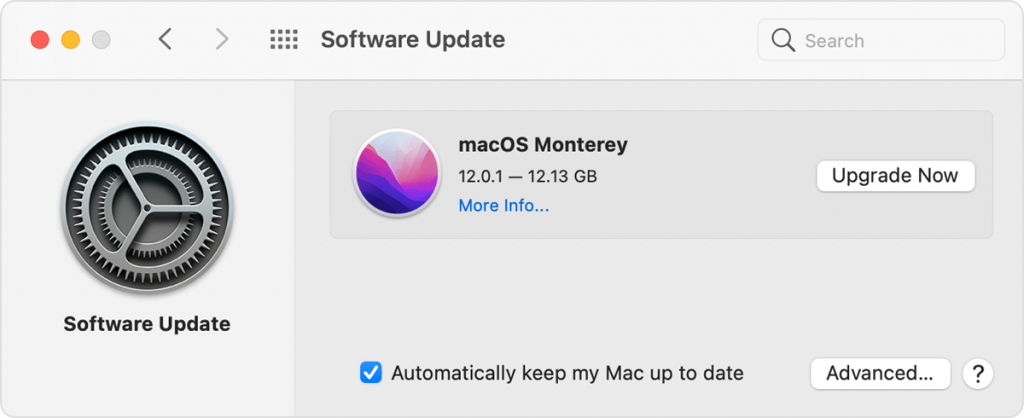
It is advised to allow Mac to download automatic updates if you don’t have data restrictions. However, you can manually download and install the automatic updates using the steps outlined below:

- Tap the Apple logo on the top left to reveal a drop-down menu.
- Now choose the System Preferences option and then tap the Software Update option in the sub-menu.
- Here the pending software updates will be listed.
- Press the Accept button in the pop-up to initiate the software download process.
- As said earlier, don’t forget to enable the Automatically keep my Mac up-to-date option.
Also Read: 4 Ways To Fix SideCar Unstable In MacOS Monterey
Identify the high CPU usage option in the Activity Monitor
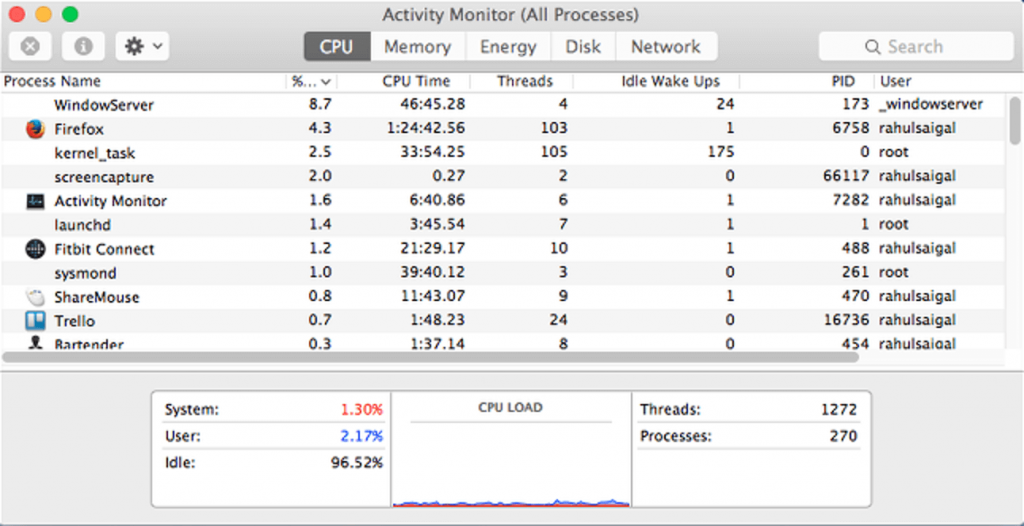
If updating your Mac did not work as expected, there is no point in getting disheartened. We should visit Apple’s in-built Activity Monitor window and look for tasks that are consuming abnormally high processer resources.
After you identify the process consuming most of the CPU resources, it is better to stop them. Here’s how to go about it:’

- First of all, tap the Applications icon and go to the utility tab.
- Now look for Activity Monitor listed in the section.
- Now select % CPU in the control bar of Activity Monitor and choose to descend order by tapping the list. You will see that the arrow points downwards now.
- Now all the processes appearing on the top of the list are the ones that are consuming most of the CPU’s power.
- If the app is not that useful, it is better to kill those apps and processes for good.
Identify Hardware Issues triggering High CPU Usage
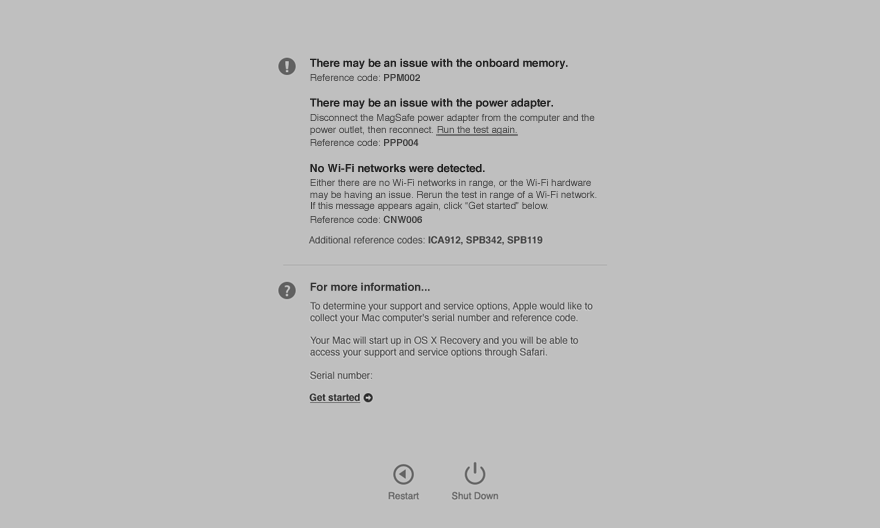
Hardware problems on your Mac can be triggered due to several reasons. However, there is a good way of identifying these problems- using Apple diagnostics. Follow the steps given below to run Apple Diagnostics on your Mac:
- Power the power button to restart your Mac.
- When you see the first signs of reboot, immediately press the D key and keep holding the position.
- As soon as you see the progress bar appear on the PC, release the key.
- Now you are in Apple Diagnostics. Follow the steps given on the screen to proceed with Apple Diagnostics.

If you own Apple Silicon, follow the steps given here to go about it:
- First of all, power on your Mac and hold down the power button.
- As soon as the startup options appear on the screen, release the power button.
- Now press the Command and D keys simultaneously.
Apple Diagnostics will identify the problem and list the solutions for it. You may even require further investigation to fix more complicated problems.
Update Apps
Sometimes, outdated app versions also trigger high CPU usage on your Mac. It’s best to identify these apps and upgrade to the latest version of these apps. Let’s begin.
- First of all, tap the Application icon and then choose App Store.
- Next, choose the Updates option from the sidebar.
- In the next window, press the Update button listed in front of the apps.
- After all the apps are installed successfully, go ahead and restart your PC.
Also Read: Touch ID Not Working After Upgrading To macOS Monterey
Wrapping Up
There you go! We are sure that you were able to fix the high CPU usage after upgrading to the macOS Monterey issue. If you found thing article helpful, don’t forget to share it with your friends.
Also Read: How To Fix FCP 10.6 Not Working On MacOS Monterey?


