Anyone who has spent time on the internet and used social media or watched a Powerpoint presentation has come across GIFs. You may have also been using GIFs while chatting with your friends on WhatsApp and Messenger. And it is most likely that you would want to create customized GIFs to use.
GIF or graphics interchange format came into existence in the late 1980s and since then have become widely popular on the worldwide web. Moreover, today, GIFs are not just a tool for entertainment and fun. With the world gradually entering a digital era, marketers and businesses use GIFs extensively to engage with their audience.
In simple terms, GIFs are a creative combination of still images and videos, giving the impression that it’s a moving image. Remember the moving images in the Harry Potter series? That’s what I am talking about. Now wouldn’t it be cool to have your own GIFs to express your emotions to friends and family over chat?
And if you are running a digital campaign, create GIFs using trending news and celebrities to strike a chord with your audience. Moreover, it’s a great way to engage with people and show them your creative side.
In this blog post, I will tell you two ways you can create customized GIFs in no time.

Method 1: Create GIFs Using Adobe Photoshop
Step 1: Launch Photoshop on your computer. However, you can use its free trial if you do not have the software downloaded into your computer system.
Step 2: Click on Create New to begin creating a new project.
Step 3: Now, you have to import a video clip to turn it into a GIF.
Step 4: Moreover, click on File from the top-left of the screen, and a menu will appear.
Step 5: Scroll down and click on Import. Then select Video Frames To Layers.
Step 6: Furthermore, locate the clip you want to use and then click on Open.
Step 7: If you want to import only a small portion of the video, click and drag the trim controls to adjust that part of the video selected.
Step 8: Tap on Okay. Moreover, you should see a section with the label timeline at the bottom of the Photoshop window.
Step 9: However, if, in your case, it is not there already, click on Window and then select Timeline.
Step 10: Now, to preview the animation, click on the play button.
After your GIFs is ready, you can make any adjustment as you see fit. For instance, you can adjust the timing of the frames, remove frames to make the animation shorter etc.
Also Read: How To Install RAM And SSD In Windows Laptop?
Export GIFs
Once you see the desired result, you can export it. To export:
- Click on File.
- Scroll down your cursor to Export.
- Furthermore, click on Save For Web.
- On the export window, click on Save.
- Now choose the destination to save your GIF file on your computer.
- Then click on Save.
Method 2: Create GIFs Using GIPHY’s GIF Maker
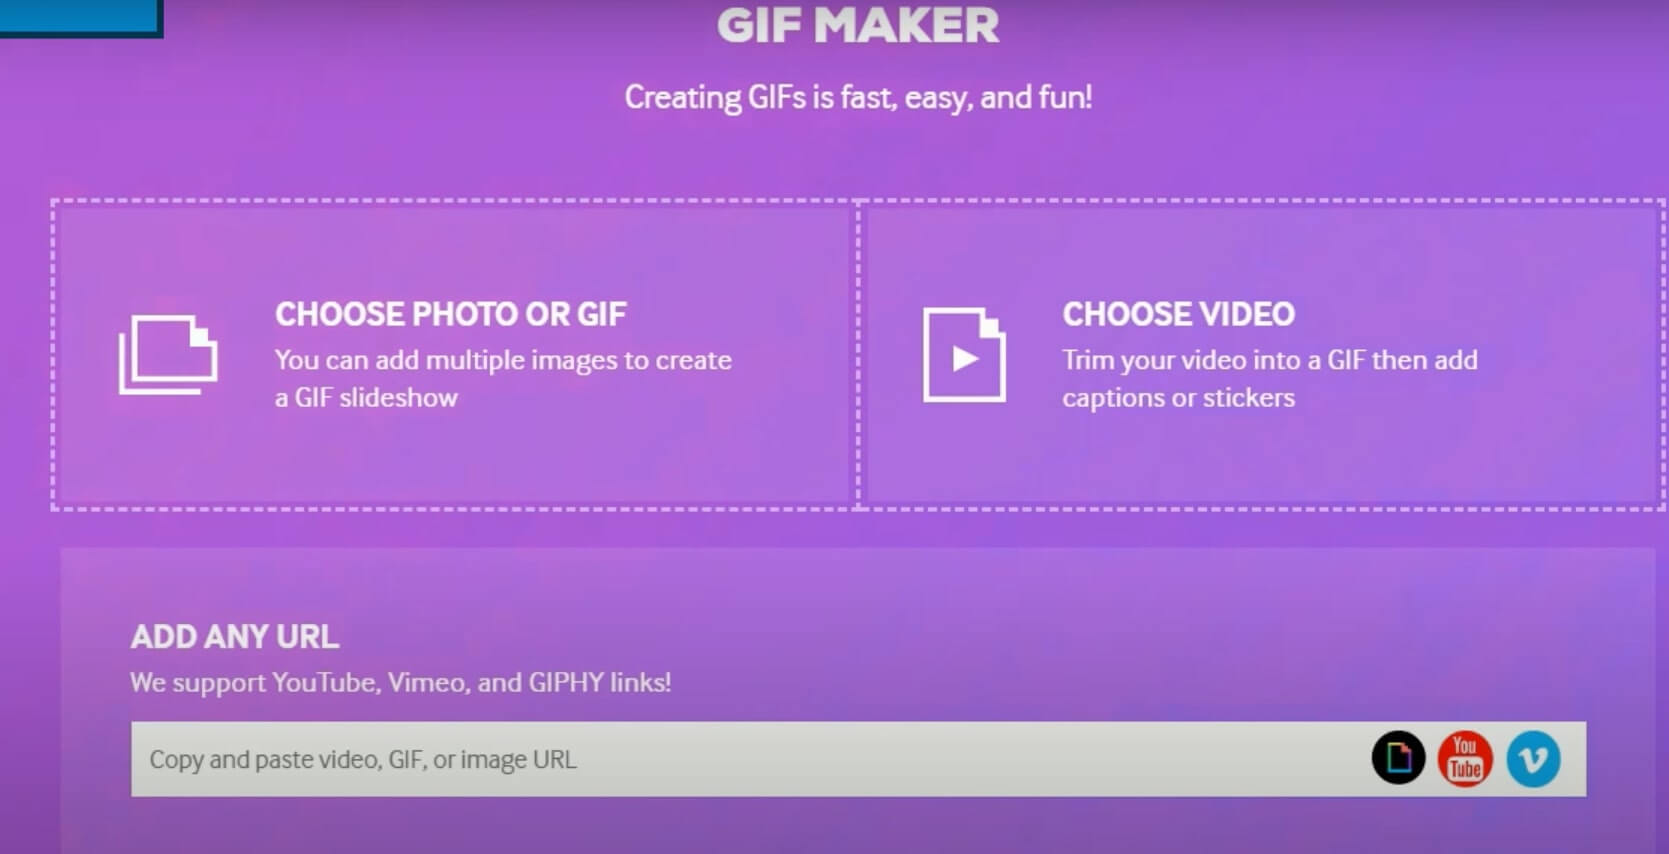
Step 1: Go to your web browser and type giphy.com/create/gifmaker.
Step 2: On the main screen, you will be presented with three different options.

Step 3: Depending on the source you would like to use, click on the option.
Step 4: Let’s say you want to create a slideshow of photos. Choose the pictures you want and wait for them to upload. Furthermore, the process varies from one option to the other.
Step 5: Moreover, follow the instructions that appear on your screen.
Step 6: After you finish making your GIF, click on Continue to Decorate.
Step 7: Moreover, you will get an option to add stickers, text and filters.
Step 8: Dress up your GIF however you like and after you finish, click on Continue to Upload.
Step 9: Furthermore, on the next page, click on Upload to GIPHY.
Step 10: After the uploading process is done, you will be taken to the GIPHY page, where you will see your GIPHY.

Moreover, you can save it to your computer by clicking on the Download option.
Must Read: How To Maintain Your Old Laptop Like New?
Conclusion
Besides these two methods, there is another way you can use to create GIPHYs. There are many online GIF makers like IMGflip.com, GIFMaker.me and EZGIF.com, and these three are free and easy to use tools.
Read: How To Run Android Apps In M1 MacBook Air?


