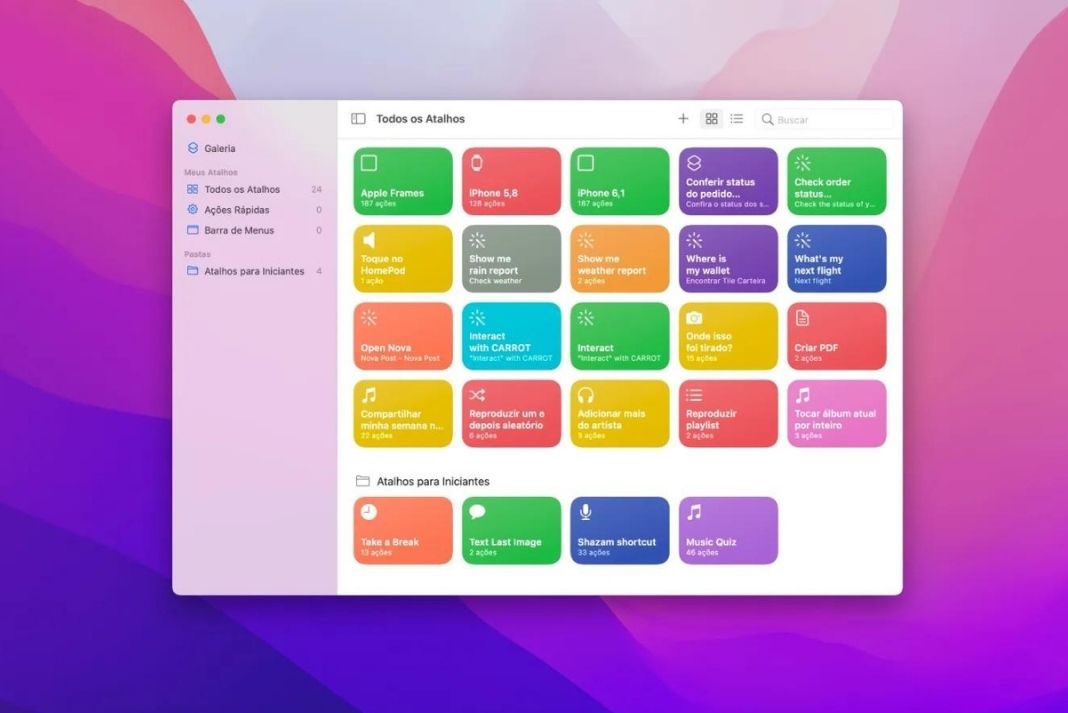
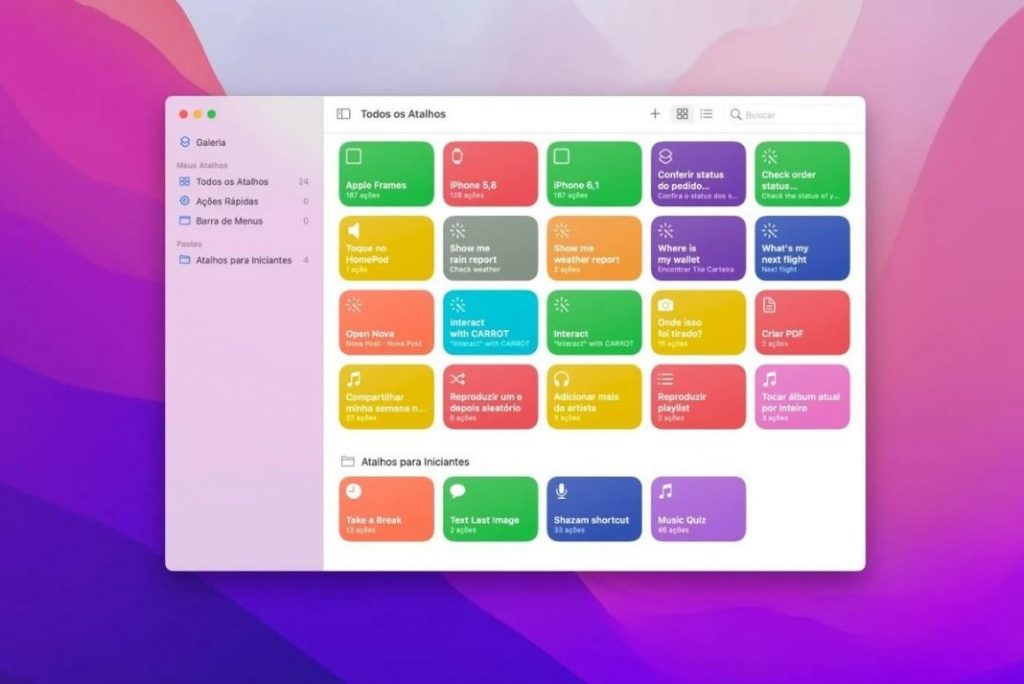
We are presenting a comprehensive guide stating the step-by-step process to create shortcuts in macOS Monterey on Mac.
Ours is a fast-moving world where users despise spending more than a few seconds to do a task. They do not like digging deep into your machine settings to perform the simplest tasks. Apple has always been known to offer consistency and ease of use to its users. So, Apple introduced a thoughtful feature known as Shortcuts that enables you to perform some repetitive tasks with just a couple of clicks.
Obviously, you need to spend quite some time creating the shortcut in the first place. But once you successfully create the shortcut, you will cut down the time spend to do the common Mac tasks. The Siri Shortcuts feature was already a part of iOS for a long time. But with the release of macOS Monterey, you can create the shortcuts on your Mac as well. For instance, you can create a shortcut to open the mail composer when it is triggered. Now, instead of going through a series of steps to compose a mail, you just need to trigger the shortcut to access the screen composer directly.
Also Read: [Fixed] Command R Not Working In macOS Monterey
If you are interested in this awesome feature, stay with us while we walk you through the guide about using Shortcuts in macOS Monterey.
How to Create Shortcuts in macOS Monterey
Note: There are tons of handy shortcuts available in the Shortcuts library on your Mac. However, you can still use third-party shortcuts to speed up a task. But it is essential to make sure that these shortcuts do not cause any security concerns.
Here we are showing you the step y step method of creating your shortcuts on Mac. Stay with us:
- First of all, launch the Shortcuts app on your Mac running on macOS Monterey. If the app is not present on the dock, summon spotlight and search for the Shortcuts app.
- In the Shortcuts app, look for the + icon on the top right corner and click it. This will open the shortcut creation window.
- Now you will find the search option on the top-right of the window. Use it to perform a search for actions.
- Next, we have to create a custom shortcut. To do it, drag the shortcut option present on the side panel towards the left pane.
- You are free to blend all the available options and build a complex shortcut of your choice.
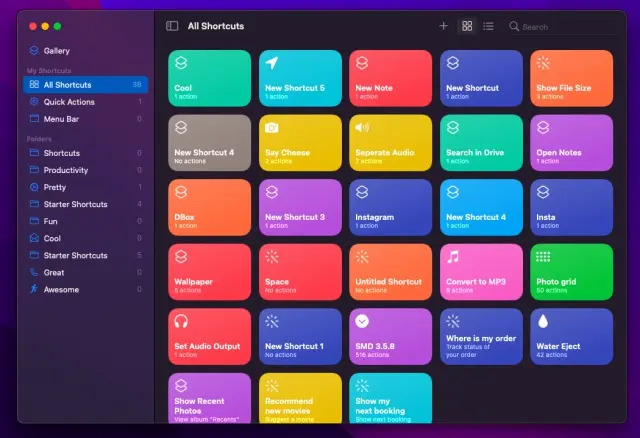
- Once you are done, click on the Shortcut name field, and you can provide a relevant name here. To avoid confusion, you can describe the task it will perform.
- Now it’s time for shortcut customization. For this, click on the photo placeholder.
- Now, you can pick an avatar from the several options available on the screen. While this is optional, it will give a personalized look to your shortcut.
- After you are done customizing your Mac shortcut and do not want to make any other changes, press the close button located in the top left corner of the shortcuts app.
- Finally, close the Shortcut app if you do not want to create another shortcut.
Voila! You’ve just created your very first shortcut on your Mac running on macOS Monterey.
If you want to create more shortcuts on your Mac, the process will be the same. Interestingly, you can even ask Siri to trigger the shortcuts you’ve created on your Mac.
Also Read: 9 Ways To Fix External Monitor Not Working After macOS Monterey 12.3 Update
How to add the Shortcut to the Menu Bar on Mac
Now that your shortcut is ready, you need to think of ways to quickly access the shortcut. The most convenient way is to add your shortcut to the menu bar of your Mac. Doing so will allow you to use the shortcut to perform the task without launching the shortcut app again and again. After all, shortcuts are meant to speed up the task, aren’t they?
Let’s see the steps to add the shortcut to the Menu Bar on Mac:
- Once again, launch the Shortcuts app on your Mac.
- Look for the All Shortcuts option on the left pane and expand it.
- Keep scrolling until you find the shortcut you wish to add on the menu bar of your Mac. Double-click it.
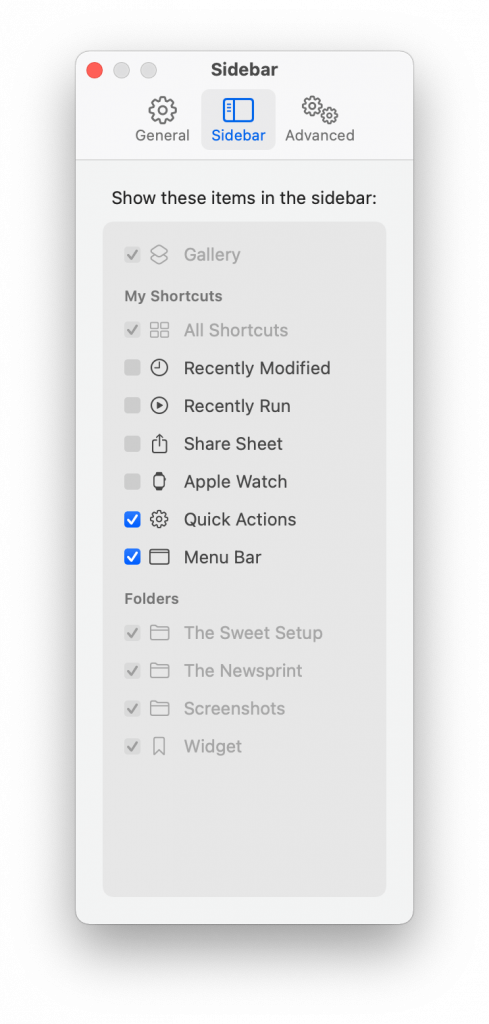
- Now, click on the three horizontal lines icon present in the top right corner of the shortcuts window.
- Next, switch to the Details tab and look for the Keep in Menu Bar option. Make sure to enable the checkbox preceding the option.
- As soon as you’ll do it, the shortcut will appear on your macOS menu bar.
- If, in the future, you do not want to see the shortcut on the menu bar, access the settings app in the same way as above.
- Now, remove the tick from the box preceding the Keep in Menu Bar box.
Also Read: How To Download macOS 12.4 Monterey Developer Beta
How to use a Shortcut as Quick Action
Apple allows you to use the shortcut as a Quick Action on macOS. For the uninitiated, Quick Action is a feature that enables you to craft workflows for the Services menu, Finder Preview pane, and on the MacBook Pro Touch Bar. Here’s how to use the Shortcut as Quick Action on Mac:
- Launch the Shortcuts app on your Mac using macOS 12 Monterey.
- Choose the All Shortcuts option present on the left sidebar.
- Now, double-click to expand the shortcut you need to modify.
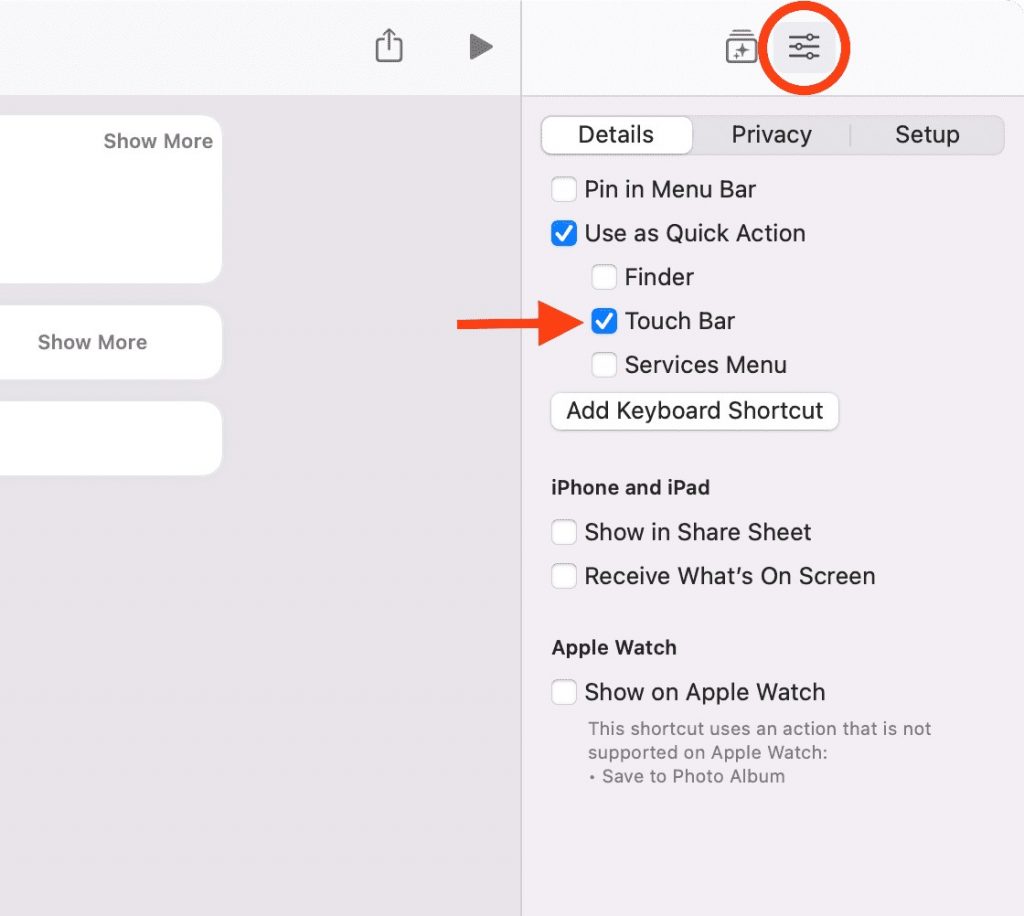
- Now click on the three horizontal lines located on the top right of the window.
- Switch to the Details tab and tick the checkbox for the Use as Quick Action option.
- You need to customize the shortcut you have to use as a Quick Action.
- You will also find an option to assign a keyboard shortcut to trigger the Mac Shortcut.
Also Read: Sound Not Working After Updating To macOS Monterey: Fixed
How to sync the Mac Shortcut with Apple Watch and iPhone/ iPad Share Sheet
After creating a shortcut on your macOS Monterey, you can access it on your iPhone, iPad, or Apple Watch share sheet. Here’s how to go about it:
- Access the Shortcuts app on your Mac.
- Now choose the All Shortcuts option.
- Double click a shortcut to edit it.
- Click on the three horizontal lines settings icon on the top-right corner and access the Details tab.
- Here you have to enable the checkboxes for the Show in Share Sheet and Show on Apple Watch options.
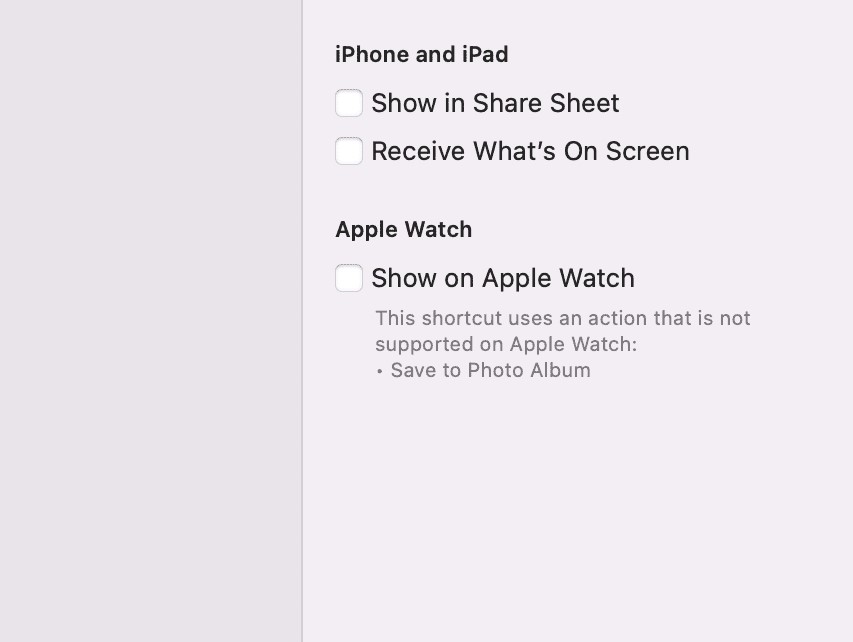
- When you will enable these options, this particular shortcut will be available on your iPhone and Apple Watch.
Also Read: Trackpad Not Working After macOS Monterey Update
Delete a Shortcut on your Mac running on macOS Monterey
If a shortcut is no longer needed, you can get rid of these shortcuts to avoid cluttering the shortcuts library. Here are the steps to delete a shortcut from the shortcut library:
- Launch the Shortcuts app on your Mac.
- Go to the All Shortcuts tab in the window.
- Now hold down the control key and click the shortcut to want to delete.
- A pop-up menu will appear. Click on the Delete button in the pop-up menu, and the shortcut will be gone forever.
Also Read: Drag And Drop Issues In macOS Monterey
Summing up
That’s all about the Shortcuts feature on your Mac running on macOS Monterey. Go ahead and craft your shortcuts to speed up your daily tasks on Mac. What’s your opinion of the new Shortcuts feature in macOS Monterey? We’ll love to know.


