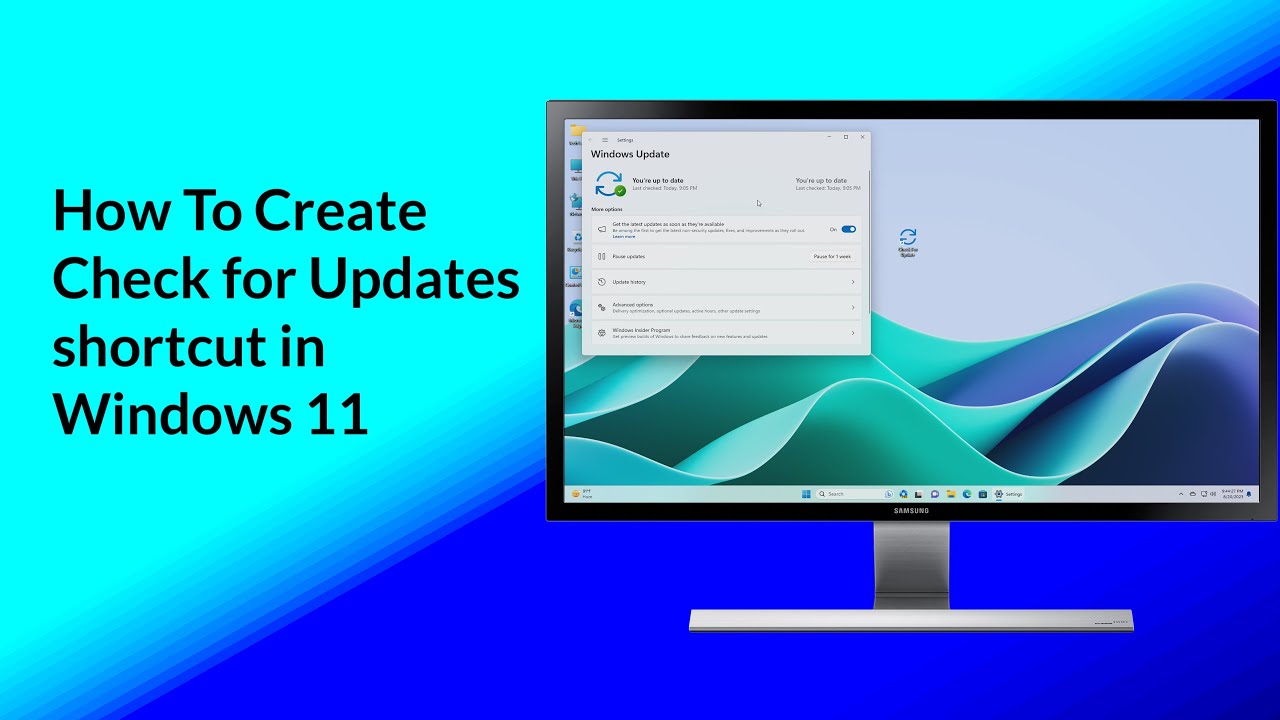
Windows 11, like previous versions of Windows, regularly rolls out updates to improve performance, security, and usability. However, manually checking for updates via the Settings app can sometimes be a tedious process. To streamline this, you can create a “Check for Updates” shortcut on your desktop, making it easier to ensure your system is always up to date.
In this article, we’ll walk you through a detailed, step-by-step process to create a “Check for Updates” shortcut in Windows 11. This SEO-friendly guide will help both novice and experienced users quickly access updates with just one click.

Table of Contents:
- Introduction: Why Create a “Check for Updates” Shortcut?
- Benefits of Automating Windows Updates
- Prerequisites for Creating the Shortcut
- Step-by-Step Instructions to Create the Shortcut
- Step 1: Right-click on the Desktop
- Step 2: Create a New Shortcut
- Step 3: Enter the Command
- Step 4: Name the Shortcut
- Step 5: Customize the Shortcut Icon (Optional)
- Testing the “Check for Updates” Shortcut
- How to Pin the Shortcut to the Start Menu or Taskbar
- Conclusion: Simplifying the Windows Update Process
Also Read- How To Search In Windows 11 File Explorer- A Detailed Guide
1. Introduction: Why Create a “Check for Updates” Shortcut?
Microsoft rolls out regular updates to keep Windows 11 secure and optimized. While these updates are often automatic, some users prefer to manually check for updates to ensure they’re running the latest version of Windows. Instead of navigating through the Settings menu each time, creating a shortcut allows you to access the update check process with just a single click.
2. Benefits of Automating Windows Updates
Creating a shortcut for checking updates offers several benefits:
- Time-Saving: Quickly access update checks without manually navigating through the Settings app.
- Convenience: One-click access to check for critical Windows updates at your convenience.
- Efficiency: Keep your system secure and up to date by easily reminding yourself to check for updates.
This small automation can be particularly useful for users who want to maintain tight control over when their system updates.
3. Prerequisites for Creating the Shortcut
Before creating the shortcut, ensure the following:
- You’re running Windows 11 on your device.
- You have administrative privileges to create and modify system shortcuts.
- Familiarity with basic desktop navigation and shortcut creation in Windows.
4. Step-by-Step Instructions to Create the Shortcut
Step 1: Right-click on the Desktop
- Begin by navigating to your desktop (press
Windows Key + Dif needed). - Right-click on any empty space on the desktop to open the context menu.
Step 2: Create a New Shortcut
- In the right-click context menu, hover over New and then click on Shortcut from the submenu.
- This will open the “Create Shortcut” window, prompting you to enter the location of the shortcut item.
Step 3: Enter the Command
- In the field labeled “Type the location of the item,” enter the following command:makefileCopy code
ms-settings:windowsupdate-actionThis command will open the Windows Update settings page and initiate an automatic check for updates. - Once the command is entered, click Next to proceed.
Step 4: Name the Shortcut
- Now, you’ll be prompted to give the shortcut a name. Type a descriptive name like:mathematicaCopy code
Check for Windows Updates - After entering the name, click Finish to create the shortcut. You will now see the newly created shortcut on your desktop.
Step 5: Customize the Shortcut Icon (Optional)
- Right-click the new “Check for Windows Updates” shortcut and select Properties.
- In the Shortcut tab, click on Change Icon. You will see a list of default Windows icons, but you can also browse to select a custom icon if you prefer.
- Once you have selected an icon, click OK and then Apply to save the changes.
This optional step helps you quickly identify the update shortcut on your desktop.
Also Read- How To Search For Keys, Values, And Data Inside Registry Editor In Windows 11
5. Testing the “Check for Updates” Shortcut
Now that the shortcut has been created, it’s time to test it:
- Double-click the shortcut you just created.
- The Windows Update section of the Settings app will open, and Windows will immediately check for available updates.
- If updates are available, you can download and install them directly from this window.
6. How to Pin the Shortcut to the Start Menu or Taskbar
To make the shortcut even more accessible, you can pin it to the Start Menu or Taskbar.
Pinning to the Start Menu:
- Right-click the “Check for Updates” shortcut on your desktop.
- Select Pin to Start from the context menu.
- The shortcut will now appear as a tile in your Start menu for easy access.
Pinning to the Taskbar:
- Right-click the shortcut again.
- Choose Show more options and then click Pin to taskbar from the extended menu.
- The shortcut will now be displayed directly on your Taskbar for even quicker access.
7. Conclusion: Simplifying the Windows Update Process
By creating a “Check for Updates” shortcut in Windows 11, you can streamline the update-checking process and keep your system up-to-date with ease. This one-click solution saves time and reduces the hassle of navigating through multiple menus. Plus, with the ability to pin the shortcut to your Start menu or Taskbar, keeping your system updated has never been easier.
With this guide, you can take control of your Windows 11 updates and ensure your system remains secure, fast, and feature-packed.
Also Read- How To Change Video Frame Rate For Game Recording In Windows 11
Frequently Asked Questions (FAQ):
- Can I create this shortcut for earlier versions of Windows?
- Yes, similar shortcuts can be created in Windows 10 using the same method, though the exact command might differ slightly.
- Will this shortcut automatically install updates?
- No, this shortcut will only check for updates. You’ll still need to manually choose when to download and install them.
- Can I schedule this shortcut to run automatically?
- While this guide focuses on manual use, you can combine the shortcut with Task Scheduler for automated update checks.


