If you’re using macOS Monterey or Big Sur, you can use the Music app to burn a CD. You have the ability to succeed!
In other words, get out of your cave and dust off your caveman clubs because we’re about to learn how to burn an audio CD on your good old modern Macintosh, yes indeed.
Anyone not familiar with CDs should know that they were immensely popular in the late 1990s and early 2000s before music streaming services like Spotify and Apple Music took hold. When you say “burn a CD,” what you’re really saying is “transfer a playlist from the music app to a CD so that it can be played in a CD player.” If this seems interesting to you, keep reading!
Also Read: macOS Monterey: Tips & Tricks
Why do Macs no longer come with optical drives?
The DVD and CD drive has long been a thing of the past for Apple, which has been trying to move customers to iCloud and away from physical media in general. (By removing the drive, Apple is able to reduce the thickness and weight of the MacBook.) Some Mac users find this technique inconvenient since they want to be able to burn and play CDs and DVDs.
Although it was debuted in June 2012, the 13-inch MacBook Pro did not go out of production until October 2016, when Apple announced that it will no longer be making the model. There haven’t been any Macs with optical drives sold since that date.
Also read: Mac keep Freezing After Installing macOS Monterey? Try These Fixes.
On a Mac, how to burn a music or audio CD?
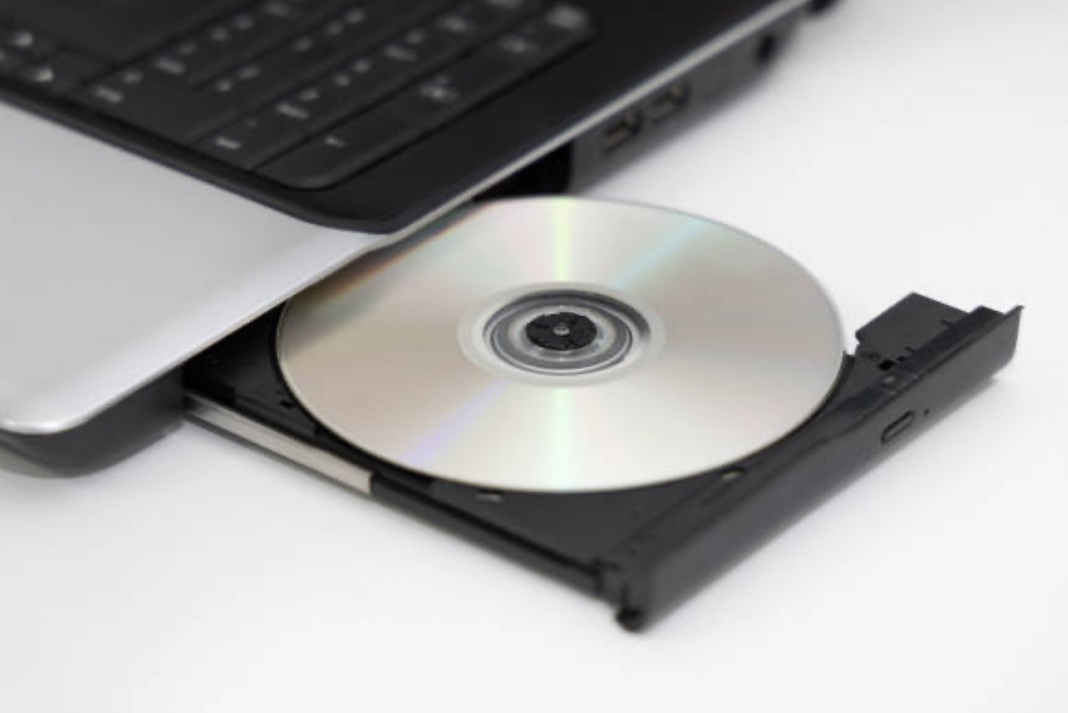
Because no new Mac comes equipped with a CD drive, you’ll need an external CDRW or Apple SuperDrive to burn a CD on a Mac. Make sure you have one and connect it to your Mac before you begin.
- Open the Music app on your smartphone or tablet.
- Select New > Playlist from the File menu.

- Drag and drop the music or audio you wish to burn on CD into your newly created CD playlist, or right-click and select “Add to Playlist” from the context menu if you prefer.
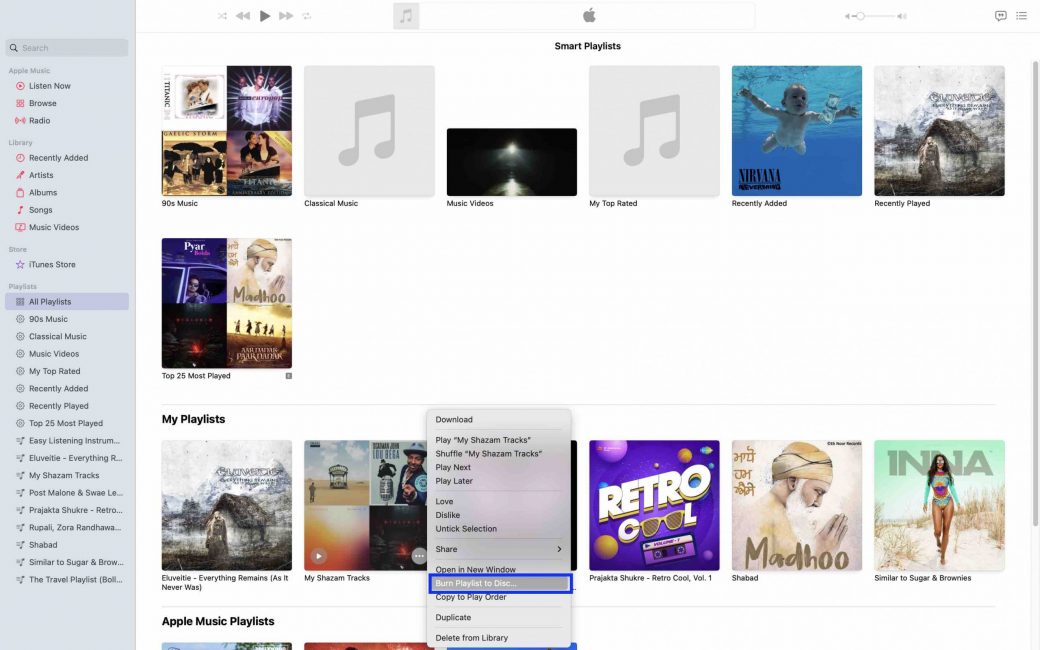
- Once the CD playlist constructs, select “Burn Playlist to Disc” from the “File” menu.

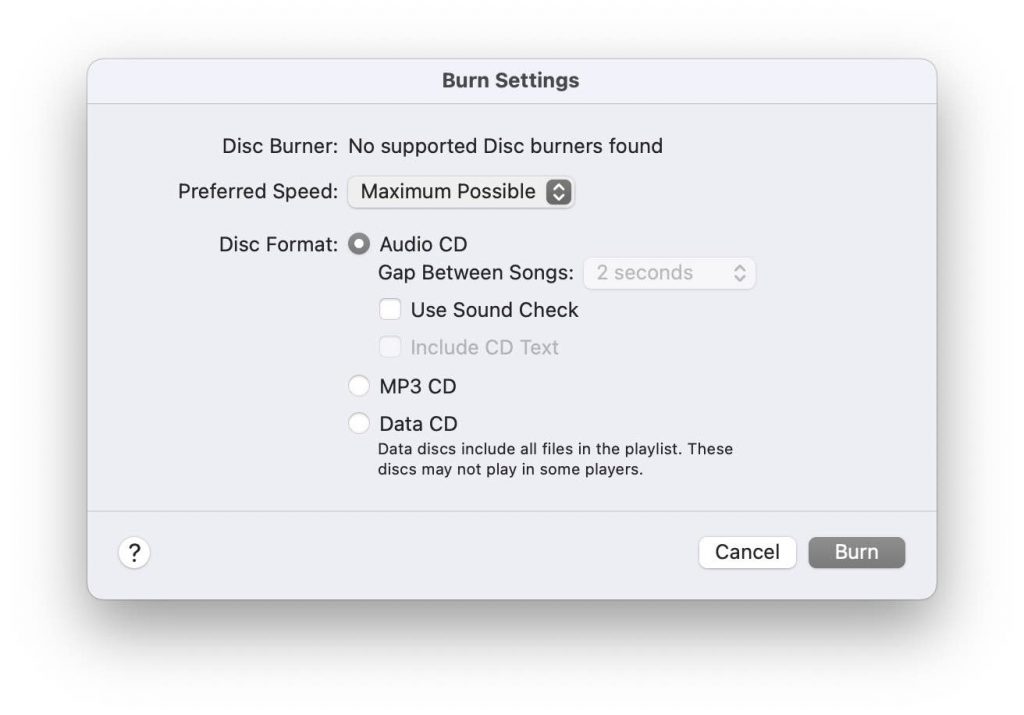
- Click “Burn” to begin the process of creating an audio CD that can be played on a standard CD player.
- The CD-RW or SuperDrive drive can be used to insert a blank CD and let the music CD rip and burn until it is finished.
You should expect between 5 and 30 minutes of burning time depending on the speed of the CD drive. it also depends on how much music or audio you have on your playlist.
Just eject the disc and you’re good to go. Whether it’s a car stereo or a record player, or anything else that can play CDs.
Also read:[Fixed] Trackpad Not Working After Installing macOS Monterey
Audio Files
Using high bitrate audio files will yield the greatest results. Since CDs do not require streaming audio like Spotify or Apple Music. You can choose the highest bitrate and just enjoy the high audio quality.
Please note that you can also use a CD or DVD as the storage media for data on a Mac, as opposed to merely an audio disc, and you can burn them directly from the Finder.
This guide is developed for iTunes, but the technique is exactly the same for Music. If you’re ready, you can also rip CDs on your Mac. CD ripping is a wonderful technique to store your CDs. Burning a CD is the polar opposite of this process.
Now that you’ve learned how to manufacture a CD and burn a disc directly from macOS, you’ll be able to do the same on any Mac that has the Music app installed. Give it a go!
Also read: Tips To Speed Up Mac After Installing macOS Monterey
The final words
So here’s how you Burn A CD In MacOS. However, it may take some time to burn songs to a CD. It depends on the volume of the music and the disc’s speed. From five to thirty minutes is typical. CD players will be able to play the disc at this point.
It is best to use high-quality audio files for the best results. If you want to get the most out of the audio. You can set the quality to the highest possible setting.
You may also burn CDs and DVDs from your Mac using the Finder application. Burning CDs to a Mac is also possible.
Also Read: How To Optimize MacOS Monterey


