If you’ve been experiencing high CPU usage in your macOS Ventura system, this blog post is for you. Various factors, including software and hardware problems, can cause high CPU usage.
This post will discuss common causes and solutions for high CPU usage in macOS Ventura. This post helps you get the most out of your macOS Ventura system.
Ways to Fix macOS Ventura’s High CPU Usage
The indexing of all the files and other data on your Mac begins automatically when you restart or update it to a newer version. Additionally, your Mac may occasionally slow down while indexing the data in the background. The mds_stores process is to blame for Mac’s high CPU usage. Here are several methods for resolving the problem.
Also Read: File “Can’t be Found” Prompts After Installing macOS Ventura 13.1: Solved
#1. Get Rid of Clutter to Speed Up Spotlight Indexing
If you use it frequently, your Mac may become heavily clogged with junk files and folders. Your Mac may have trash files due to various factors, such as logging and caching activities. The Spotlight Indexing process might be slowed down, and high CPU consumption can result from having a lot of garbage files on your Mac.
Your trash files will be instantly cleaned with only one click! Deleting unnecessary files before the indexing process is always preferable because it can take some time. Although there are several cleaning programs for macOS, CleanMyMac is our top pick since it is quick and easy to use.

#2. Stop using Spotlight Search
Turning off Spotlight entirely is one of the simplest ways to solve this problem. With the Terminal app, you can completely turn off the Spotlight feature. To turn off Spotlight, follow the instructions.
Step 1: Open the Terminal app.
In the Terminal app, run the following command: Run sudo mdutil -a -i off.
A prompt requesting your Admin Password may now appear. To enable the Terminal app to disable Spotlight, enter your password.
Also Read: Fixed – “Encryption Credentials Expired” on macOS Ventura [Printer Issue]
#3. Reduce Spotlight Indexing Data
Reducing the number of directories in the Spotlight Index is one of the initial fixes for the macOS high CPU issue. The problem can be fixed by removing a few files from the Spotlight index. To limit the amount of data that Spotlight indexes, follow the following.
Click the Apple logo to open the System Settings menu.
Select the Siri & Spotlight option.
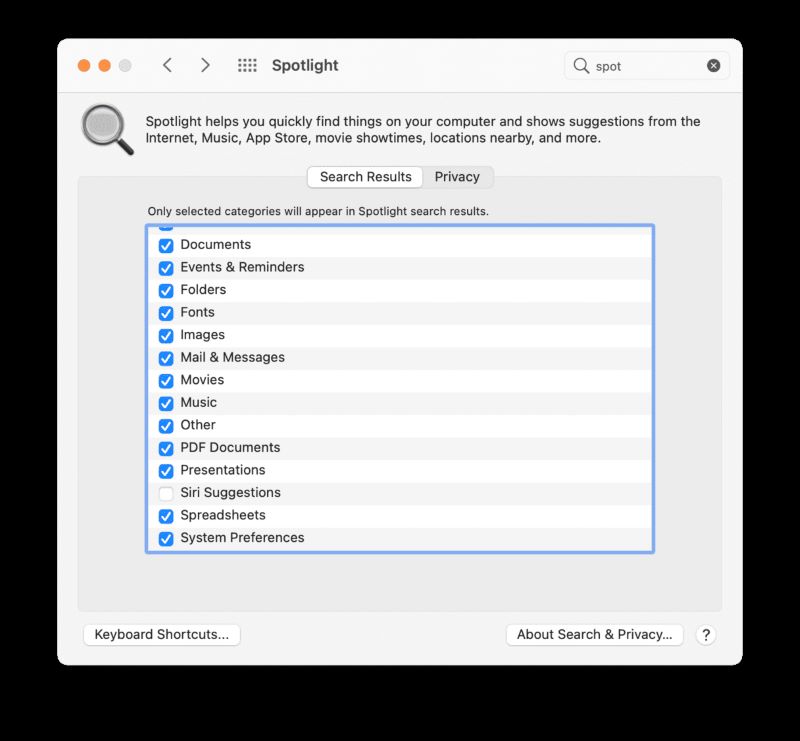
First, go to the Search Results area and uncheck the boxes for the searches that you do not want to appear in Spotlight. There are two sub-sections there: Search Results and Privacy.
Next, go to the Privacy area and add any locations you don’t want Spotlight to search by clicking the Plus (+) symbol.

#4. Upgrade to macOS Ventura 13
Update your macOS to address the mds_stores high CPU issue on the Mac. You may be experiencing this problem due to a flaw in the Mac version you are using right now. Update your macOS by looking for new updates.
You can verify that the problem has been resolved after updating the PC. Go to the About This System Tab by clicking the Apple icon and then upgrade your macOS. Go to the Overview area now, then select Software Update. Your computer will restart to check for fresh updates.
Also Read: USB Devices Not Working In macOS Ventura [Fixed]
How to fix high CPU usage by kernel_task process
The ‘kernel task’ task might be the root of the problem. This task uses a significant amount of your CPU resources. Notably, we are unable to terminate the ‘kernel task’ task. However, we may do some further actions to lower CPU consumption.
#1. Examine kernel_task with Activity Monitor
With the Activity Monitor app, you must first check the CPU consumption. To examine CPU utilization with the Activity Monitor app, follow the steps listed.
Launch Spotlight and type Activity Monitor. Select the Activity Monitor by clicking it.
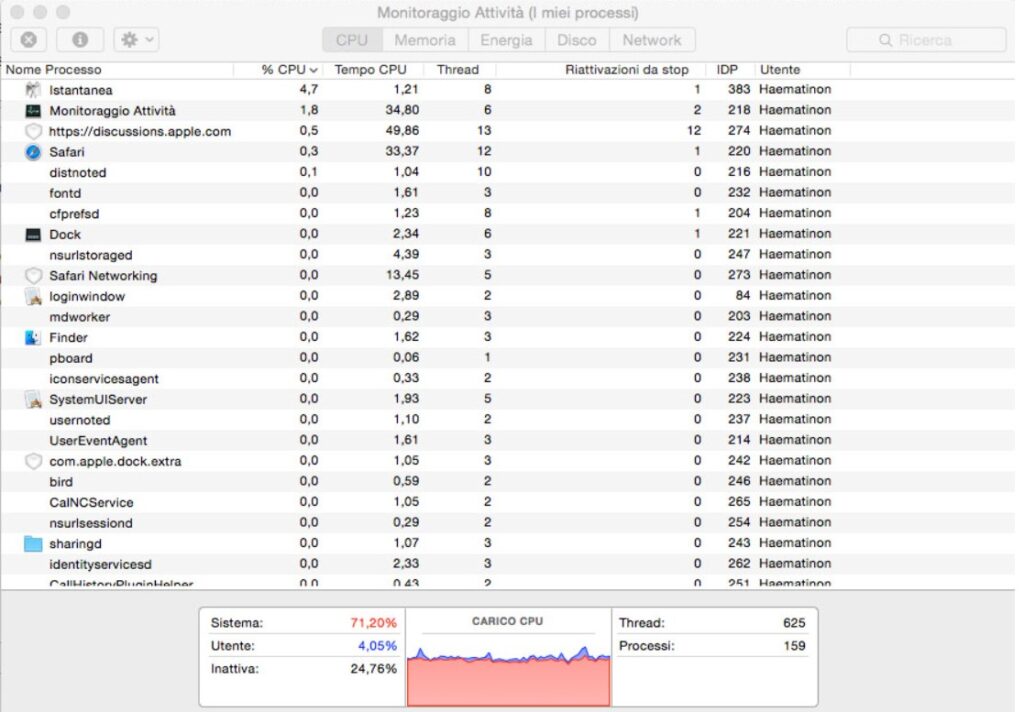
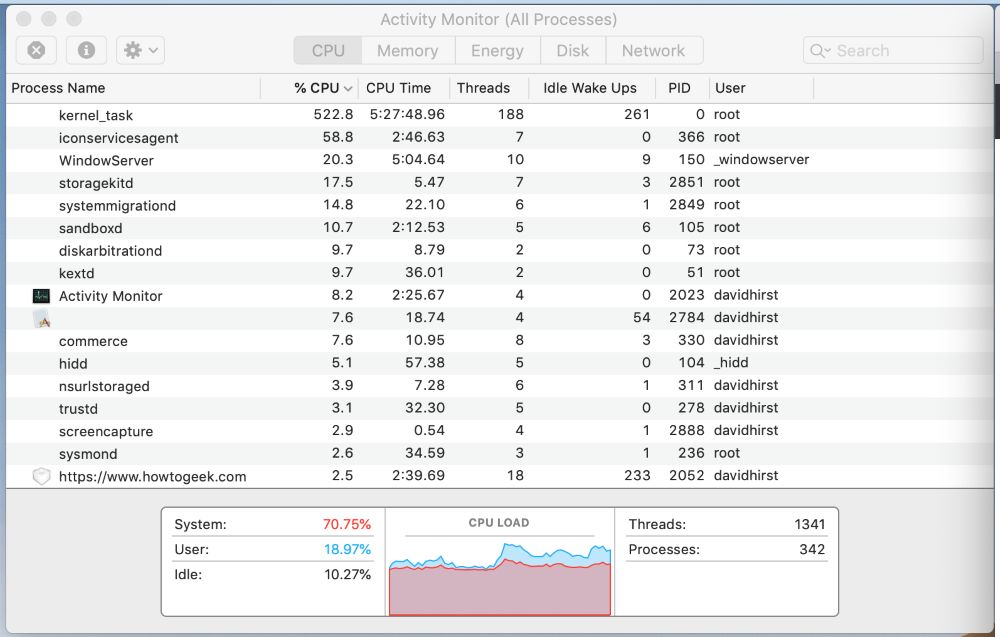
On the Activity Monitor app, select the %CPU to filter processes according to CPU utilization. On top, you’ll see mds_stores and kernel_task.
Select the kernel task; a graph with more details will appear below. You may view CPU consumption and the corresponding process for the kernel task process.

Also Read: How To Use Passkeys In macOS Ventura And iOS 16
#2. Verify Your Mac’s CPU Temperature
Kernel_task can occasionally assist with CPU temperature management. You must monitor your CPU’s temperature to avoid the kernel task process consuming many resources. This will allow you to rule out the possibility of your CPU causing the problem. To check your CPU temperature using the Terminal app, follow the instructions.
Launch the Terminal application.
Copy and paste the following command into the Terminal application: sudo powermetrics --samplers smc |grep -i "CPU die temperature"
At this point, you will notice your CPU temperature.
Wrapping Up
The fixes provided in the article could resolve the high CPU usage issue in macOS Ventura. Which of these fixes could effectively reduce your Mac’s CPU consumption? We will be glad to know.
Also Read: macOS Ventura – How To Turn Off Login Items Notifications


