Windows 11 offers a variety of features to enhance your user experience, and one such feature is the Basic Camera Mode. Whether you want to capture moments effortlessly or ensure your privacy by disabling the camera, managing this mode is straightforward. In this article, we’ll provide you with quick and easy tips on how to enable or disable Basic Camera Mode in Windows 11, ensuring you have full control over your device’s camera functionality.

What is Basic Camera Mode in Windows 11?
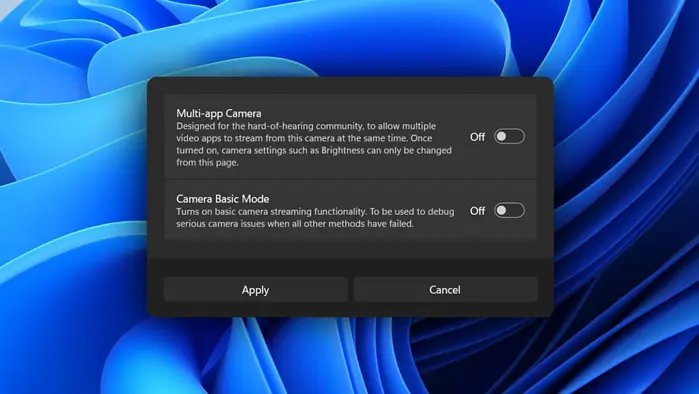
Basic Camera Mode in Windows 11 is a simplified camera interface designed for quick and easy photo and video capturing. It offers essential features without the complexity of advanced settings, making it ideal for users who prefer a straightforward experience.
Why Manage Camera Mode?
Managing your camera settings is crucial for several reasons:
- Privacy: Disable the camera when not in use to prevent unauthorized access.
- Performance: Optimize camera functionality based on your needs.
- Security: Ensure your device remains secure by controlling camera access.
Also Read- How To Resume BitLocker Protection For Drive In Windows 11
How to Enable Basic Camera Mode in Windows 11
Enabling Basic Camera Mode is simple and can be done in a few steps:
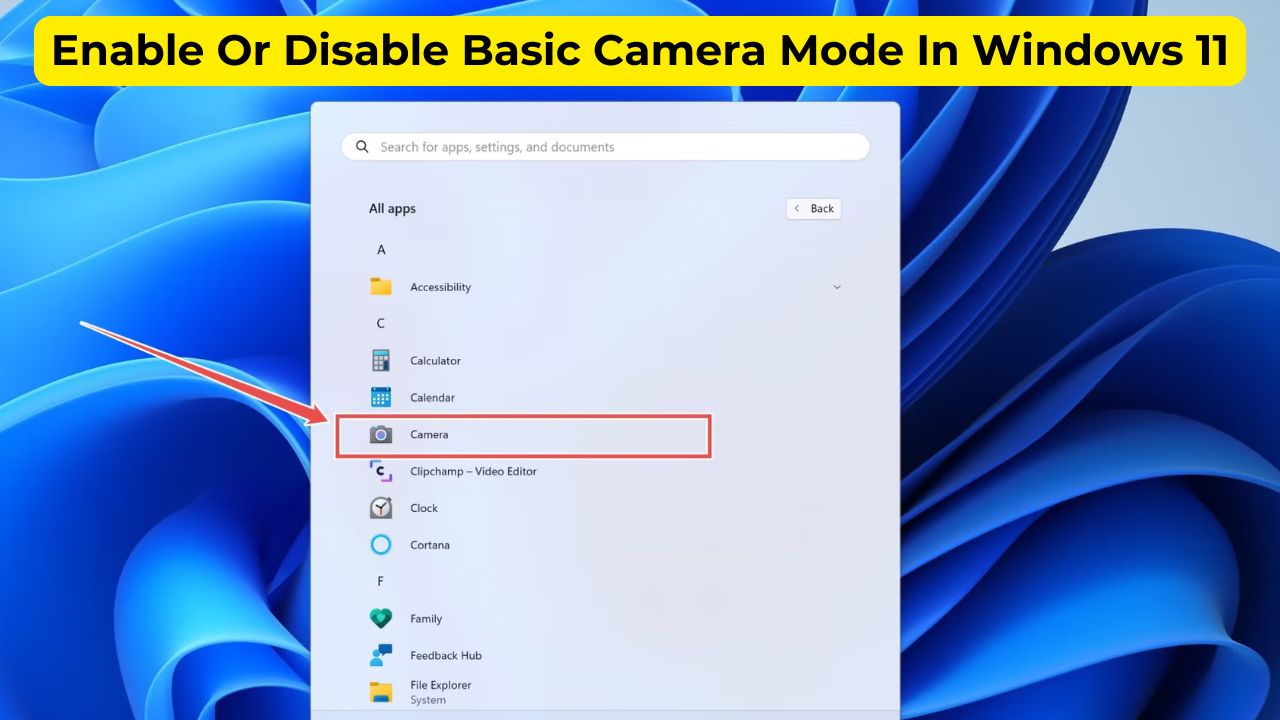
1. Open the Camera App
- Method 1: Click on the Start menu and type Camera in the search bar. Select the Camera app from the results.
- Method 2: Press Win + S to open the search, type Camera, and select the app.
2. Switch to Basic Mode
- Once the Camera app is open, click on the Settings icon (gear-shaped) usually located in the top right corner.
- In the settings menu, look for the Camera Mode option.
- Select Basic Camera Mode from the available options.
3. Confirm the Change
- The interface should now switch to the simplified Basic Camera Mode, allowing you to take photos and videos with ease.
How to Disable Basic Camera Mode in Windows 11
If you prefer using the advanced camera features or want to restrict camera access entirely, follow these steps to disable Basic Camera Mode:
1. Open the Camera App
- Use Method 1 or Method 2 mentioned above to launch the Camera app.
2. Access Settings
- Click on the Settings icon (gear-shaped) in the top right corner of the Camera app.
3. Switch to Advanced Mode
- In the Camera Mode section, select Advanced Camera Mode instead of Basic Mode.
- This will provide access to additional features like manual settings, filters, and more.
4. Disable Camera Completely (Optional)
If you want to disable the camera entirely for security or privacy reasons:
- Go to Settings > Privacy & security > Camera.
- Toggle off the switch for Camera access to prevent any app from using the camera.
Also Read: Turn On Or Off Updates For Other Microsoft Products In Windows 11
Additional Tips for Managing Your Camera in Windows 11
1. Update Camera Drivers
Ensure your camera drivers are up-to-date for optimal performance:
- Right-click on the Start button and select Device Manager.
- Expand the Cameras section, right-click on your camera device, and select Update driver.
- Follow the prompts to search automatically for updated driver software.
2. Adjust Camera Permissions
Control which apps can access your camera:
- Go to Settings > Privacy & security > Camera.
- Toggle on or off the apps you want to allow or deny camera access.
3. Use Third-Party Camera Software
For more advanced features, consider using third-party camera applications that offer enhanced controls and functionalities beyond the basic Windows Camera app.
Troubleshooting Common Camera Issues
If you encounter issues while enabling or disabling Basic Camera Mode, try the following solutions:
1. Restart Your Computer
A simple restart can resolve many camera-related issues.
2. Check for Windows Updates
Ensure your system is up-to-date:
- Go to Settings > Windows Update > Check for updates.
- Install any available updates and restart your computer.
3. Reset the Camera App
Resetting the Camera app can fix persistent problems:
- Go to Settings > Apps > Apps & features.
- Find Camera, click on the three dots, and select Advanced options.
- Scroll down and click Reset.
4. Reinstall Camera Drivers
If updating drivers doesn’t help, try reinstalling them:
- Open Device Manager, right-click on your camera device, and select Uninstall device.
- Restart your computer, and Windows will automatically reinstall the camera drivers.
Also Read- How To Change Maximum Storage Size For Recall Snapshots In Windows 11
Conclusion
Managing the Basic Camera Mode in Windows 11 is a simple yet effective way to tailor your camera experience to your needs. Whether you want a streamlined interface for quick captures or require advanced settings for professional use, enabling or disabling Basic Camera Mode is straightforward. Additionally, taking steps to update drivers, adjust permissions, and troubleshoot issues ensures your camera remains functional and secure.


