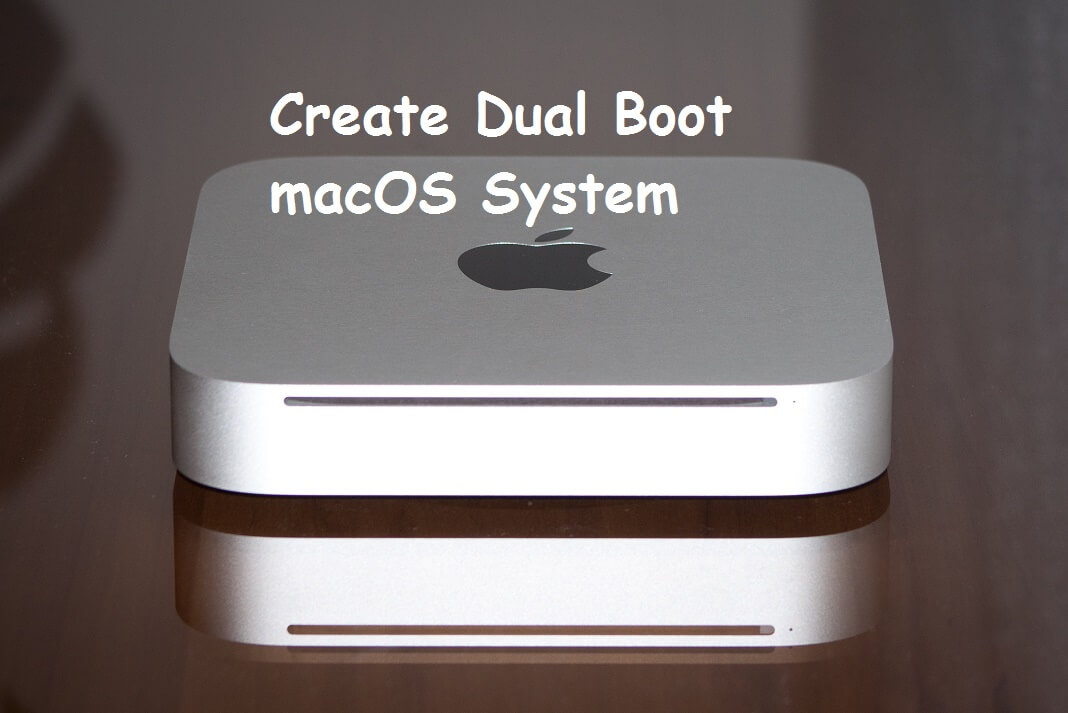
Over the last few years, Apple has been introducing new versions of operating system every year which add new features and improve the performance in the previous version. Apple runs under the philosophy that everyone should use the latest and greatest OS but newly introduced versions are never free from bugs and problems so most of us fear from upgrading due to its post consequences like system failure, incompatibility or instability. But, at the same time we also do not want to miss out on the new features or great performance added to the latest version of macOS, so many of us prefer to try things out first and upgrade a little later. You can easily do this by creating a dual boot Mac OS X system which will not harm your previous Mac OS X and also install the latest macOS version alongside. By saying dual boot Mac, means running two different version of OS (Operating System) which could be either two different Mac OS X versions or one Mac OS X and other as windows or Linux. Here in this article, we will be focusing on creating dual boot Mac by installing two different versions of OS X on two separate partition of the same hard drive. Those two different version of OS X would be Mac OS X 10.10 Yosemite and macOS Sierra 10.12. Though, you can use this guide to install and run any two different versions of Mac OS X System like macOS Sierra alongside Mavericks, Yosemite, El Capitan or macOS High Sierra provided your Mac is compatible with the latest version.
Let me tell you, there are at least three ways of running two different version of Mac OS X alongside on the same Mac. The first is to create a separate partition on your existing internal hard drive and install latest Mac OS X version on it while the second is to install latest version on an external hard drive and use it to boot your Mac by holding the option key during boot up and the option third is to install the latest version in a virtualization software like Parallels, VMware or Oracle’s free VirtualBox. In this post we will be creating the dual boot Mac OS X system using the first option.
What do you mean by creating dual boot Mac OS X System?
Creating dual boot Mac OS X system is a process of configuring or partitioning your Mac’s internal hard drive in such a way that you can install and run two different versions of OS X by restarting your Mac to either version. The most common use of dual boot system is to have Windows available on the same system alongside Mac OS X. The only drawback of dual boot system is that you can’t switch between different operating systems without restarting your Mac.
Why do you want to create a dual boot Mac?
For me the biggest benefit of creating dual boot Mac OS X system is that I can run two different versions of Final Cut Pro X installed on each OS X version. For any other Mac user, It can allow them to retain the legacy app and keep using them with the older version of Mac OS X and also use the newer OS X version whenever required for other new software which is only compatible with the latest macOS. For example, some older versions of Adobe Creative Suite, Intuit, Quicken, Avid Pro Tools, Serato DJ or Turbo Tax does’t work with newer version of Mac OS X. So here are the major reasons or benefits of creating a dual boot Mac OS X System.
- It allows you to retain the legacy App that may not be compatible with the new OS X version.
- It keeps your software, data and settings saved as it was, with the older partition and the older partition remain safe and sound.
- You can enjoy the taste of latest macOS version without risking having to loose important data or app or no boot situation.
- If you are an app developer, you will need to run and test your own app on different versions of macOS.
Note:- You can create multiple different boot disks partition and and install as many version of Mac OS X as you want. By using the term “dual boot” doesn’t mean you can only run two different version of Mac OS X. As a matter of fact you are only limited by the available free space on your boot disk.
Requirement of creating Dual Boot Mac OS X System:
- Back up your Mac before starting this process if you don’t want to take risk of data lose.
- Be sure the Mac supports latest version of Mac OS X or macOS for the download and installation.
- Make sure you have sufficient hard disk space to create a new partition to run macOS – You should have at least 30 GB free disk space for a better result.Follow the steps to free up more space if you are running low on disk space.
- Create a new partition on your Mac’s internal hard drive.
- Download macOS Sierra installer app from the App Store.
- Sign up at https://beta.apple.com/ to get the macOS High Sierra public beta in case you want to install macOS High Sierra Public Beta for dual boot.
Howd-and-install- to create a dual boot Mac OS X System?
In order to create a dual boot Mac OS X system, first of all we will create a separate hard drive partition and install the latest version of macOS on the new partition and then set the desired version of macOS as the default startup disk.
# 1. Create a New Partition
By default, every Mac is shipped with a single partition on its boot disk ( Internal hard drive). Partitioning is basically shrinking of the existing partition to take some free space out and create a separate, usable partition out of it. So you can not partition your Mac’s internal hard drive if you are running low on free space but you can try using an external drive, instead. Partition the internal hard drive does not require you to reformat the drive and will not lose any data.
- Launch Disk Utility.
- Select your internal hard drive on the left that shows the capacity and not the Volume which appears indented below the drive.
- Click on the “Partition” tab at the top.
Partition your hard drive for creating dual boot Mac OS X System - Click on the “+” icon to add a new partition, name it ‘macOS Sierra’, or leave whatever it chooses automatically as in mine “Macintosh HD 2”.
- Type the size of new partition you want in the size field or just leave the default as set by the disk utility.
- Make sure the Format is selected as “Mac OS Extended (journaled)”.
- Click on ‘Apply’ and confirm the warning message by clicking on partition.
Partitioning the internal hard drive for creating a dual boot Mac - Once the process is completed, you will see two volume indented below the main hard drive name on the left.
Dual-boot-Partition
What if You Can’t Create a New Partition
If you have the FileVault encryption enabled disk utility will refuse to create a new partition and you must turn the FileVault off before creating the new partition.Sometime you may not be able to create a second partition, because you already created a Boot Camp partition which you will have to delete first and then try again.
# 2. Installing macOS Sierra on New Partition – Machintosh HD 2
- Launch the macOS Sierra Installer from the /Applications/ folder on your Mac, it is currently labeled as “Install macOS Sierra.app”.If you haven’t yet downloaded the macOS Sierra, you can download it from Mac App Store.
Installing macOS Sierra - Follow the setup process as usual, when you get to the disk selection screen, click “Show All Disks”.
Select the second partition to install macOS Sierra on it - Choose “Macintosh HD 2- the new partition you created” from the list, then click on “Install” to begin installing macOS Sierra onto that partition.
Installing macOS Sierra on other partition for creating dual boot Mac - Let the installation run itself, your Mac will reboot to complete the process, and your computer will automatically boot into macOS Sierra when installation is completed.
# 3. Setting your default boot drive to macOS Sierra or OS X Yosemite
Once you are booted to macOS Sierra you can access all the files and folder on your Mac but preserves the other stable operating system which is OS X Yosemite. If you want to boot your Mac into OS X Yosemite, you can either restart your mac and hold the option key immediately after startup chime sound and select OS X Yosemite from the list or change the startup disk selection to OS X Yosemite from Startup Disk applet in System preference.
- Click on Apple icon at the top left hand corner of the screen and select System Preferences.
- Choose Startup Disk.
- Click on the lock icon at the bottom and supply the administrator password.

Setting default startup disk to macOS Sierra - Click to choose the desired OS to make it default boot.
You can also watch this YouTube video for the whole process of creating a dual boot Mac OS X system with Yosemite and macOS Sierra.
Uninstalling macOS Sierra or reverting to Single OS X Yosemite boot
If you do not find macOS Sierra enjoyable as expected, you may decide to uninstall it and claim the extra hard drive space back. You can do this from disk utility – Simply delete the new partition “Macintosh HD 2” that you created in step 1. This will resize the previous partition back to its original state. Remember deleting the partition will erase all the data on the affected volume, so backup any files or folder that you want from macOS Sierra installation.
To delete the partition:
- Open Disk Utility from /Application/Utility folder.
- Select your internal hard drive on the left that shows the capacity and not the Volume which appears indented below the drive
- Click the Partition tab and highlight the partition “Macintosh HD 2”.
- Click the ‘-‘ sign and click Remove to confirm.
- Now use the drag handle to claim the free space back released by the deleted partition.
- Click Apply and choose partition to confirm resizing.
- In steps 1 above, I left the new partition name as “Macintosh HD 2” but you can name it anything you want such as “macOS Sierra” to distinguish it at startup manager screen and to boot into the desired OS in dual boot Mac environment.
- While dual boot Mac OS X systems allow you to choose between operating system you want to install and run but you can’t switch between them without restarting your Mac.
- If you do not have sufficient free space on your Mac’s internal hard drive, you can also install macOS Sierra onto an external hard drive, a USB drive, a Firewire disk, or even an SD card, and enjoy the same dual boot Mac OS X system between the macOS Sierra and the OS X Yosemite.


