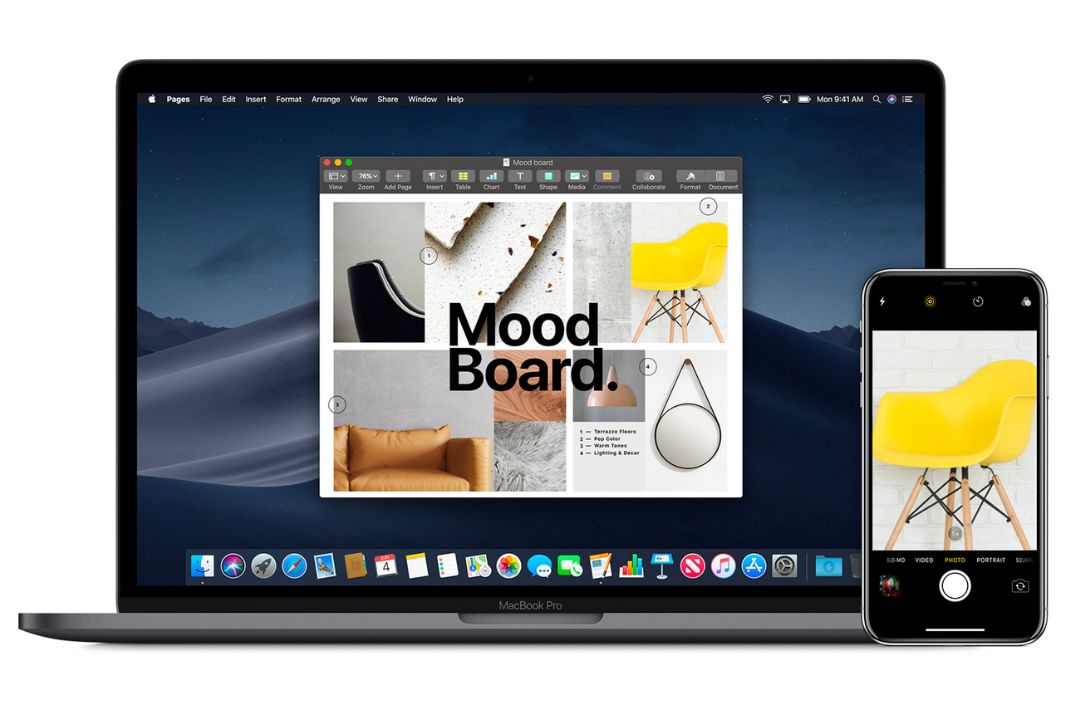
At Worldwide Developer Conference (WWDC), Apple unveiled its newest software lineup for its products. The Continuity Camera is one of the greatest updates to iOS 16 and macOS Ventura. Using a Continuity Camera Webcam, you can use your iPhone as a wireless camera for video calls on a Mac. If Camera Continuity does not perform on your Mac, ensure you have enabled all required settings and that all conditions are met. In this article, we’ll look at practical solutions for fixing Continuity Camera not working issues on iOS 16 and macOS Ventura.
Also Read: Everything About Continuity Camera Feature In macOS Ventura
How the continuity camera feature works
The continuity camera feature uses the iPhone camera as a webcam on a Mac. It operates with other apps, including Zoom, Microsoft Teams, Google Meet, and FaceTime.
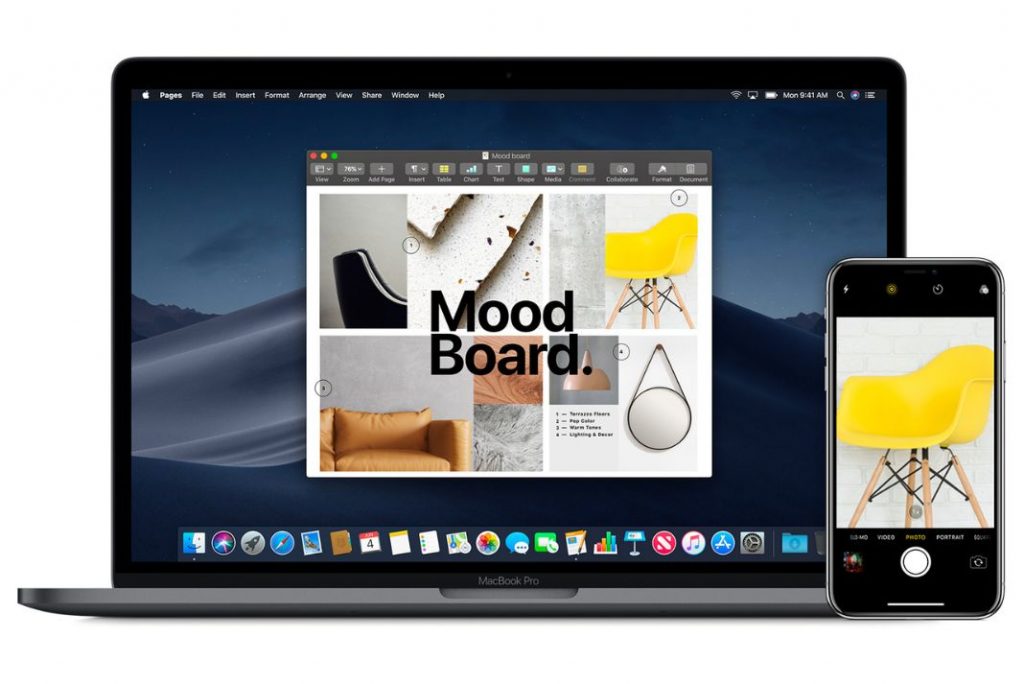
The Continuity Camera feature has a Take Photo and a Scan Documents feature.
1# Taking a Picture
Follow these steps to import a picture into a program like Apple Keynote.
- Right-click the preferred location for the picture within the compatible macOS Mojave application.
- Select Take Photo from the context menu by hovering your mouse over the Import from iPhone or iPad option.
- Take the picture using your iPhone or iPad, then choose Use Photo.
- The picture is moved to the Mac location and application you selected.
2# Document Scanning
For scanning a document into your app, follow these steps.
- Right-click the preferred location for the document in the supported application on macOS Mojave.
- Choose the Import option on iPhone or iPad from the context menu, and then choose Scan Documents.
- On an iPhone or iPad, ensure the document you like to scan is visible to the camera; the device will scan it automatically if it can catch it. By tapping the camera button, you can easily do a scan.
3# System Requirements for Continuity Camera feature
- Ensure that the macOS Ventura and iOS 16 are installed on your Mac and iPhone.
- For the Continuity Camera feature to perform, your device must be an iPhone XR or a more recent model.
- You must have an iPhone 11 or a newer model to access Desk View and Center Stage.
- You need an iPhone 12 or a newer model to access Studio Light.
- The same Apple ID must be paired with both your iPhone and Mac.
- Bluetooth, Wi-Fi, and Continuity Camera Webcam on both devices should be turned on in the iOS General Settings (which is on by default).
Also Read: Downgrade macOS Ventura Beta To macOS Monterey
How to enable Camera Continuity Feature
On iOS 16, the Continuity Camera Webcam is turned on by default. If you disable the feature, your iPhone will stop functioning as a webcam for the Mac. Make sure it is turned on, or try turning it off and back on to see if that helps. This is how you do it:
- Log into your iPhone’s Settings.
- Visit General.
- Select AirPlay & Handoff from this page.
- Turn on the Continuity Camera Webcam toggle on the following screen.
If you are unable to use the Camera Continuity Feature despite fulfilling the above requirements, follow the methods below.
Check Apple ID on iPhone and Mac
- Open the AppStore application on your MacBook.
- View My Account by selecting Store from the top menu by clicking on it.
- Note down the Apple ID.
- Now go to Settings > Your Account name on your iPhone and verify the Apple ID.
- Verify that your Apple ID is the same across both of your devices.
Also Read: How Apple Maps Multi-Stop Routing In iOS 16 Is Different From iOS15?
Disable/Enable Bluetooth and Wi-Fi
Your devices should be close together, and Bluetooth and Wi-Fi should be turned on if you plan to use the continuity camera over a wireless connection. Here is how to enable or disable Bluetooth and Wi-Fi on your Mac:
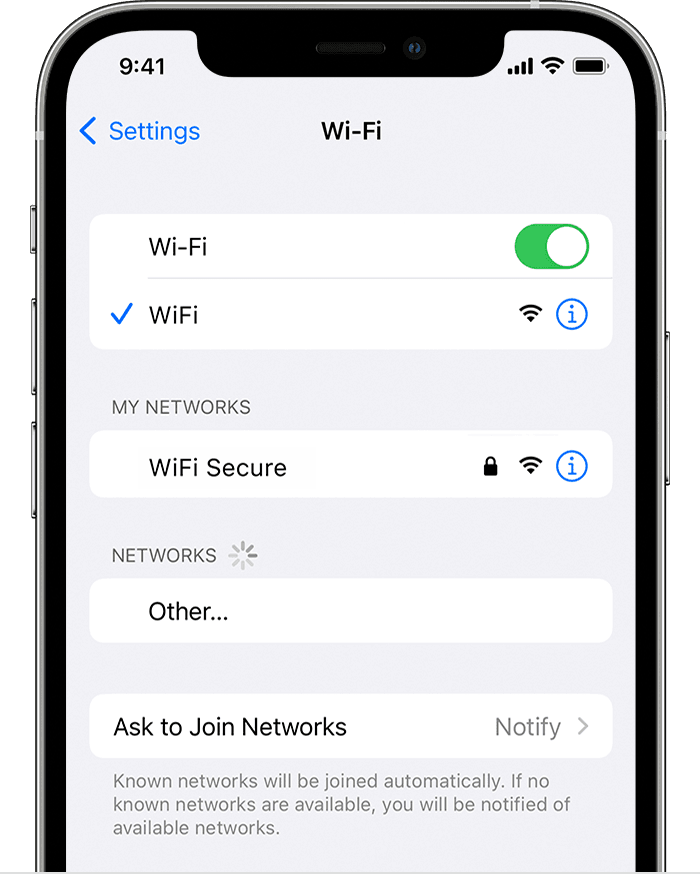
- To open the Control Center, click the icon on the right side of the menu bar.
- Next, select Wi-Fi from the menu.
- An overlay menu with Wi-Fi options will appear. Enable or Disable the Wi-Fi toggle.
- To return to the Control Center panel, click anywhere on the overlay menu. Then select Bluetooth from the menu.
- Turn on the Bluetooth toggle from the overlay menu.
Reset Handoff feature
On your iOS device, go to Settings > General > Reset > Reset Network Settings.
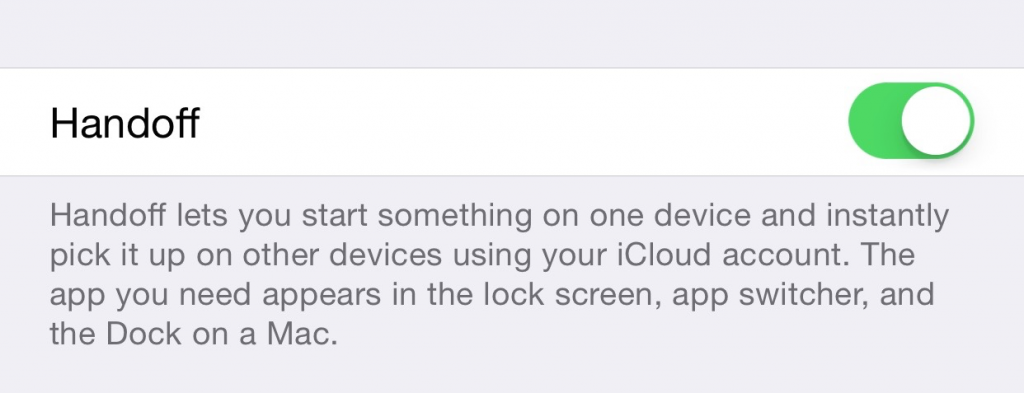
After that, you must enter the device passcode and click Reset Network Settings. Next, Reconnect your device to a Wi-Fi network this time to see if the Handoff is reset successfully.
Also Read: All About Safety Check Feature In iOS 16
Enable 2FA on Apple ID
Two-factor authentication must be enabled on your Apple ID for the continuity camera feature to function. Here’s how to make your Apple ID two-factor authenticated:
- Launch the iPhone’s Settings app.
- Select Password & Security from the menu.
- Next, select Enable Two-Factor Authentication.
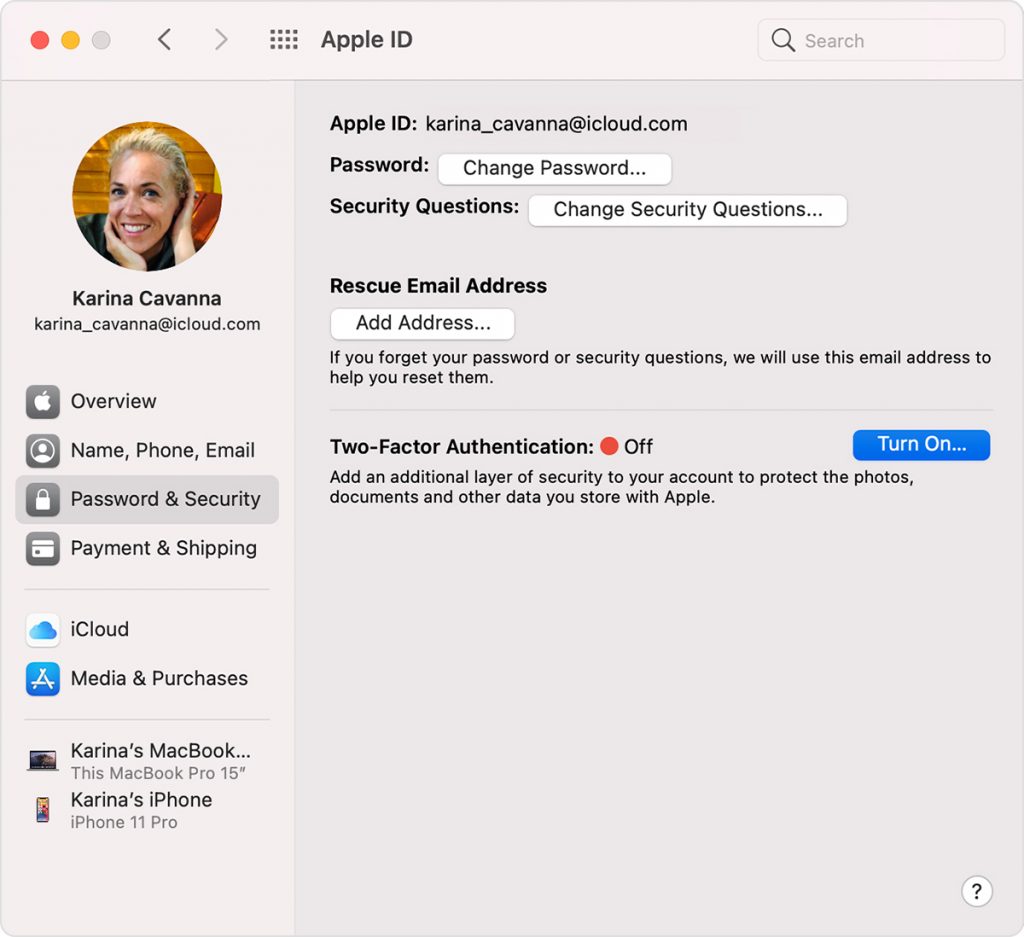
- Click Continue and type the phone number you want to use to get your sign-in verification codes.
- You can receive the codes by text message or automated phone call. After selecting the choice, press Next.
- To confirm your phone number, enter the code you will be sent via your preferred method.
On your iPhone, two-factor authentication is now enabled.
Check for the latest Software Update
The Continuity Camera feature is only supported by iOS 16 and macOS Ventura. If you don’t update these versions, you won’t be able to use this feature. Check the software versions on your Mac and iPhone.
For a Mac:
- Click the Apple logo and choose Software Update.
- Verify that the most recent Ventura version is installed on your Mac after the prompt appears.
- Try updating it to macOS 13 Ventura if not.
Apple iPhone:
- Start your iPhone’s Settings app.
- Afterward, tap the General.
- Select Software Update here.
- Verify that iOS 16 Beta versions are installed on your iPhone.
- If not, then download the most recent updates for your iPhone.
- Your Mac and iPhone can now both use the Continuity camera feature.
Also Read: How To Use iCloud Shared Photo Library On iOS 16
Conclusion
These were the troubleshooting techniques to resolve the macOS Ventura and iOS 16 Continuity Camera, not working issues. I hope the above article makes it easy for you to use your iPhone as a webcam for calls on a Mac.


