In the digital age, personalizing your workspace can significantly enhance productivity and ease of use. One such aspect of customization in Windows 11 involves rearranging icons on the taskbar. This not only allows for a more organized desktop but also ensures that your most frequently used apps are readily accessible. In this comprehensive guide, we’ll walk you through the process of rearranging taskbar icons in Windows 11, ensuring that even novice users can follow along easily.

Understanding the Windows 11 Taskbar
Before we dive into the steps, it’s crucial to understand what the taskbar is and its functionality. The taskbar in Windows 11 is a horizontal bar located at the bottom of your screen by default. It displays the Start button, pinned applications, the notification area (system tray), and any app that’s currently running. Customizing this area can lead to a more streamlined workflow.
Also Read- Enable Or Disable Feeds On Widgets Board In Windows 11
How to Rearrange Taskbar Icons in Windows 11

Rearranging taskbar icons in Windows 11 is a simple and straightforward process. Here’s how you can do it:
Step 1: Unlock the Taskbar
By default, the taskbar in Windows 11 is locked to prevent accidental rearrangements. However, in most cases, Windows 11 keeps the taskbar unlocked, allowing for easy customization. If your taskbar is locked, you can unlock it by right-clicking on an empty space on the taskbar, selecting “Taskbar settings,” and then toggling off the “Lock the taskbar” option. However, as of my last update, Windows 11 doesn’t include a direct option for locking or unlocking the taskbar like previous versions, indicating the taskbar is generally unlocked for customization.
Step 2: Rearrange Icons
- Locate the Icon: Hover over the taskbar and find the icon you wish to move.
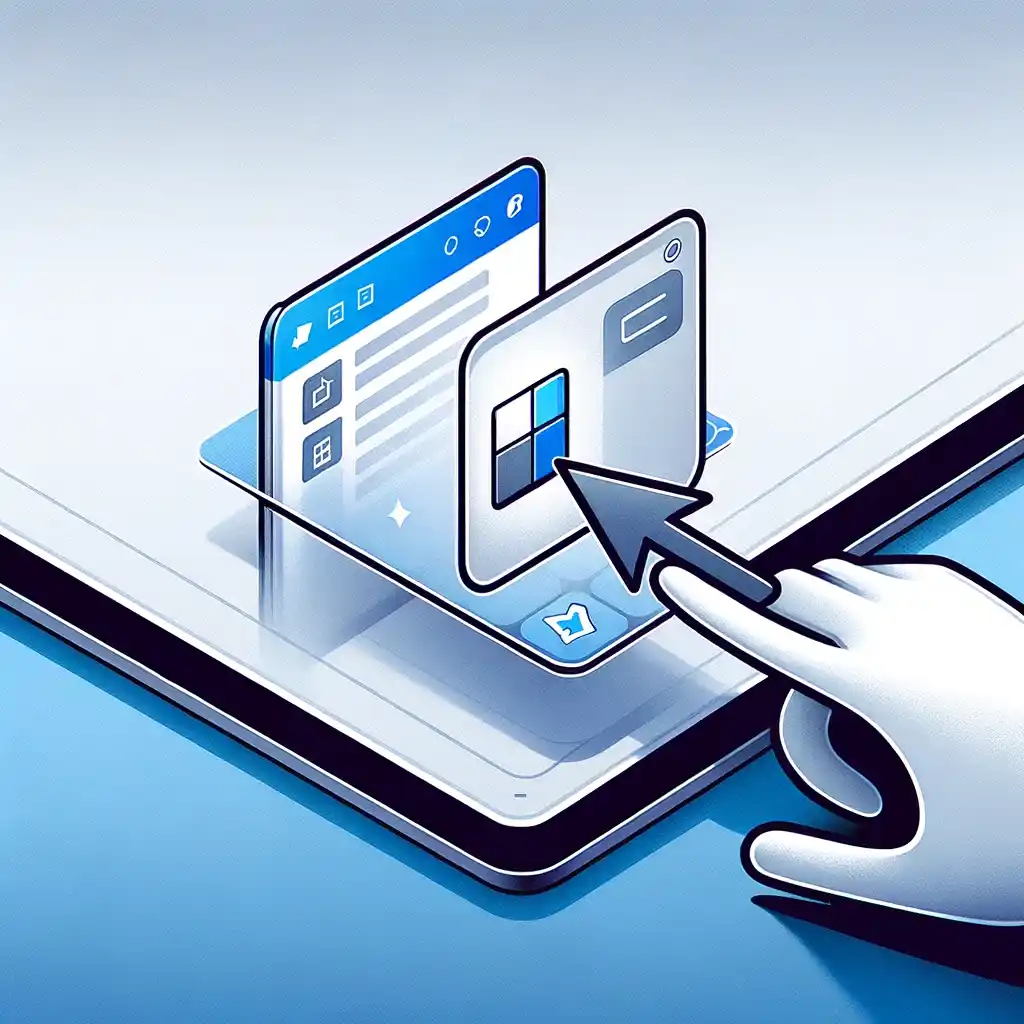
- Click and Drag: Click on the icon and, without releasing the mouse button, drag it to your desired location on the taskbar.
- Release the Mouse Button: Once the icon is positioned where you want it, release the mouse button to drop the icon in place.
Repeat these steps for each icon you want to rearrange. This process allows for a highly customized taskbar layout, tailored to your workflow.
Step 3: Pinning and Unpinning Apps
To further customize your taskbar, you can pin your most-used apps for quick access:
- To Pin an App: Search for the app in the Start menu, right-click on it, and select “Pin to taskbar.”
- To Unpin an App: Right-click on the app icon on the taskbar and select “Unpin from taskbar.”
Step 4: Adjust Taskbar Settings for Additional Customization
Windows 11 offers additional taskbar customization options in the Settings app. To access these, right-click on an empty space on the taskbar and select “Taskbar settings.” Here, you can adjust the alignment of the taskbar, choose which icons appear on the taskbar, and more.
Also Read- What Is Tiny 11 For Windows | Play Games On Tiny 11 Without Lag…
Tips for Effective Taskbar Management
- Group Similar Apps: For ease of access, consider grouping similar apps together. For instance, you could have all your productivity apps in one section and entertainment apps in another.
- Utilize Taskbar Corner Overflow: Windows 11 introduces the Taskbar corner overflow, which houses less frequently used icons. Use this feature to keep your taskbar uncluttered.
- Regularly Review Your Taskbar: Over time, your workflow and frequently used apps may change. Periodically review and update your taskbar arrangement to match your current needs.
Creating Custom Taskbar Layouts
Beyond basic rearrangement, Windows 11 allows for further customization through third-party software. Tools like TaskbarX offer advanced features like centering icons, transparency effects, and more. These applications can help you achieve a unique look and feel for your taskbar, further personalizing your Windows 11 experience.
Conclusion
Customizing the taskbar in Windows 11 by rearranging icons can significantly enhance your productivity and user experience. By following the steps outlined in this guide, you can tailor your taskbar to fit your personal workflow and preferences, making your most-used applications always within easy reach.
Remember, personalization is about making your digital workspace work for you. Don’t hesitate to experiment with different layouts and settings to find what best suits your needs.


