Microsoft has allowed users to run Android apps in Windows 11. This is very celebrating news for the Windows user base since it is now possible for the users to download and enjoy the Android apps not only on the Smartphone but also on the large screen of their Windows 11 PC. Microsoft has introduced a complex system to make it possible to run Android apps on Windows 11. This is known as WSA, the acronym for Windows Subsystem for Android. As said, the technology behind running Android apps is seriously complex, there is a great chance that sometimes you may run into issues like Android Apps Not Working on Windows 11.
Windows Subsystem for Android or WSA is built up using components like Linux kernels and the Android US to give you a seamless experience of Android apps. Since the co-dependencies are vast, there is a huge probability that the apps may be crashing or fail to work properly at all.
Read: How To Install Windows 11 On An Android Phone?
Since it is a software-based issue, it is easy the handle and resolves easily with Android apps running on Windows 11. If you are someone who keeps running into issues with Android apps on Windows 11 sooner or later, this article will be of great help to you. In this article, we have addressed different issues related to Android apps not working in Windows 11 and have listed several methods to resolve this issue. Let’s deep dive into the article.
Also Read: How To Run Older Software On Windows 11
Issue 1: Android Apps Do not work on Windows 11
This is one of the primary issues that users are facing after successfully installing Android apps on Windows 11 PC. If you are facing the same problem with the Android apps, let’s check out what can be done to fix the situation:
Update the Windows Subsystem for Android (WSA)
WSA has the most important role to play to successfully run Android apps on Windows 11. Hence, you need to have the latest version of the Windows Subsystem for Android (WSA) installed on your Windows 11 PC. This is because Microsoft keeps ruling out the bugs in WSA and improves its performance by rolling out new updates. Let’s see how to manually update the sub-system:
- First of all, you need to open the Microsoft Store on your Windows 11 PC. To do this you can either tap the store icon from the app grid in the Start menu or search for the Store in the search box of the Start menu.
- When you’re in the Microsoft Store window, you need to open the Library from the bottom left corner.
- Here you will see all the apps that you need to upgrade on your Windows 11 PC.
- Look for the ‘Windows Subsystem for Android’ app and press the Update button in the right column of the table.
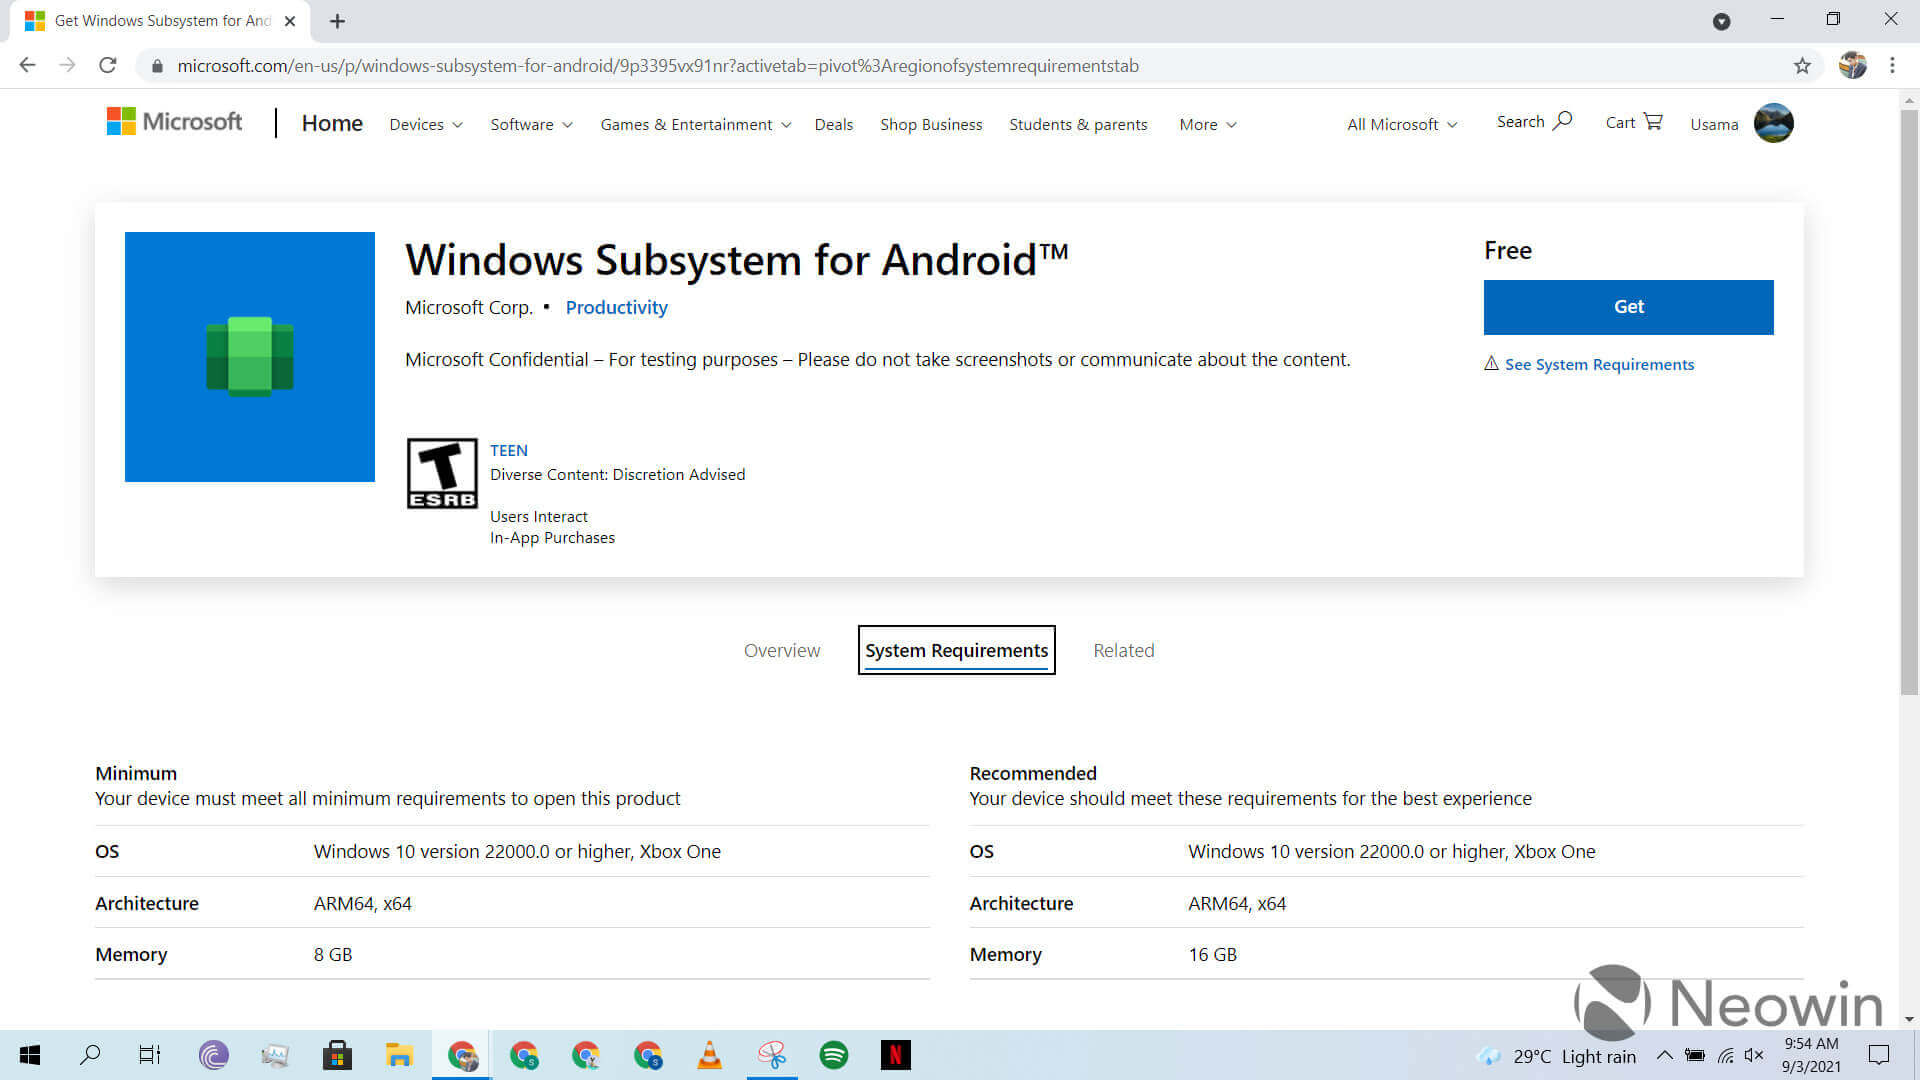
- After WSA is updated, try to restart your PC and see if the Android apps work fine now.
Re-launch Windows Subsystem for Android
This may seem very obvious and incapable of resolving the error. But, believe me, it can work like a charm! This is so because when you force quit an app on your Windows 11 PC, the erroneous settings or random bugs are flushed out. Hopefully, a fresh start will be free of any such issues. Let’s see how to do it:
- First of all, open the Start menu and type ‘Windows Subsystem’ in the search box.
- Click-open the first suggestion to open the WSA on your PC.
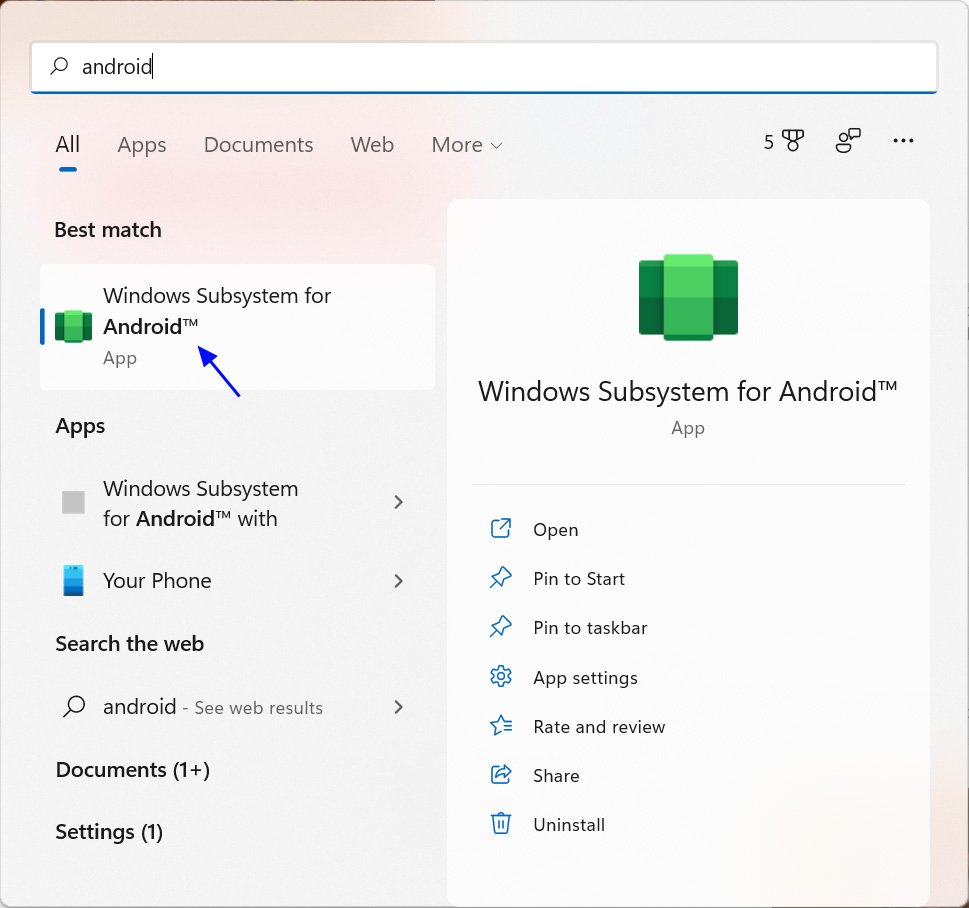
- Now look for the ‘Turn off Windows Subsystem for Android’ card in the WSA app.
- Press the Turn off button present in this section. This will quit all the currently running Android apps and WSA on your Windows 11 PC.
- Now to re-launch them back on your desktop, simply open any of the Android apps that you want to use currently. This will launch the app and the WSA simultaneously.
If you’re still facing issues, let’s move on to the next solution.
Also Read: How To Install Fonts On Windows 11 For Free?
Restart your PC
If you are someone who forgets to turn off their PC for a long period, this trick is especially for you. When any electronic device works non-stop without any break, it is bound to run into random issues that are hard to be figured out. But simply restarting your PC is capable of fixing Android Apps not working in Windows 11 issue in one shot itself.
We are sure you know how to restart your PC but if not here is how to do it. Open the Start Menu of your Windows 11 and click the Power button there. Now choose the Restart option among other options presented there.
Re-install WSA on your PC to fix Android App not working issue.
If you haven’t had any luck, the last option is to uninstall and then reinstall the WSA app on your system. Let’s see how to do it quickly using the Windows Terminal.
- First of all, open the Windows Terminal by searching for it in the search bar of the Windows 11 Start Menu.

- Now the Powershell Window will open by default in the Terminal.
- Now type or copy-paste the following command and then press the Enter key.
winget uninstall “Windows Subsystem for AndroidTM” - After this enter the next command in the terminal and press the Enter key.
winget search “Windows Subsystem for AndroidTM” - Now type this command to install the WSA on your Windows 11 PC.
winget install “Windows Subsystem for AndroidTM”
Issue 2: Android Apps Open But Doesn’t Work
Android App opens but doesn’t work is another very common issue that is irritating the Windows 11 users. The apps open on the PC but either you see a blank screen or are unable to take any input.
Let’s see what all can be done to address this issue on your Windows 11 PC.
The App is incompatible with your Windows 11 PC
If you were successful in side-loading your favorite apps which were not present in the official store, you are bound to face such issues.
Sideloading method is capable of installing the app but there is no surety that the app will run properly on your Windows 11 PC. If the app is incompatible with the device, any of the troubleshooting options that you try will not be able to make the app work successfully.
If you’ve side-loaded the app and it’s misbehaving, unfortunately, there is nothing you can do to fix the issues with the incompatible app on your Windows 11 PC.
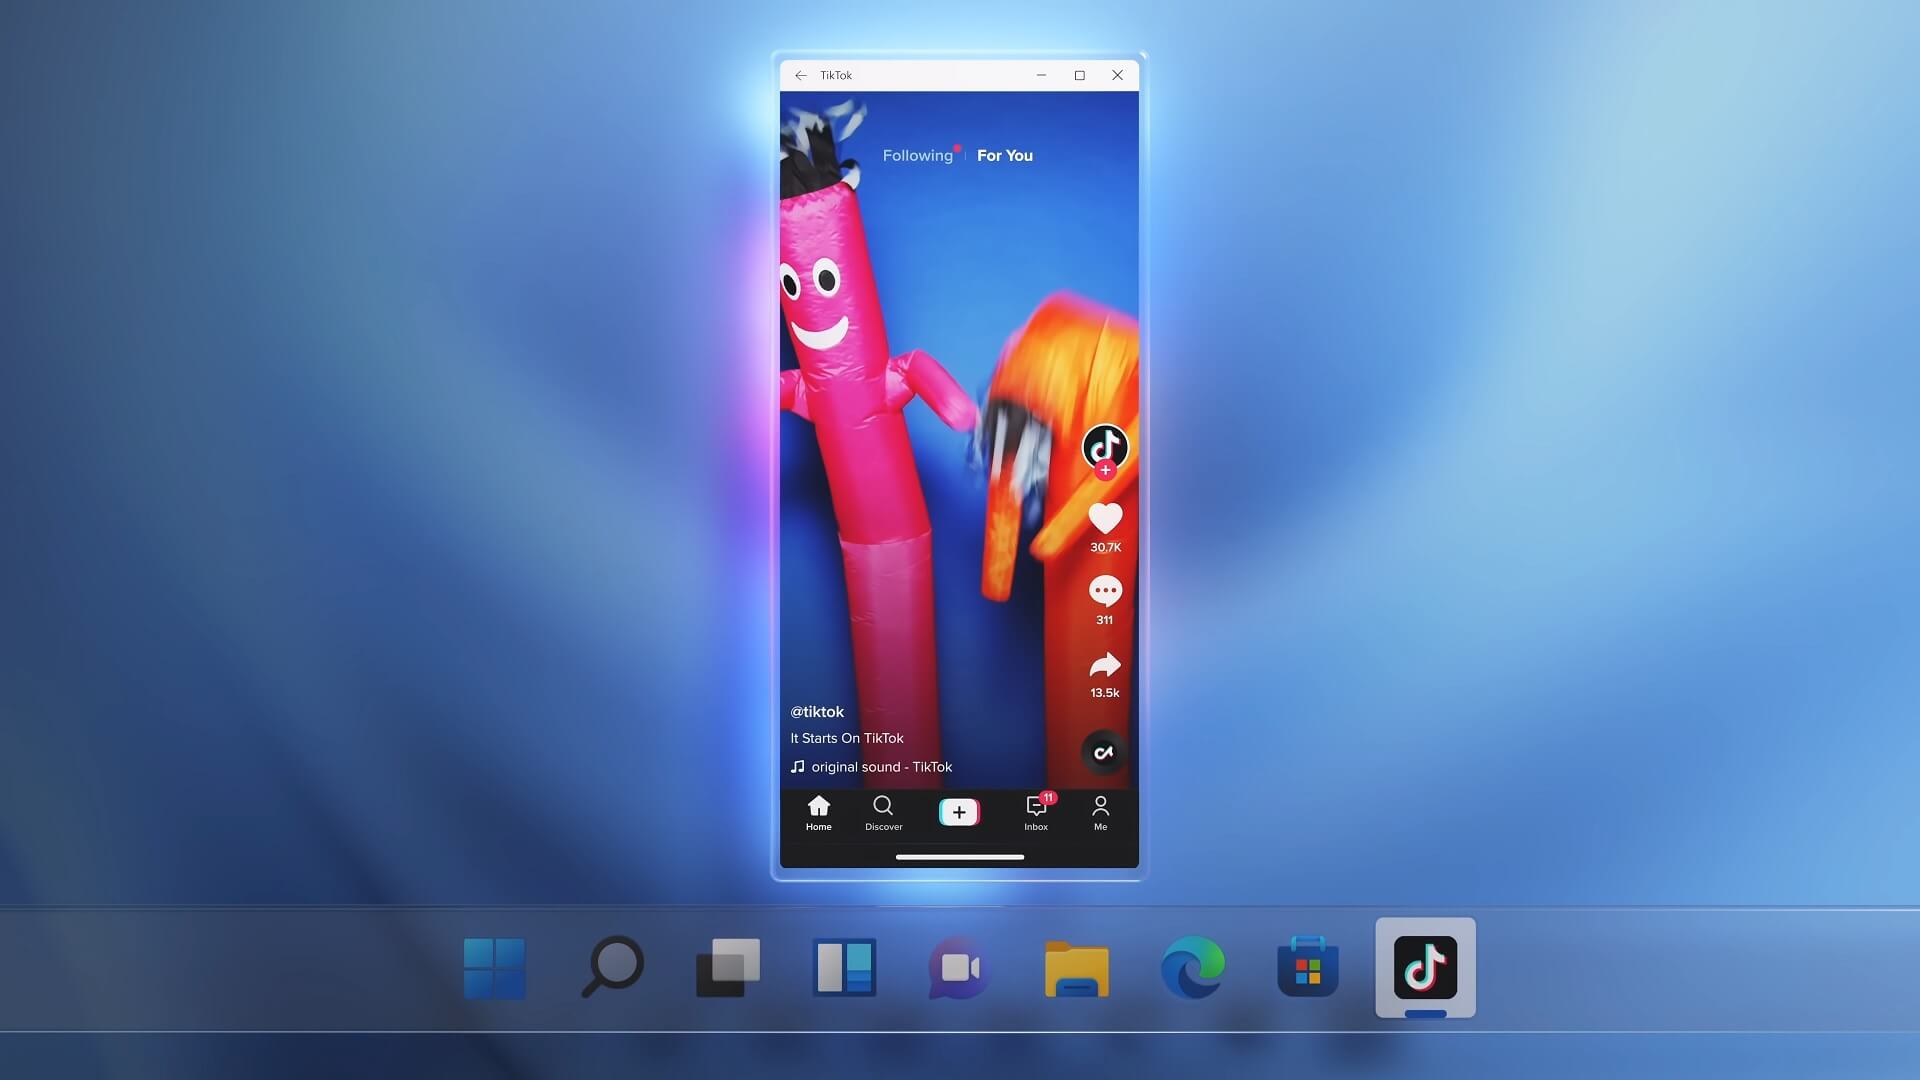
But there is good news! The list of all the compatible apps in Windows 11 is growing and there is a good chance that you will be able to run the app soon.
Update the not responding App
Another method to try is to update the app from the Amazon App Store or Google Play Store. If you’re unaware of how to install Google App Store on your Windows 11 PC. Check out our article explaining the same.
Also Read: How To Install Google Play Store On Windows 11
When you will update the app and install the latest version, all the bugs that may be interfering with the performance of the app will be wiped off.
To update the app, just head to the respective app store and search for the app. Then press the Update button present next to it on the far right of the Tile.
After you successfully update the app, see if it is working without any issues or not.
Clear App Cache and Data
Another viable solution to get rid of the issues with the non-functional app is to clear all the cache and data for that app. This will help to restore the app to a new state as all the caches files, data, and logged-in accounts will be removed.
This will be like a fresh start for the app and fix many problems with the app. Here’s how to clear the cache and data of the Android app:
- Type the name of the App in the Start menu.
- Now right-click the App name and choose the ‘App settings’ option.
- Now WSA will launch on your Windows 11 PC.
- Scroll down and look for the ‘Storage & cache’ option here.
- Now click the ‘Clear Storage’ and ‘Clear Cache’ button to wipe off all data and have a fresh restart.
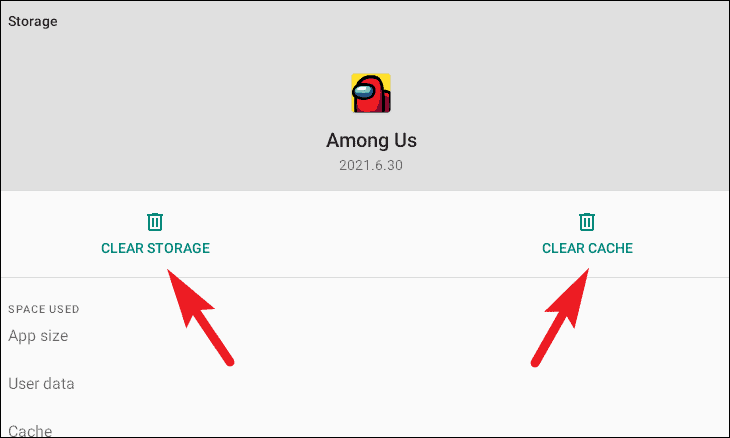
Now re-launch that Android app and see if its functionality is restored.
Re-install the Android App on your Windows 11 PC
If you are here, it means the issue persists. The last thing you can do is to uninstall and reinstall the app on your Windows 11 PC. Let’s see how to go about it.
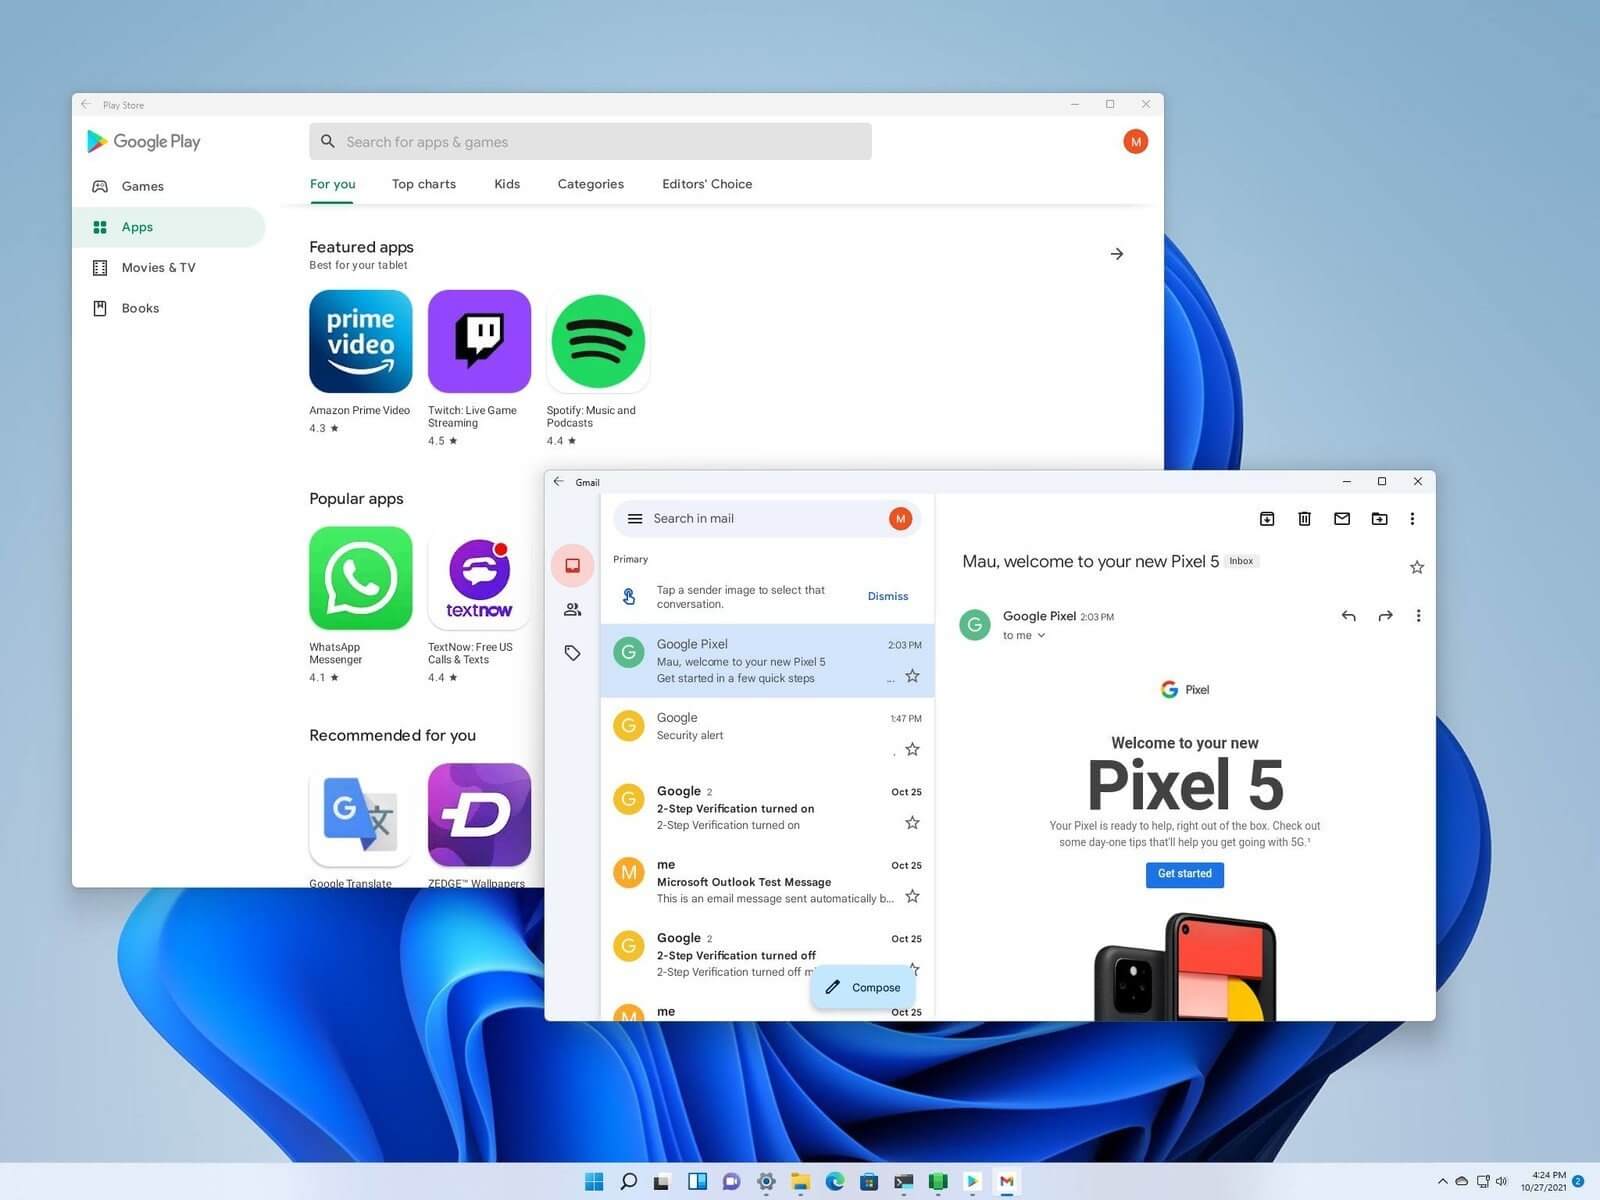
- Type the App name in the Search box of the Start Menu. Now right-click the app name in the suggestion and choose Uninstall option.
- After the app is removed, look for the APK file in your system and run it to install the app.
- You can also go to the Amazon App Store or Google Play Store to re-install the app on your PC.
- Type the name of the App in the search box and press the Get/Install button.
Conclusion
That’s pretty much it! These are all the methods that can help you fix the Android apps not working on Windows 11 issues. If none of the solutions work for you, we will advise you to be patient as running Android Apps on your Windows 11 PC is a very complex methodology. Let Microsoft deal with some of the internal issues and you will be able to run the apps successfully on your system.
Also Read: How To Check And Free Up Disk Space On Windows 11


