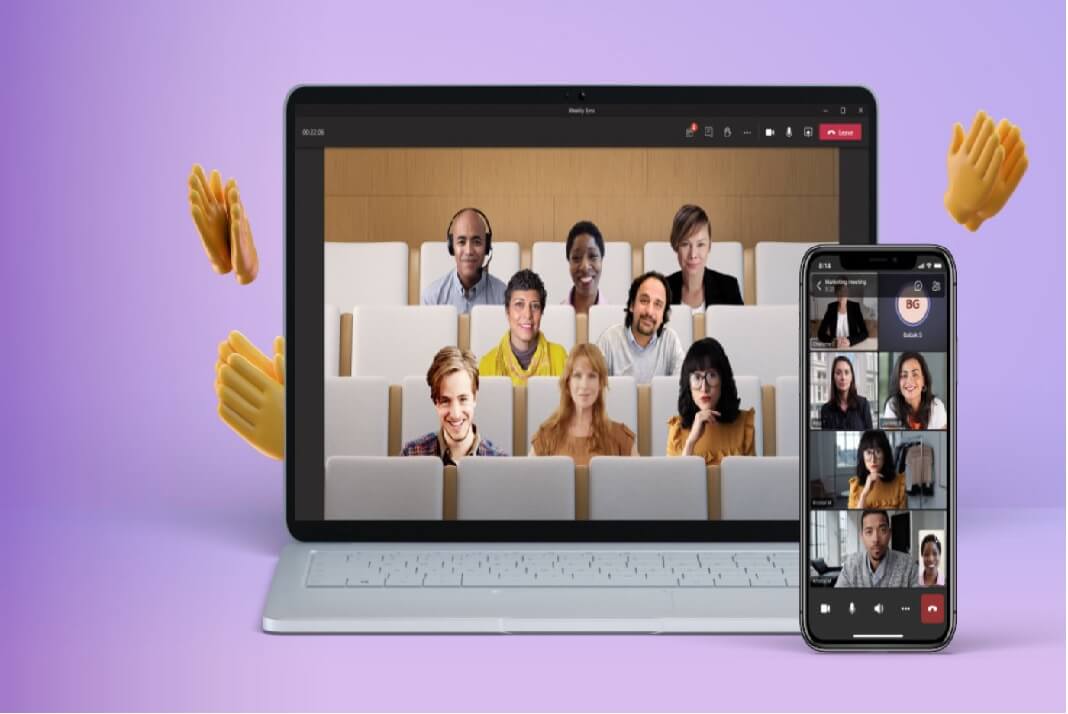
The new version of Microsoft Teams is a remarkable addition to the Windows 11 makeover.
Microsoft Teams is an application that supports chatting, video conferencing, calling and meeting in one place. “But don’t we have a plethora of applications that already does all of that?”.
Yes, true, but there’s a difference in what the other applications like Zoom, Skype, Google Meet, FaceTime and WeChat etc., can do versus Microsoft Teams. Teams have been there for a while but rarely have we used it (like Skype).
With Zoom and Google Meet giving each other tough competition during the pandemic, the other apps could barely survive.
However, with the new Windows 11 release, Microsoft completely changed our perspectives towards Teams. And now, nearly every Windows 11 user wants to use it for all their virtual meetups and conversations.
Read: How To Check If Your PC Can Upgrade To Windows 11?
How To Use Microsoft Teams In Windows 11?
After successfully upgraded to Windows 11 on your PC, the Teams application will show up in the taskbar by default.
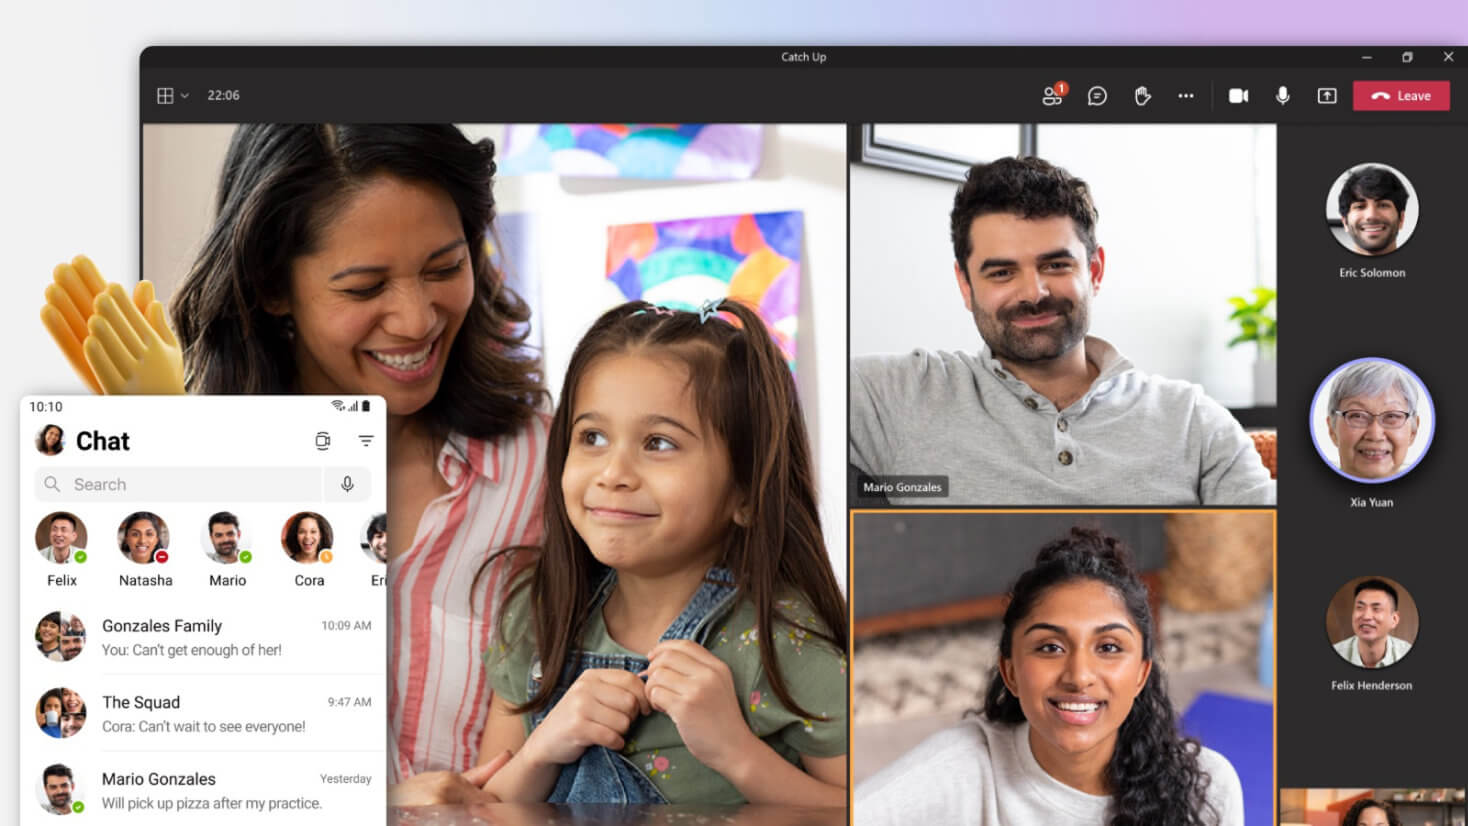
The icon’s purple color with a video call illustration inside it makes it easy for anyone to locate it.
Step 1: Launch Microsoft Teams by clicking on the icon on the taskbar. Or, if you prefer using keyboard shortcuts, then press the Windows logo key + C key. C also refers to Chat.
Step 2: The Teams window will appear on the screen with a button below called Get Started. Click on Get Started, and it will prompt you to sign in with one of your Microsoft accounts.
Tip: You can only sign in using a consumer Microsoft account.
Also Read: How To Take Screenshots In Windows 11
Use Microsoft Teams For Meetings
Step 3: Moreover, if you have a work or school account, you must use the heavier weight Microsoft Teams Client.
Step 4: Once you sign in, you will see a button that says Chat at the top. And when you click on that, you can start a new conversation.
Step 5: Furthermore, type in someone’s name or their email address or their phone number. However, if your friend, colleague or family members do not have an account in Microsoft Teams, it will automatically send an invite link to join Teams on their device.
Step 5: Once they have joined Teams, you can carry out your conversations. Now go back to your main screen of Teams, and you will be able to see a list of all of your recent conversations.
Step 6: In addition, if you want to chat with one of them, just click on the conversation, and it will pop out for you to carry out your conversation.
Moreover, in the Chat itself, you have access to a whole host of tools that allow you to make your conversation a lot more special.
For example, you can use rich text formatting, attach photos, include emojis, two different types of cookies, and Gifs.
Back on your main screen, when you hover over your chat list, you will be able to see the option of calling and video calling too.

Important: While the icons for calls and video calls appear, you will also see a message saying Coming Soon. So, you have to wait it out till it becomes available.
Microsoft Teams Experience In Windows 11
- At the bottom of the chat window, you will see Open Microsoft Teams that is the key to getting the ultimate experience of the app. When you click on it, it opens up the full-blown Teams app on full screen.
- Then, on the top-left corner, you have your activity where you see things like @mentions or people’s reactions to your messages.
- If you don’t want your activity section to be crowded, you can click on the ellipsis and filter down your activity to the ones you care about.
- Next up, you have the chats tab. When you click on that, you will once again see all your chats. But this view has more functionality compared to the pop-out chat view that we discussed earlier.
- Furthermore, you can click on the ellipsis; you get the option to pin a conversation, hide a conversation. Besides, within the Chat itself, you have a few different tabs, like the chat tabs, photos tab.
- So when you click on that, it will show you all of the photos you exchanged in that conversation.
- You can click on the plus sign and add more tabs like tasks. Now the tabs are limited, but in the future, Microsoft may add more variety like polls, pinning websites, share etc.
- Thirdly, there’s the calendar tab below Chat which is automatically synced with your Outlook calendar. Thus, any events you have in Outlook also show up here and vice versa.
- On the top-right corner, click on New Meeting and add a new event. However, you will not be able to invite or add people while creating the event. Moreover, you have to save the event and send people to invite you to join the meeting.
Should Read: How To Hide The Taskbar Search Icon On Windows 11?
How To Create A New Team In Microsoft Teams?
Step 1: From the left side panel, click on the Teams icon and click on Join or Create a Team from the bottom.
Step 2: A new window will open where you will get the option to create a team or join a team with a code.
Step 3: Tap on Create A New Team and add a name for Team Name. You can also add a description if its a public team but its optional.
Step 4: Below, from the Privacy drop-down menu, you can choose Private, Public and Org-wide teams. Then tap on Next.
Step 5: A window will pop up asking you to add members to your meeting. For this, all you have to do is type the member’s name, and Teams will add them, given they are using Teams too.
Step 6: Click on Add. Furthermore, you can also choose this member to an owner or member. Tap on Close.
Step 7: The event will show up on the left side panel below other options. When you click on it, three tabs will open Conversations, Files and Wiki.
And that’s it. It is simple and easy to create new Teams in Microsoft.
How To Delete Chat Messages In Microsoft Teams In Windows 11?
- Microsoft Teams is primarily designed for corporate conversations and stores all your messages and chats to Outlook. The nature of its design does not allow you to delete chats and messages from Teams.
- This is to keep a record of all professional conversations for future business purposes.
- However, not everyone likes to store their conversation, and students and regular people now use the app. You can delete certain channels or some of your conversations, but that’s about it.
- For example, you have a group/chat with one of your colleagues. You can go to your response or message and click on the three dots. From here, you can select Delete, and the message will get deleted.

- However, other messages and responses on the Chat will remain so all your friends can see ‘This message has been deleted.’
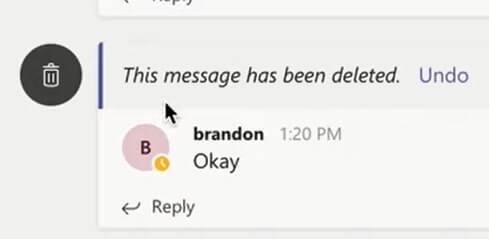
You Cannot Delete Messages In Microsoft Teams
- Moreover, you cannot delete messages or responses you did not send. So even if you click the three dots on those messages, you will not get the option to delete them.
- Furthermore, if you are the owner of a channel, you can delete that as well. So once again, click on the three dots and tap on Delete this channel.
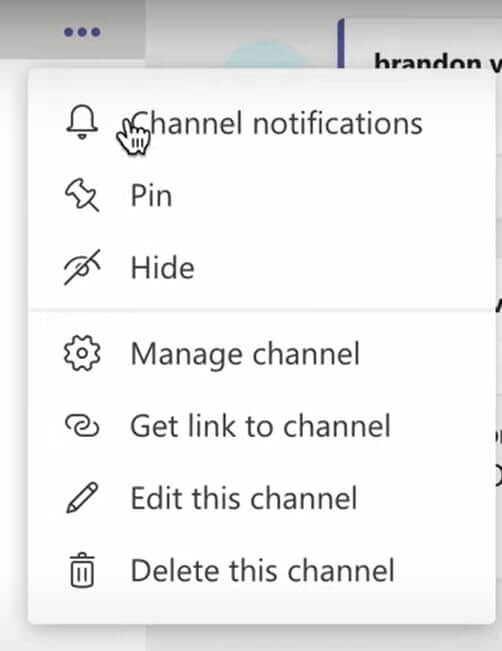
- In addition, you cannot also delete the General channel. It is a company-wide general place for everyone to chat. Moreover, if you are worried about stuff cluttering up your view, you can hide them.
- Click on the Hide option from the three dots on it, and it will knock the conversation from your screen.
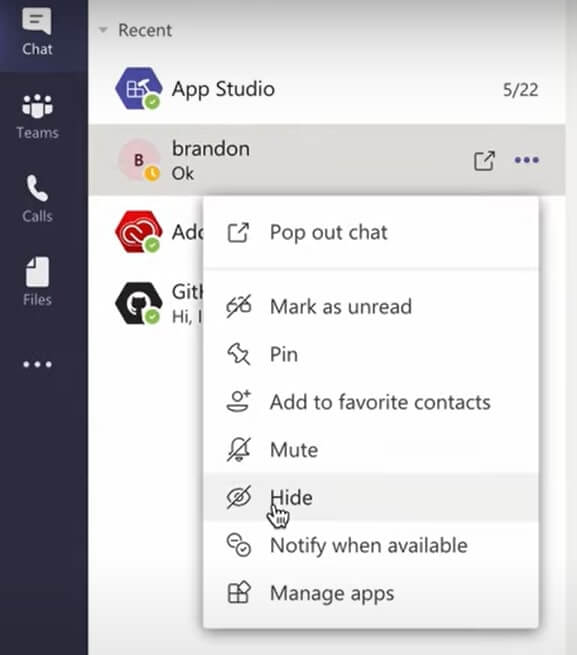
- Of course, you can get it back by using a filter or till you re-subscribe to it again. The sad part is you cannot delete a chat, no matter how much you try.
- Even if its an employee who left the company, someone you don’t chat with anymore, or someone you rarely chat with is unnecessarily taking up extra space. Thus, you can hide them by clicking on the three dots and selecting Hide.
To Record A Meeting In Microsoft Teams On Windows 11
- Recording team meeting on Windows 11 is very simple, and you can do it without any extra help. Before we jump into how to record an ongoing meeting, let’s understand why you need to do it.
- Team meeting recording is so far only accessible to the host of the meeting. So if you are a teacher whose students could not attend a class, you can record and share it with them.
- Or, if you are hosting an important meeting in your department but two of your teammates will not be able to attend, you can record the meeting and share it with them later on.
- It can be very helpful as you can use it to reflect on what could have been better or remember the important points your colleagues shared.
Record A Meeting
So, follow these steps to record your upcoming meeting.
Step 1: So, if you have a calendar with all your important meetings scheduled, choose the one you want to record. Now add the names of the people you want to record it for.
Step 2: During the meeting, click on Join and wait for the meeting to start.
Step 3: If you are sharing content like data, PowerPoint presentation and so on, then click on the share screen and select the file that you want to screen share.
Step 4: After you share the screen, click on the ellipsis or the three horizontal dots, and you will get a list of a bunch of options to choose from. First, select Start Recording, the one with the red circle icon.
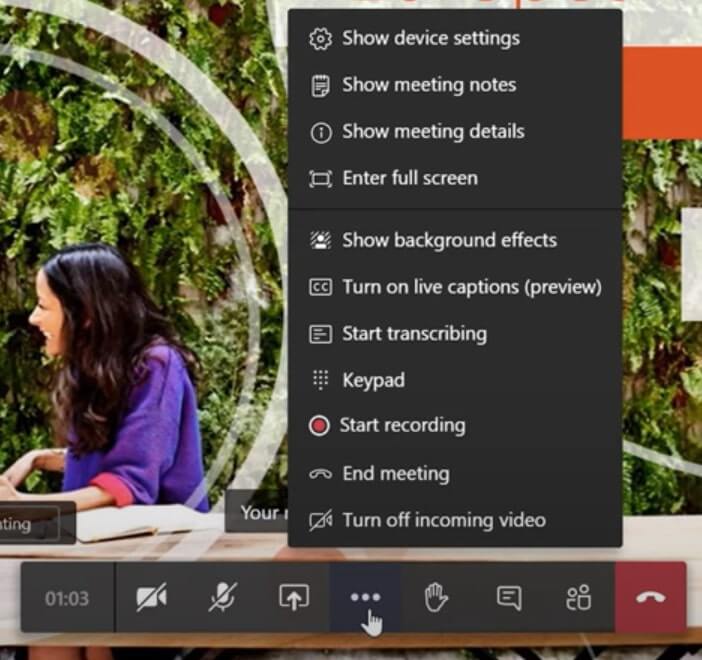
Step 5: This kicks off the Recording of the presentation. As a good practice, I would recommend you make sure that you tell other participants in the meeting that you will be recording the meeting.
To enable you to do this, Teams will show a message to you and all participants that tell everyone that there is a recording in progress.
Read: How To Zip And Unzip Files On Windows 11?
Record Meetings
Step 1: Now, you can continue with your presentation, discuss your strategies and share content with others. When you are done with the part, you can go back to the three dots or ellipsis and click on it.
Step 2: Here, you will now see the option to Stop Recording. Click on it. Moreover, an alternative to this is to click on End meeting directly after your meeting is over, and the Recording will stop automatically.
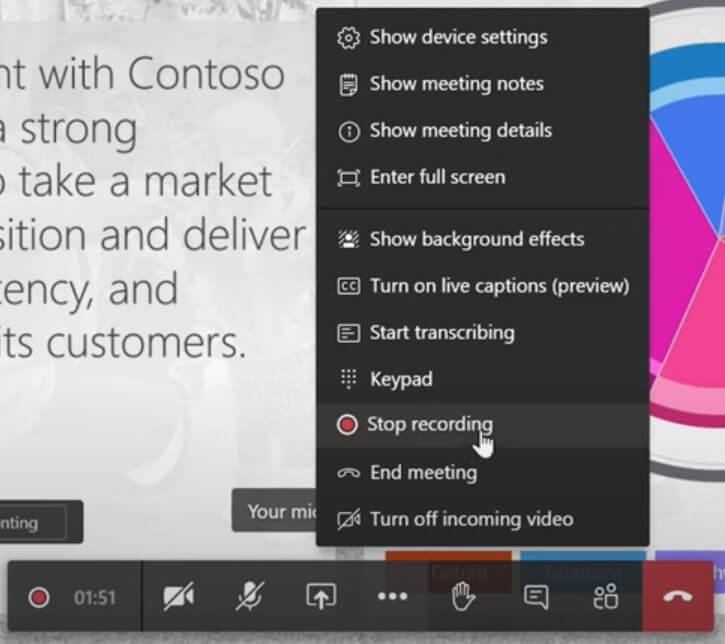
Step 3: You will see a pop-up with the message saying the Recording is getting saved, and soon it will be available to you. Thus, as soon as the Recording has been processed, you will see it available on the meeting chat.
Step 4: Another way to get the Recording of the meeting is via Microsoft Stream. For that, go to office.com from the web browser and use it to access all of its other app services.
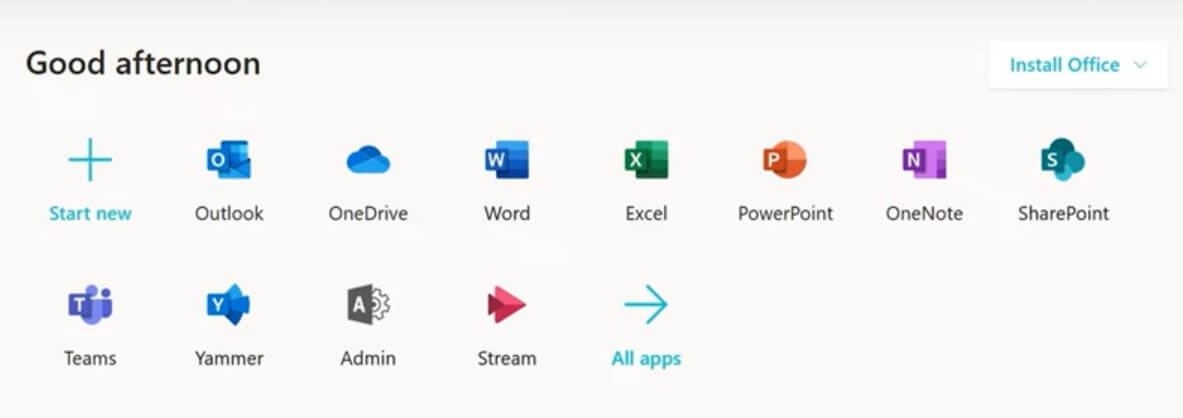
Step 5: Find the app tile for Stream and click on it. It will redirect you to the webpage, where you will see a bunch of different tabs on the top. Click on My content.
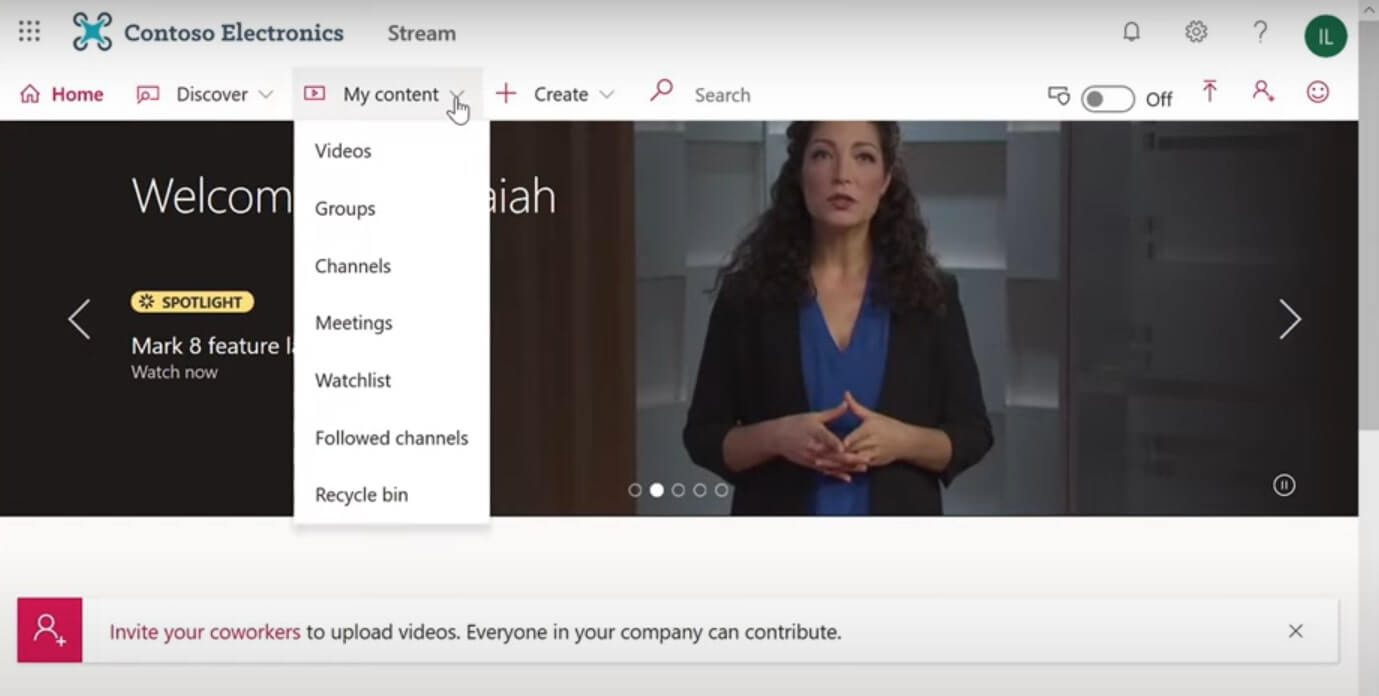
Step 6: Choose Meetings, and there you will see all your content related to Meetings. Furthermore, you can get the Recording of your meeting here. So go ahead and click on it to open.
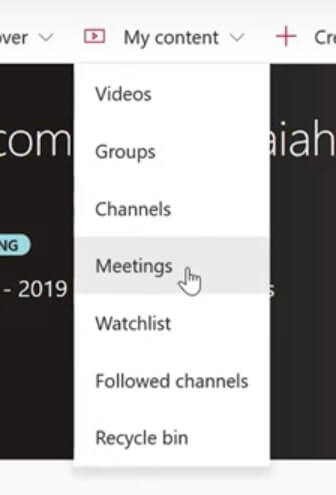
Therefore, it is extremely easy to record your meetings, unlike recording meetings on other online platforms. However, there’s one pitfall, and that is only the host is allowed to do so.
Therefore, you can see the meeting date and time and who recorded and who hosted it.
How To Join A Meeting On Microsoft Teams On Windows 11?
- So, once you start using Microsoft Teams, you will be attending many meetings with your friends and family, especially working people.
- Therefore, if you are new to Microsoft Teams, this is how you can join a meeting.
- One way, which is also a shortcut, is to go to your Microsoft Teams Calendar and, when the meeting is starting, hover over the meeting details. A Join now button will appear, click on it.
- Moreover, it is up to you whether you want to turn on your camera and microphone before joining or not. You can also do it later during the meeting.
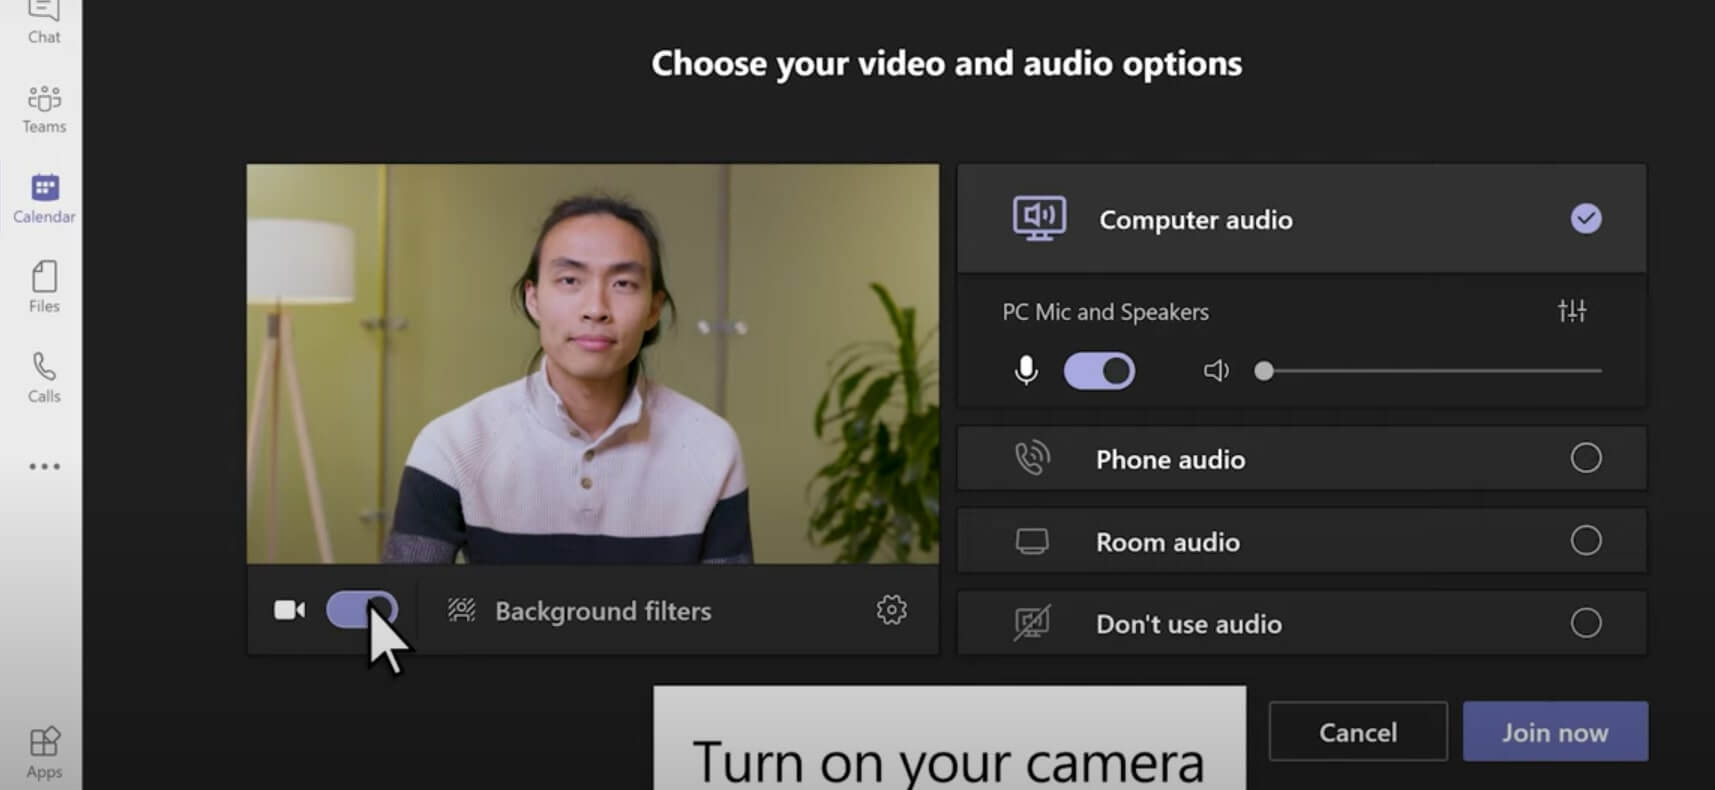
- In addition, Team also gives you various virtual backgrounds to make meetings fun and hide that pile of clothes behind.
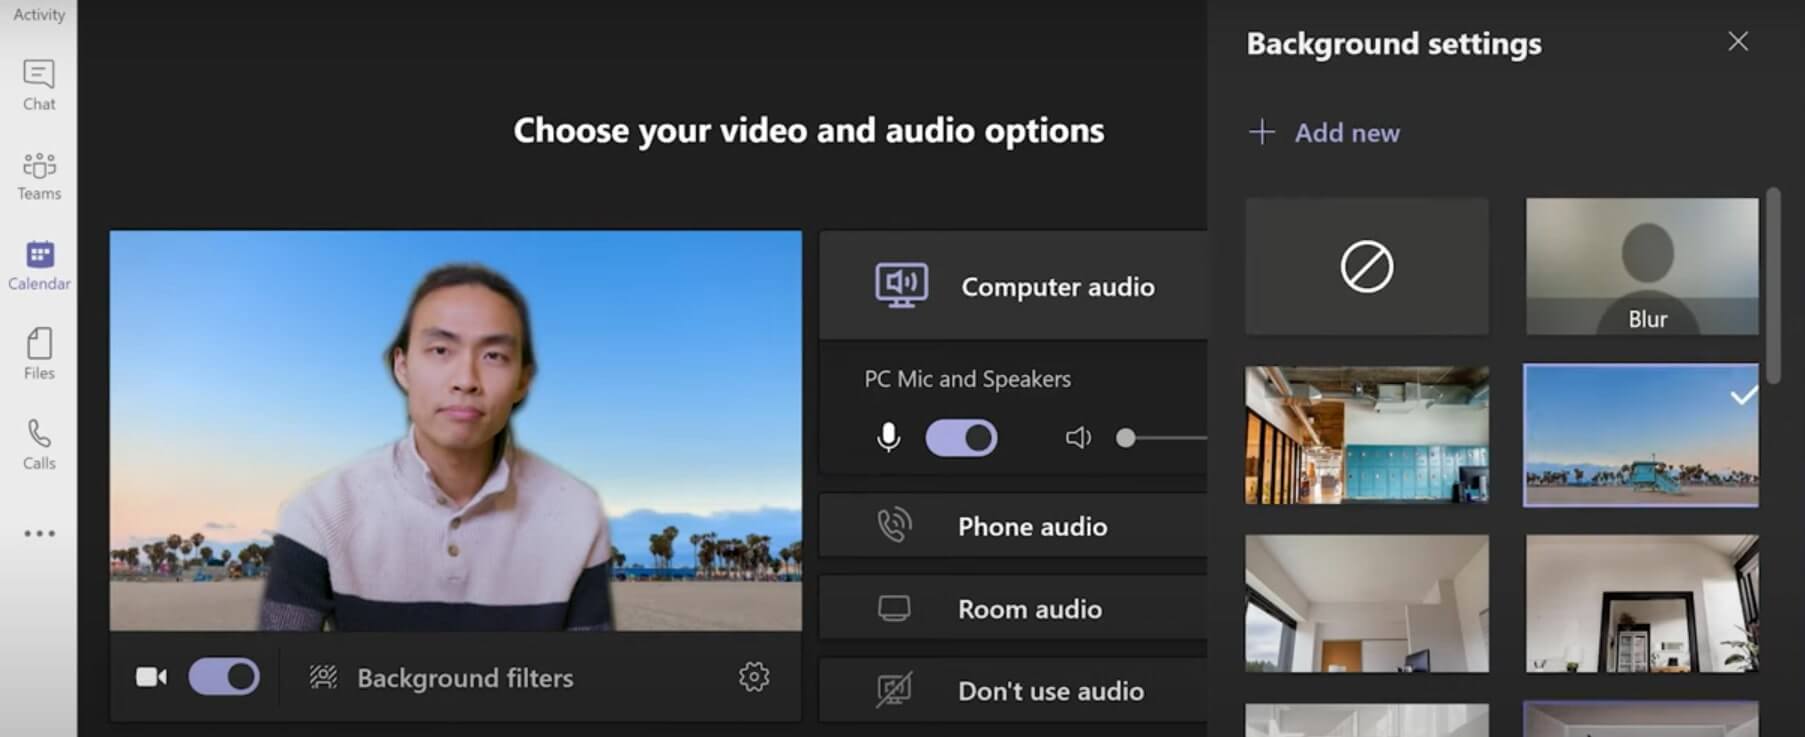
- Choose the audio settings and click on Join Now. For those who do not have the Microsoft Teams app, you can still join the meeting.
- In your email invite, select click here to join the meeting. Furthermore, you can download the desktop Teams app and join the meeting.
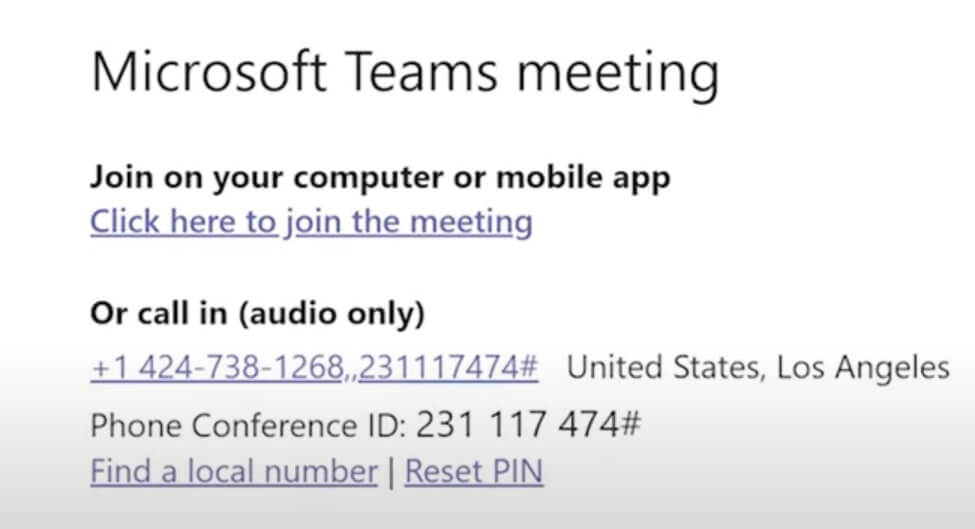
Type your name, choose your audio and video settings and click on join now when you are ready.
Conclusion
If you are a teacher who needs to collect the number of participants in your meeting, you can use the Microsoft team’s attendance report. To do that, go to the participant’s pane, and click on the download arrow and download it as .CSV file.
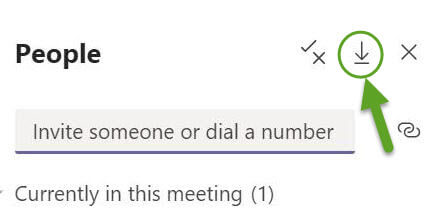
This is very helpful for online educators and admins who need a total count of the participants after the meeting.
Must Read: How To Recover Your Deleted Files In Windows 11?


