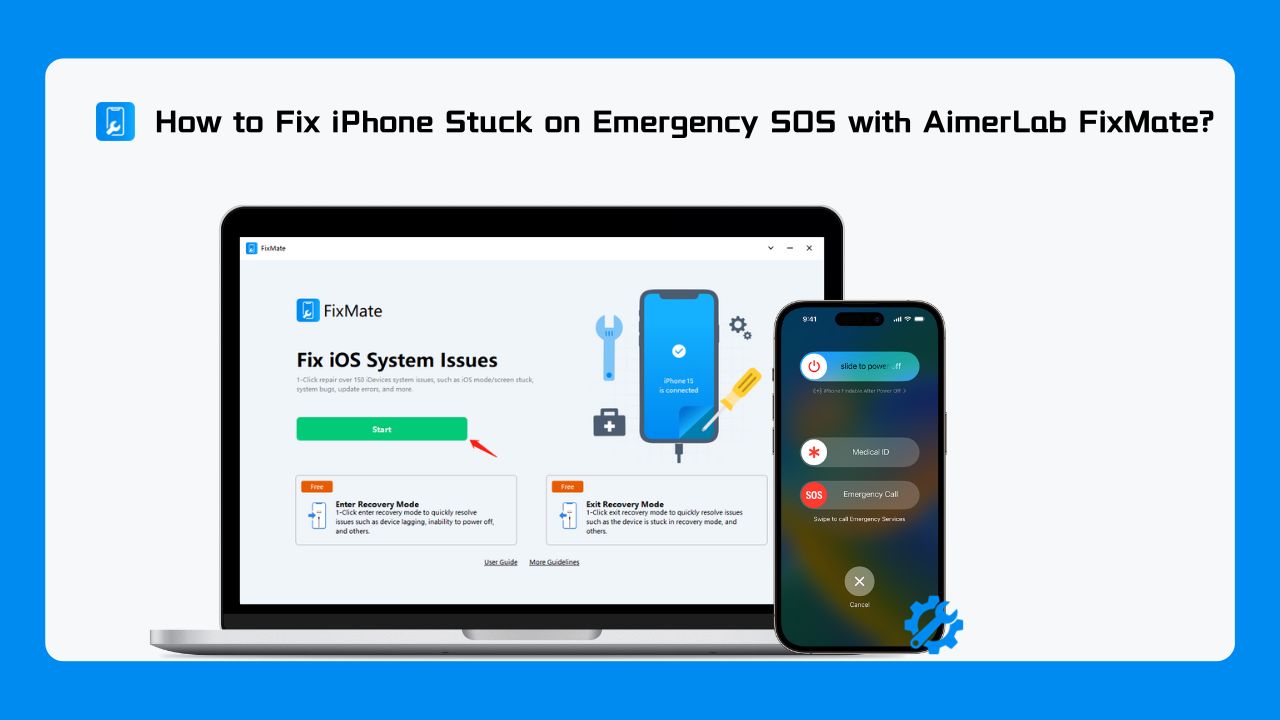
iPhones are renowned for their reliability and smooth performance, but like any other electronic device, they can encounter issues that may disrupt your smartphone experience. One such frustrating problem is when your iPhone gets stuck on Emergency SOS mode, leading to a slew of concerns. However, you can effectively resolve this issue using AimerLab FixMate, a versatile and user-friendly tool. In this comprehensive guide, we will delve into the reasons behind an iPhone getting stuck on Emergency SOS, why you need AimerLab FixMate to fix it, and the step-by-step process of resolving the problem using this software.
Why does my iPhone get stuck on Emergency SOS?
Before we dive into the solutions, it is essential to comprehend why iPhones occasionally become stuck on Emergency SOS mode. This particular mode is intended for emergencies and provides a quick method to contact emergency services. However, it can sometimes activate unintentionally or due to various factors:
- Accidental Activation through Hardware Buttons: The physical buttons on your iPhone, such as the side or top button, may be inadvertently pressed multiple times. This can lead to the automatic activation of the SOS mode.
- Software Glitches and Crashes: Software glitches, crashes, or system errors within your iPhone can trigger the automatic activation of Emergency SOS mode.
- Jailbreaking: Jailbreaking your iPhone, a process that allows for greater customization and flexibility but also carries risks, can make your device more susceptible to software issues that result in Emergency SOS activation.
- iOS Updates: Infrequently, iOS updates can introduce bugs that inadvertently trigger Emergency SOS activation.
- Malware or Rogue Apps: Malware or certain apps that have been granted excessive permissions can potentially cause Emergency SOS mode to activate.
Also Read- How To Enable 48 MP Camera On iPhone 15
Why AimerLab FixMate is Essential to Fix iPhone Stuck on Emergency SOS
Fixing an iPhone that’s stuck on Emergency SOS mode can be a daunting task, especially if you’re not tech-savvy. This is where AimerLab FixMate proves invaluable. AimerLab, the company behind FixMate, has established itself as a reputable software provider in the field of iOS solutions. AimerLab FixMate is an effective and professional iOS system repair software tool for addressing iOS-related issues and is especially useful for individuals who may encounter problems like getting stuck on Emergency SOS mode. It provides a user-friendly solution for entering and exiting recovery mode, fixing common and serious iOS issues, and maintaining the overall health and performance of your Apple devices.
Here’s why you need AimerLab FixMate to repair your Apple issues:
- 1-Click fix 150+ system issues on your iDevice, including iOS mode/screen stuck issues, system glitches, update errors, and more.
- Effortlessly enter or exit recovery mode on iOS devices for free.
- Repair iOS/iPadOS/tvOS system issues without data loss.
- Compatible with all iDevices and iOS versions, even the newest iPhone 15 and iOS 17.
How to Fix iPhone Stuck on Emergency SOS with AimerLab FixMate
Now that you understand why AimerLab FixMate is an essential tool for resolving the issue, let’s explore how to use it effectively:
Step 1: Start by downloading and installing AimerLab FixMate on your computer, ensure that you download the appropriate version for your operating system.

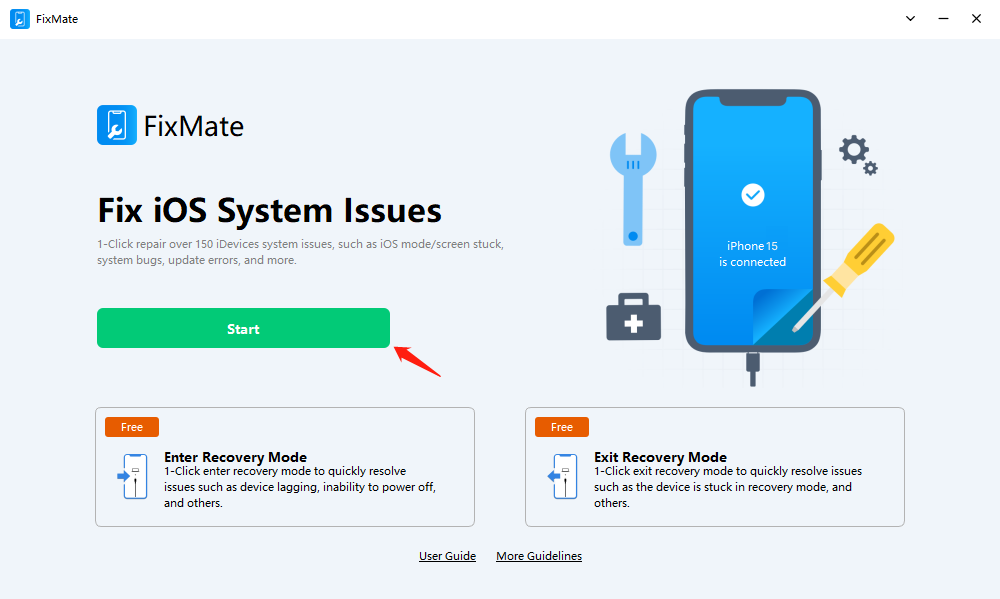
Step 2: Open AimerLab FixMate and connect your iPhone to your computer using a USB cable. You should see your connected iPhone on the program’s main screen once your iPhone is successfully connected. To start repairing your iPhone gets stuck on emergency SOS, click the “Start” button under the “Fix iOS System Issues” feature.
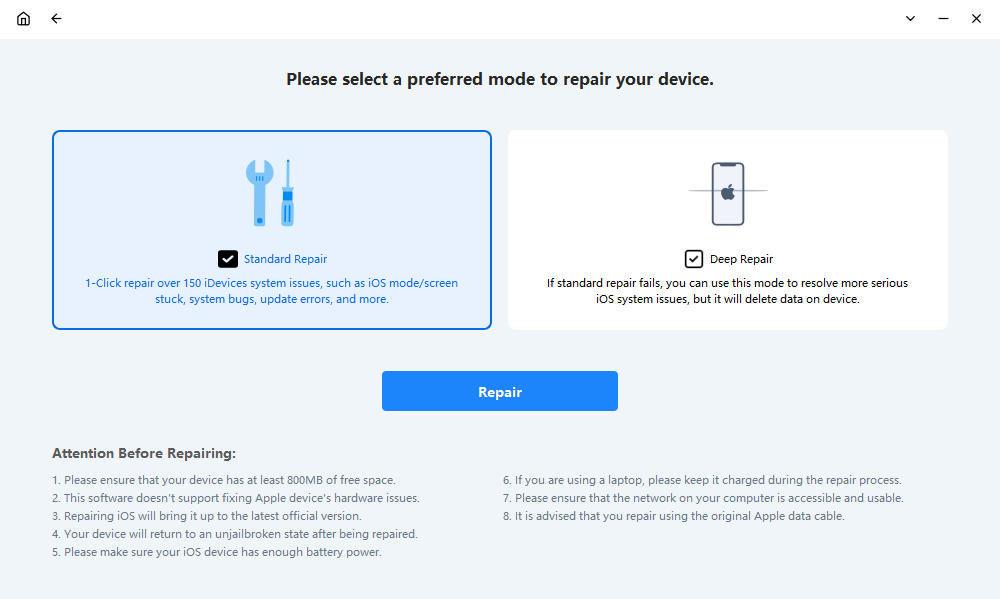
Step 3: Choose a repair mode and click the “Repair” button to continue the process. The “Standard Repair” mode is used for common and less complex iOS issues and focuses on resolving specific problems, while “Deep Repair” is employed for complex issues related to the iOS system itself and requires a more extensive repair process. The choice between these modes depends on the nature and severity of the issue you’re facing with your iOS device.
Step 4: FixMate will prompt you to download the firmware package specific to your device and the issue at hand. This package contains the necessary files to repair your iOS device.
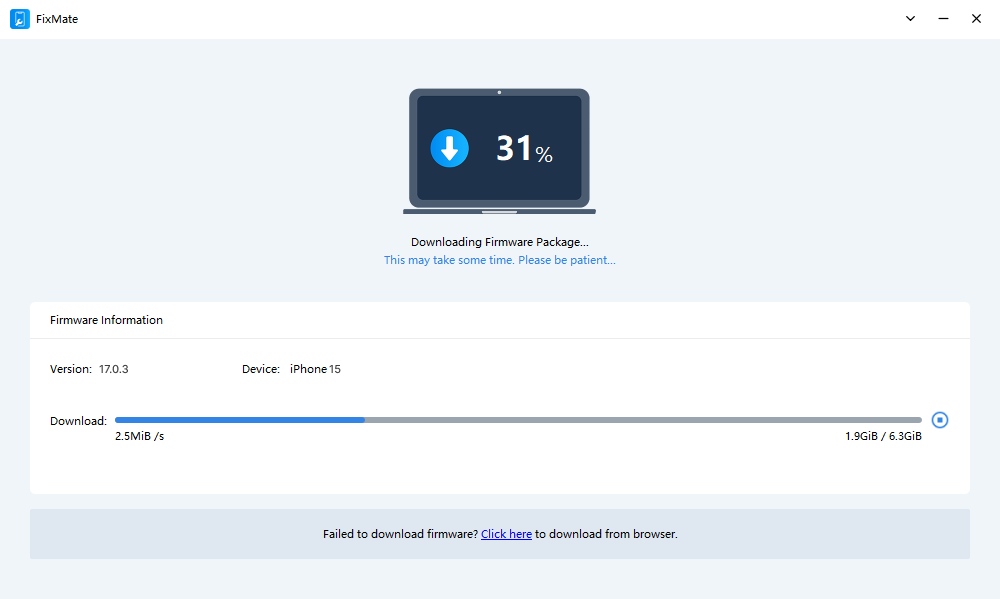
Step 5: After the firmware package download is complete, FixMate will begin the repair process.
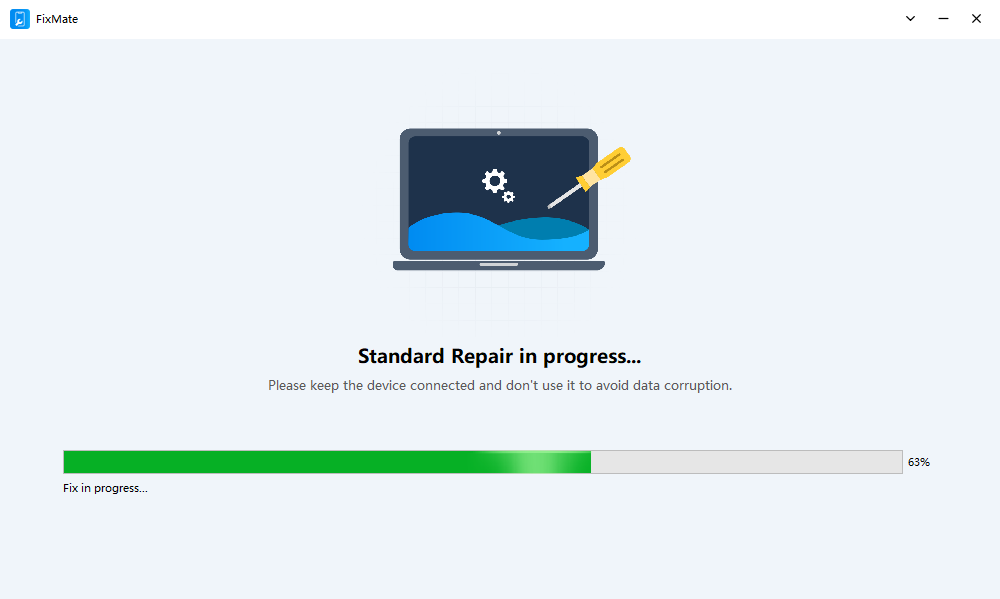
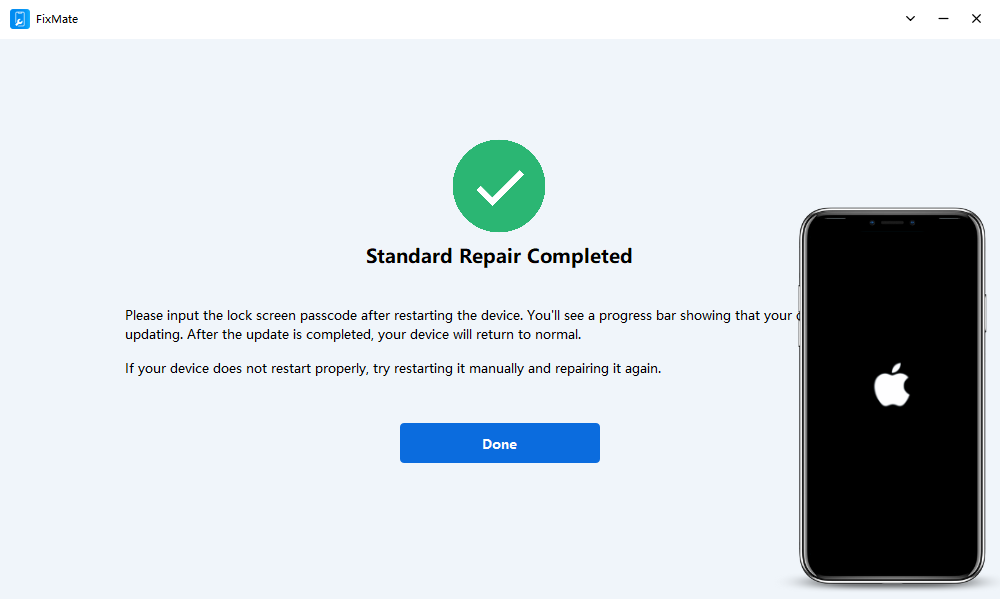
Step 6: When the repair is finished, your iOS device should be back to normal, and the specific issue you were facing should be resolved.
AimerLab FixMate Free Trial vs. Pro Version

The free trial version of FixMate provides essential features, enabling you to 1-click enter and exit recovery mode for free. If you find the free trial version of AimerLab FixMate useful and want access to more advanced features such as full repair for all iOS issues, you can consider upgrading to the paid version. AimerLab FixMate provides three plans to upgrade account, you can purchase one of the on FixMate’s official website or get FixMate extra 25% off on AppHut.io.
Conclusion
In conclusion, iPhones getting stuck in Emergency SOS mode can be a challenging and bewildering experience. However, AimerLab FixMate offers a reliable and effective solution to this problem. This versatile software can restore your iPhone to its normal operation without data loss, saving you time and frustration. By choosing between the free trial and paid versions, you can select the FixMate features that best suit your needs. Whether you’re a novice or an experienced user, FixMate is your go-to solution for keeping your iPhone in its best shape and tackling common problems with ease.
Also Read- Apple’s iOS 17.0.3 Update Targets Overheating Problems in iPhone 15 Pro and Pro Max


