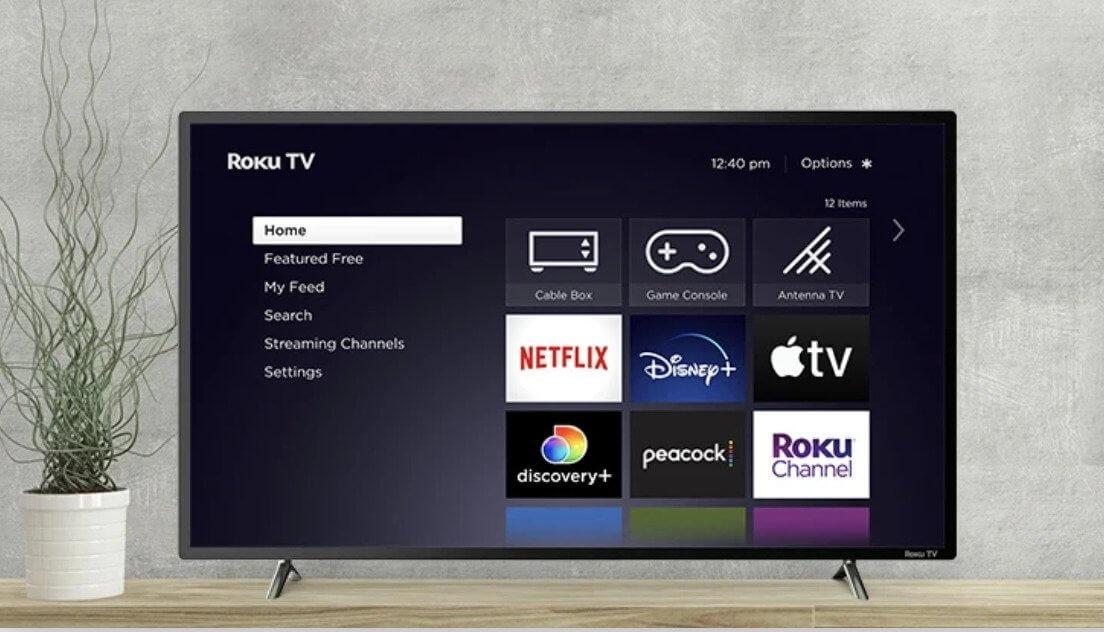
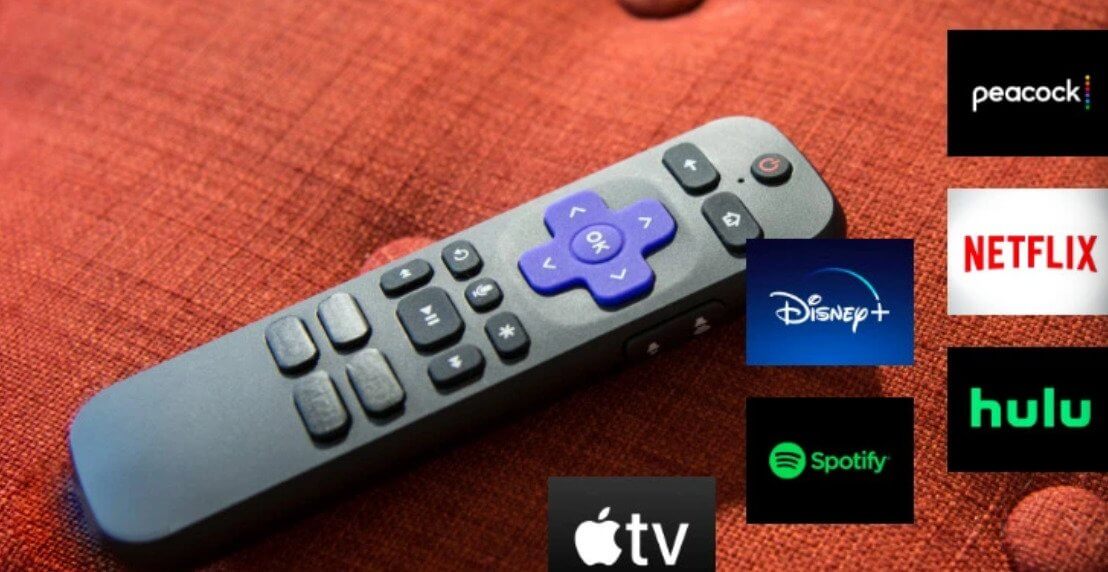
Do you want to connect your Roku remote to TV? Then this is the best place to get a detailed guide for the same. Roku devices make watching your favorite shows at home easy and affordable. They become the home to all your entertainment needs so you can streamline the setup and replace your cable connection and save money.
Anyone who has ever watched a Netflix show or YouTube video knows that they are streaming content. Currently, streaming or audio and video delivered over the internet serves as a great source of entertainment. So let’s see how you can connect your Roku remote.
How to connect Roku remote to TV?
Connecting Roku remote to TV enables the user to use the power button to turn the TV on and off. Further, it also helps to control the TV’s volume by using the buttons on the side.

Step 1: Go to the Roku home screen and click on the settings menu.
Step 2: Select the remote and devices.
Step 3: Then select remotes.
Step 4: If yours is a voice remote, select that one.
Step 5: Select setup remote for TV control and search for your TV’s brand here.
Step 6: If your TV is a scepter, you can directly start searching for its name here. Soon you will be able to locate the right one.
Connect TV to Roku remote and enjoy
Step 7: After you select the name of your TV’s manufacturer, you should be able to listen to music beginning to play.
Step 8: At this stage, you must keep your Roku remote pointed directly at the TV.
Step 9: As you go through those menus, the remote will begin trying different codes until it finds one that works.
Step 10: By now, you can still hear the music after the first code. It means it did not work.
Step 11: Try the second code and check if it’s working. If not, move to the third code.
Step 12: This way after the music stopped playing, you can be assured that you clicked on the right code. And your screen by this time will say, that it is successful.
You can test it out using the volume buttons on the side and unmute the TV. Try increasing and decreasing the volume with plus and minus buttons. If they are working, you have been able to connect them successfully.

How to set up Roku remote after initial setup and activation with your TV?
Once your device has been activated successfully, you will be able to access the settings menu any time you want. Moreover, if you have connected your remote to an AVR or soundbar, tech experts recommend directly connecting it to your TV. You can do this when setting up directly to detect the brand of your TV.
Step 1: Click on the home button on your device’s voice remote.
Step 2: Further, scroll down and select the settings.
Step 3: Tap on the remote and devices.
Step 4: Choose the remote.
Step 5: Now you can choose your voice remote from the list and select set up TV for remote control.
Step 6: You can now follow the on-screen instructions and complete the process.
How can you set up hands-free TV controls?
Before you read any further, you need to know that you can do this only when you have the Roku voice remote pro. Here’s a tad bit of technical information, you need to keep in mind. A wireless connection helps in transmitting voice commands to your Roku device. It further transmits to your TV through your HDMI cable.

To make communication possible, you need to first make sure that your TV has CEC enabled. Users cannot send voice commands using IR technology. Moreover, after checking if CEC is enabled, you can use a simple command, “Hey Roku, what time is it?”. Use the hands-free voice commands and check if it’s working.
Few others that you can try out are as follows:
“Hey Roku, turn on the TV”
“Hey Roku, turn up the volume”
“Hey Roku, set the volume to 12”
“Hey Roku, turn off the TV”
Conclusion
When you use voice commands, keep in mind that you don’t shout the commands or speak in a very low tone. Try to keep your voice normal as if you are talking to a friend or family member. Moreover, keep in mind that not all TVs support CEC while some only offer limited support.


