In this article, we have put down the different hacks that can help resolve the Wi-Fi not working on the macOS Ventura issue.
Have you recently upgraded to macOS Ventura, and since then you have had a hard time connecting to the Wi-Fi networks? If yes, you are at the right place. While connecting to a Wi-Fi network is one of the easiest tasks to do, you might face trouble in doing so after upgrading your Mac to the latest version. Since macOS 13 is relatively new, it possesses lots of pesky bugs that tend to disrupt the functionality of even the most basic features.
Wi-Fi-related problems are not a new sight in the Apple ecosystem. Previous macOS versions, including macOS Monterey, were afflicted with the same issue. Thankfully, it is easier to part ways with this problem after employing a few tries and tested fixes. So, let’s begin troubleshooting the Wi-Fi not working on macOS Ventura so that you can connect to the nearest Wi-Fi network.

Also Read: Why macOS Ventura Is Important to Get
1# Update your Mac
As mentioned, Wi-Fi connectivity issues mostly arise due to the presence of pesky bugs in the system. Since macOS Ventura is still in the development phase, developers are trying hard to eliminate these bugs so that the normal functionality of the software is restored. So, it is essential to install the latest update released by Apple to keep your Mac free from bugs. To update your Mac, go to System Preferences > Software Update and install the available update.
Also Read: MacOS Ventura USB Installer For Hackintosh Using OpenCore
2# Forget the saved Wi-Fi network
If the problem is still not resolved, the next step to try is to forget the saved Wi-Fi credentials. After forgetting the network, you can restart your Mac and reconnect once again. To forget the saved network credentials, click on the Wi-Fi icon located on the top menu bar. Now choose the Network Preferences option. Next, access the Advanced settings window and go to the Wi-Fi tab. Choose the problematic network settings and click the minus sign near it to delete it. Confirm the action by pressing the remove button.
Now, try establishing a new connection to the Wi-Fi network.
3# Reboot your Mac
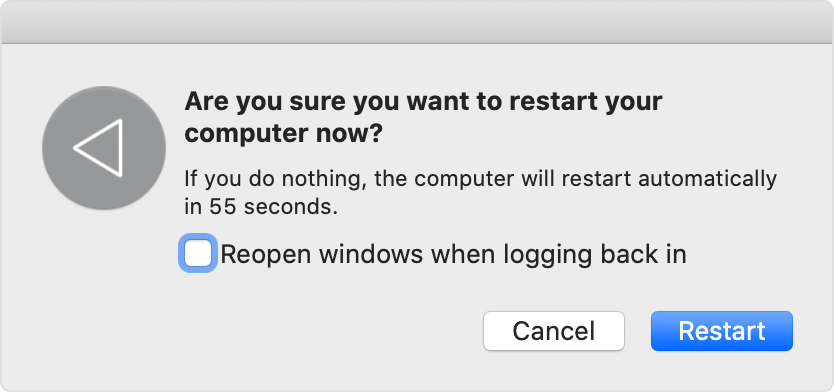
If you have a habit of putting your Mac in sleep mode and have not restarted it for a long time, it may start to create weird problems like this one. So it is a good habit to reboot your Mac from time to time. Moreover, rebooting your Mac is regarded as the most effective measure for resolving software-related bugs and glitches. Here are the steps to reboot your Mac:

- Tap the Apple menu icon.
- Choose Shutdown option
Also Read: 7 macOS Ventura Hidden Features That You Are Unaware Of
4# Enable/ Disable Wi-Fi
While this hack may seem to be absurd, disabling and enabling Wi-Fi toggle soft resets the Wi-Fi and may help get rid of the underlying connection issues. To disable Wi-Fi, click on the Wi-Fi icon, wait for some time and tap it again to enable it.
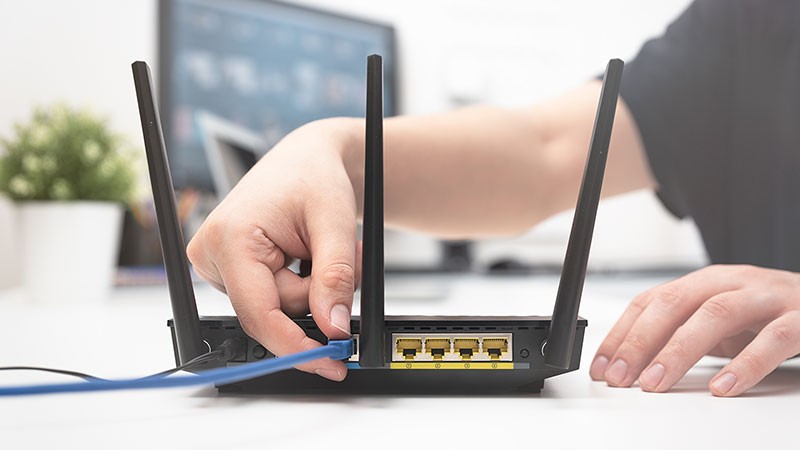
5# Reboot your Wi-Fi router
If you are still struggling to use Wi-Fi on your Mac, there is a good chance that your Mac is not the one at fault. Instead, your Wi-Fi router may be experiencing hardware or network-related issues, which is why you are unable to access the wireless network.
So let’s try to reset the Wi-Fi router and see if the issue is resolved.

- Bring your router close to your Mac as much as possible.
- Now unplug your router.
- Wait for at least thirty seconds, and then plug it back in.
- Now, wait unless the connection is established with the Internet Service Provider and you are ready to access the internet.
6# Reset NVRAM
If the issue persists, it’s time to try some advanced troubleshooting steps. Here we are going to reset the NVRAM on your Mac. For the uninitiated, Non-Volatile Random Access Memory or NVRAM is a tiny memory on your Mac that stores the essential settings of your Mac for faster response. You’re your Mac begins to misbehave, resetting the NVRAM proves to be an effective measure against it. Here are the steps to reset the NVRAM on your Mac:
- First of all, power off your Mac.
- Now hit the power button, and as soon as you hear the start-up sound, press the four keys simultaneously, Option, Command, P, and R.
- Hold the position for at least 20 seconds, and then release them.
Also Read: Disk Utility On mac: How It Works On macOS Ventura
7# Reset the SMC
Another measure that can prove to be effective in resolving Wi-Fi-related issues is resetting your Mac’s System Management Controller (SMC). Mac’s SMC is directly linked with the issues related to Wi-Fi, power, batter, and other features. Resetting it is vital to restore the functionality of these essential features, specifically when you are struggling with hardware-related problems.
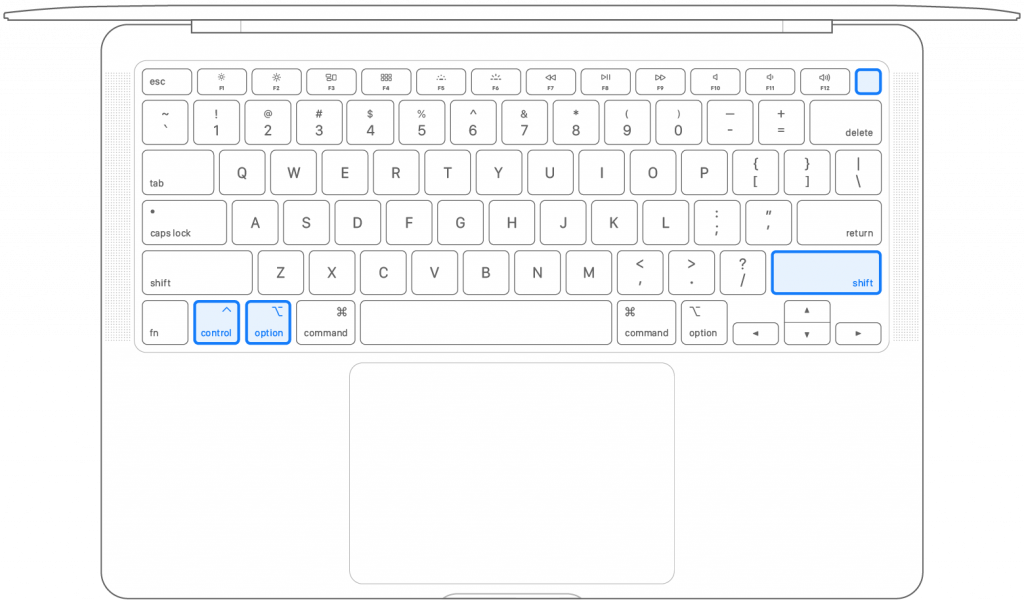
Here are the steps to reset the SMC of your Mac:

- Power off your Mac.
- Now long press the three keys simultaneously- Shift, Control, and Option.
- Next, long press the power button while holding those three keys.
- Hold the position for at least 10 minutes, and then release it.
- Now, press the power button to reboot your Mac.
Also Read: How To Clean Install macOS Ventura On Mac
Wrapping Up
That’s all in this quick guide about troubleshooting the Wi-Fi not working on the macOS Ventura issue. Hopefully, the above methods proved effective in resolving the problem. In case the problem persists, you can reach out to Apple Support to get expected guidance in this regard. With this, signing off!


