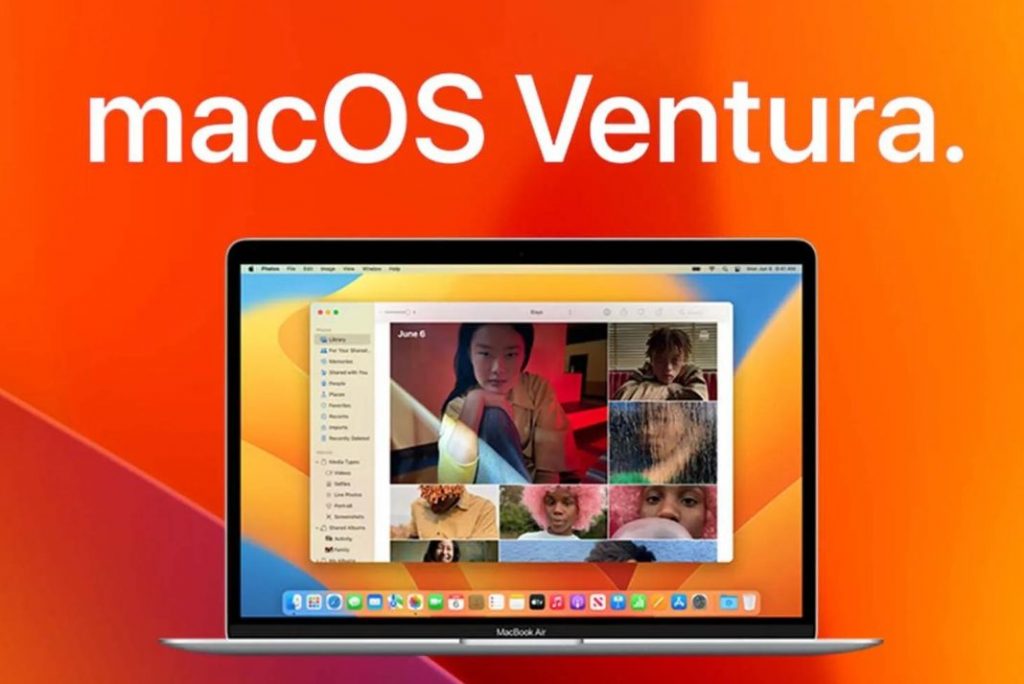
In this guide, we have explained the step-by-step procedure to install macOS Ventura on an unsupported Mac.
The beta version of the newest iteration of macOS was launched at WDCC 2022 on 6th June 2022. Just like always, Apple has introduced several new features, which certainly make it a better choice than other its predecessors. macOS Ventura has elevated the search results and suggestions of text and image results. Apart from passkeys and other handy features, a welcoming move is the inclusion of the Stage Manager feature that is responsible for removing the on-screen litter.
Due to the presence of such interesting features, users are quickly upgrading to its beta version. Since the hardware requirements of macOS Ventura are pretty strict so the users that own an older Macbook are unable to install macOS Ventura. Thankfully, there is a workaround that allows you to install the beta version of the macOS Ventura on an unsupported Mac. Let’s see what is it about.

Also Read: Stage Manager In macOS Ventura :How To Use
OpenCore Legacy Patcher tool
OpenCore Legacy Patcher is a useful software that is responsible for loading the OS on your Mac whenever you boot it. Legacy Patcher patches and injects the data into MacBook’s memory and not the disk drive. This feature of the OpenCore Legacy Patcher makes it possible to install macOS Ventura beta 1 on an unsupported Macbook.
The developers have recently launched the 0.4.6 version of the legacy patcher which deals with the hardware and driver-related issues that allow installation of macOS Ventura.
To install macOS Ventura Beta 1 on your unsupported Mac, you need to download and install OpenCore Legacy Patcher on your MacBook. Once installed, follow the steps below.

Also Read: How to Install macOS Ventura on Hackintosh
Step by Step procedure to install macOS Ventura
- First of all, you need to create a backup of your Macbook data. For this, go to the Apple menu > System Preferences > Time Machine. Here, you need to choose the Select Backup Disk option followed by the name of your disk.
- Choose the name of the disk and then press the Use Disk button to create the backup.
- Now go to the GitHub website and download the macOS Ventura Beta 1 on your MacBook. Press the code link and choose the Download ZIP option to download the file.
- Next, visit the downloads folder and unzip the downloaded zip file of macOS Ventura.
- Now double click on the gibMacOS.command file and press the OK button to open the app in the terminal.

- A list containing the different versions of macOS Ventura will appear on the screen. If macOS Ventura is not listed here, hit the C button followed by the C key.
- On the next screen, look for the macOS Ventura beta 1 version (or any other) that you wish to download and press the number listed next to it.
Also Read: Download And Install macOS 13 Ventura Developer Beta On Mac
- Wait until your Mac loads macOS Ventura and you will find it listed as macOS 13 beta 13.0. Press the number key near it and press the enter key.
- Now your Mac will download the OS. Once downloaded, go to the download folder and then access the gibMacOS-Master folder.
- In the gibMacOS-Master folder go to macOS downloads > developer > 13.0 macOS 13 beta folder.
- Look for the InstallAssistant.pkg file, and go through the on-screen instructions.
- Once completed, you will find the macOS Ventura installer in the Applications folder of your Mac.
Note: Keep a 16 GB USB drive handy will you can use to install the macOS Ventura on your old MacBook.
- Now, launch the OpenCore Legacy Patcher and press the Create macOS installer option.
- Next, insert the USB drive and choose the Use existing macOS installer option and then Install macOS 13 beta: 13.0.
- Pick the USB drive from the drop-down and wait until the USB is converted into a bootable pen drive containing macOS Ventura Beta 1.
- Next, access the main menu of the OpenCore Legacy Patcher and choose settings.
- Here you need to pick the MacBook model and choose the SMBIOS settings.
- Next, press the Generate S/N: <model of the Mac you have> and then go back to the main menu of the software.
- Next, choose the Build and Install OpenCore > Build OpenCore > Install to disk.
- Now you will be prompted to choose the Mac disk on which you want to install macOS Ventura.
Also Read: Hands-On With macOS Ventura
- Now hit the reboot button present in the pop-up window to restart your Mac.
- When your Mac begins to reboot, press and hold the Option key on your keyboard and choose the EFI Boot option. Next, choose macOS 13 or macOS Ventura.
- Wait until the loader executes the program and provides the login details.
- Finally, you have to choose the Install macOS 13 beta option and press the Continue button.
- Follow the on-screen instructions to install macOS Ventura 13 beta on your unsupported Mac.
Once the installation process is successful, your MacBook will boot up with the macOS Ventura Beta 1, and you can access all the features and applications of the latest version.
Also Read: macOS Ventura: How Is It Different From All Other versions
Conclusion
That’s all about how you can install macOS Ventura Beta 1 on an older version of Mac. As macOS Ventura is still in the initial phases, you are likely to encounter several bugs and glitches during its use. What is your take on the latest version of macOS? Let us know in the comments.


