In this step-by-step guide, we have explained how to install macOS Ventura on Hackintosh.
The newest operating system macOS Ventura has been unveiled at the WDCC 2022, and it has brought some of the most celebrated features and improvements. Some of the most notable features are Quick Action in Spotlight, and Stage Manager, amongst others.
The operating system is in the developer beta phase, and if you are thinking of installing macOS Ventura on Hackintosh, you are in the right place. In this guide, we have explained the step-by-step procedure of how to install macOS Ventura on Hackintosh. So, without wasting your time, let’s begin.
Also Read: Download And Install macOS 13 Ventura Developer Beta On Mac
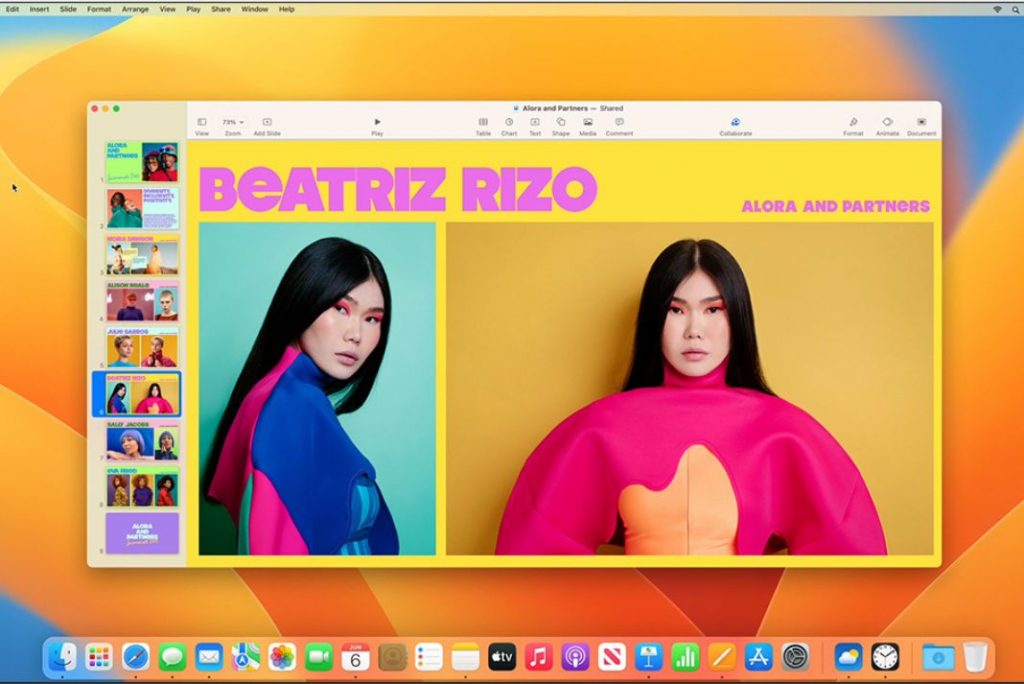
Requirements for Installing macOS Ventura
Before beginning to install macOS Ventura on your PC, it is time to take a sneak peek at the requirements:
- 16 GB USB flash drive
- OpenCore Configurator
- macOS Ventura Installer
- Now, that we know the requirements to install macOS Ventura on Hackintosh, let’s begin with the installation procedure.
Create a macOS Ventura USB Installer
To get started with the macOS Ventura installation procedure, you need to create a bootable USB Installer for the Ventura operating system. For this, you need to format a USB flash drive after connecting to the PC. Here’s how you should proceed:
- Download macOS Ventura Installer through the Apple Beta program
- Then you need to format a USB drive
- Finally, Create a macOS Ventura Bootable Pen drive
Also Read: Hands-On With macOS Ventura
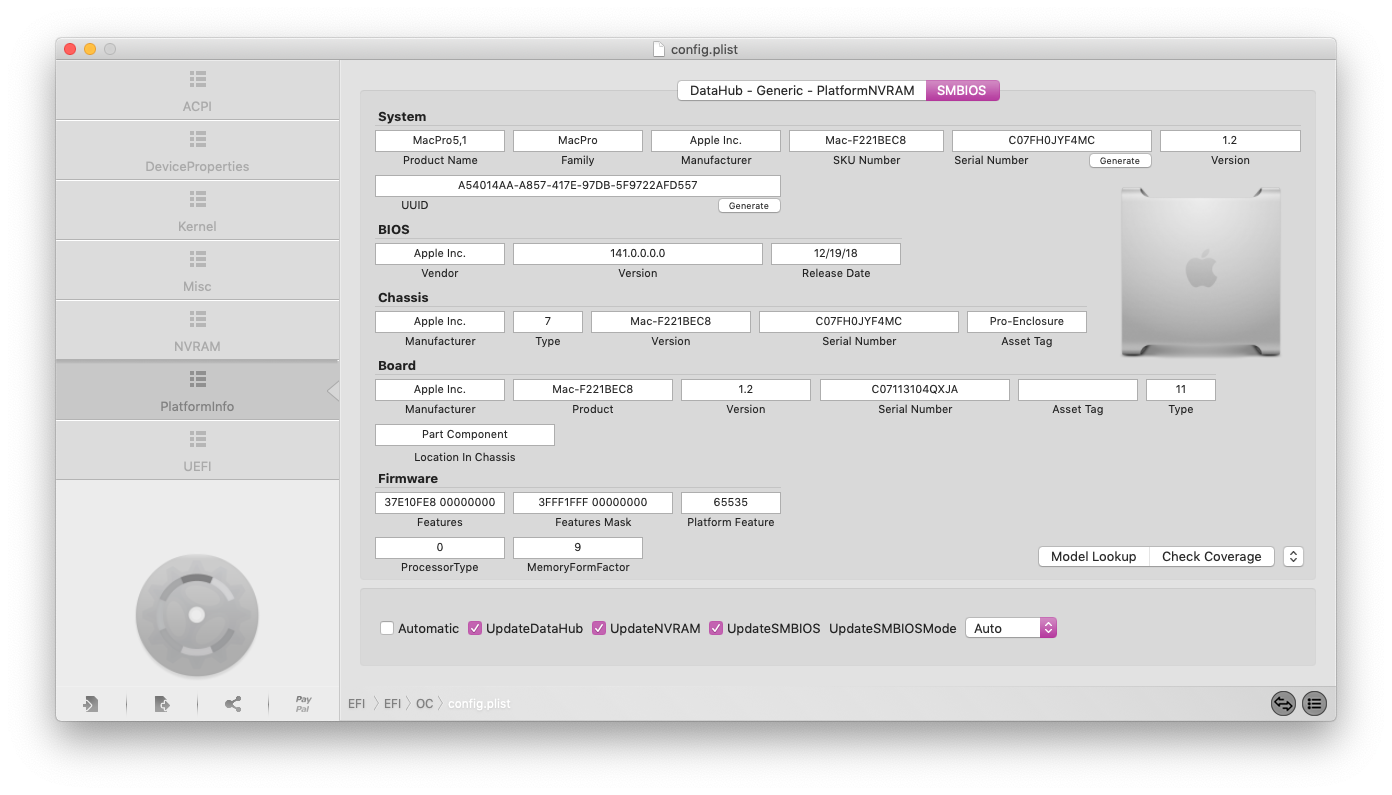
Configure EFI Partitions
- After you have successfully created a bootable pen drive, you need to Configure EFI Partitions.
- First of all, you need to launch the OpenCore Configurator on which you need to mount an EFI partition.
- Next, you need to copy the partition you just downloaded and paste it into the partition created in USB EFI.
- After completing this procedure, eject the USB drive and begin booting into BIOS.
Configure the BIOS Settings
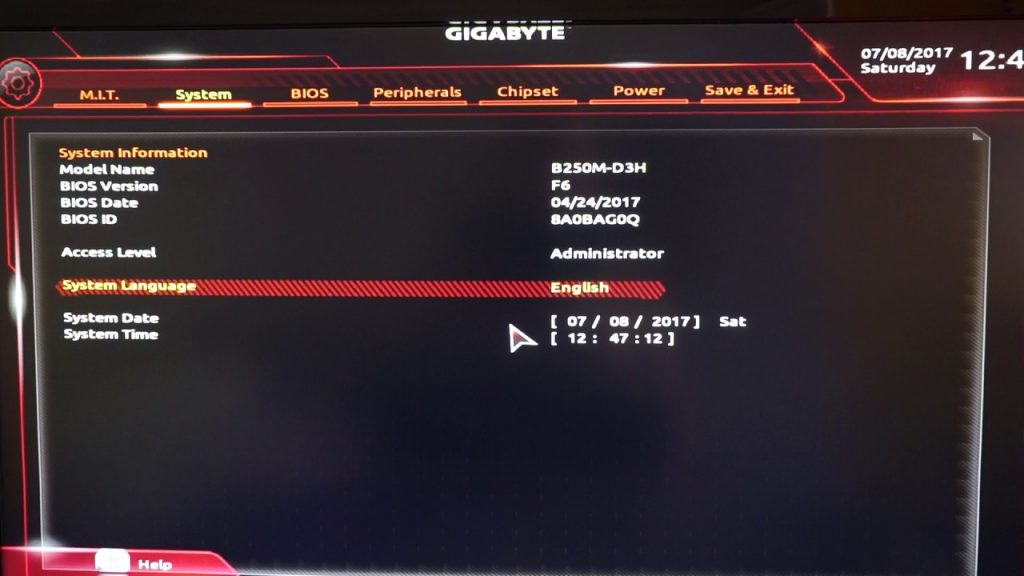
Here, you have to load the default BIOS settings through the reset options, and then you have to configure the custom settings of the BIOS to successfully boot the macOS Ventura.
After you will save the default settings into BIOS, your Mac will reboot. After this, you need to click the boot button when your Mac restarts to boot into BIOS. Follow the procedure described below:
- After booting into BIOS, you have to disable the secure boot option followed by VT-D, Serial Ports, Parallel Port, PXE Boot, and Fast Boot.
- Next, you need to change the boot mode to UEFI.
- Now, choose Profile 1 from the Extreme Memory Profile (X.M.P).
- After this, enable the XHCI Hand-off.
- Once you customize the BIOS by applying the above changes, you will have to restart your computer.
Also Read: macOS Ventura: 6 Amazing Features Introduced
Install macOS Ventura on PC
After configuring the BIOS settings, you will have to restart your PC.
- Next, you have to boot the settings into the USB flash drive.
- Press and hold the boot button.
- Select the Install macOS 13 Beta option.
- After choosing the install macOS 13 option, you need to wait until the Mac boots up successfully.
- Next, choose your language
- Select Disk Utility
- Go to View and tick the checkbox for the Show all devices option.
- Next, select your main drive in the drop-down.
- Now erase the drive with the above settings.
- Assign a name to this drive and then format it. Make sure the partition is either APFS and GUID.
- Quit the Disk Utility screen.
- Next, select the Install macOS 13 Ventura option and tick the box preceding terms and conditions.
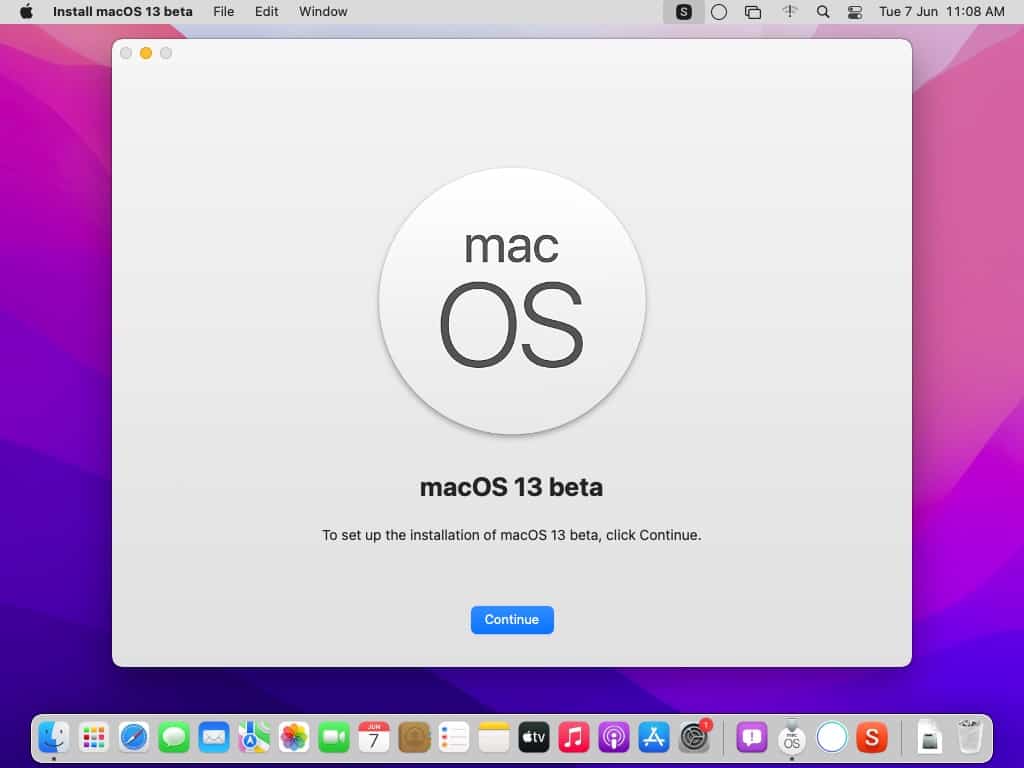
- Now, you will be prompted to select a drive. Choose the main drive you’ve erased before and press the Continue button.
- Wait patiently as installing macOS Ventura can take up to 50 minutes to be completed.
- Once macOS Ventura is successfully installed, the basic configuration page will load on the screen.
- Let’s see what settings you need to choose on the macOS Ventura start-up page.
Also Read: macOS Ventura: How Is It Different From All Other versions
Basic macOS Ventura Settings
- Choose your preferred language, and assign your location, either by dictating or by writing.
- Check the box next to the terms and conditions.
- Login to Hackintosh with your Apple ID.
- Configure Siri, Screen Time, and other settings.
Configure Bootloader
Finally, it’s time to configure the macOS so that it can successfully boot into macOS 13 without a USB flash drive. For this,
- Launch the OpenCore Configurator followed by the USN flash drive.
- Next, mount an EFI of a USB and also your computer drive.
- Now open the USB EFI partition and then copy the contents.
- Paste it into the hard drive EFI partition.
- Eject the USB flash drive then reboot your Mac.
Also Read: Apps not updating after installing macOS Monterey
Wrapping Up
That’s how you can install macOS Ventura on Hackintosh without much hassle.
If you need any further assistance, feel free to reach out to us. If you found this article helpful, don’t forget to share it with others.


