Here are the quick tips that can help you fix the iPhone not charging issue.
Charging your iPhone is one of the simplest tasks to do but it can turn into havoc when you casually plug in your charger in the charging socket but see that the iPhone does not begin to charge at all. Sounds horrifying, right? The situation can turn graver when your iPhone is surviving on the last drops of juice.
iPhone not charging is one heck of a problem but this does not mean you cannot sort it out yourself. Before you are sure that there is a hardware issue that needs to be repaired, there are lots of things you can try from your end to make your iPhone start charging again.
To help you get out of this critical situation, we have put down this guide to present you with several fixes that can solve the iPhone not charging issue by the simplest means possible. So, let’s begin troubleshooting your iPhone.
Also Read: How to Fix iPhone 13 Pink Screen Issue
Clean the Lightning Port
Let’s begin with the easiest method before we move to some real fixes dealing with hardware and software problems. Firstly, you need to make sure that the lightning port has accumulated debris including lint and dust particles. If you haven’t cleaned the ports for a long time, you are going to find tons of pocket lint resting inside the port. They hamper the process of charging the iPhone by not letting you form a connection.
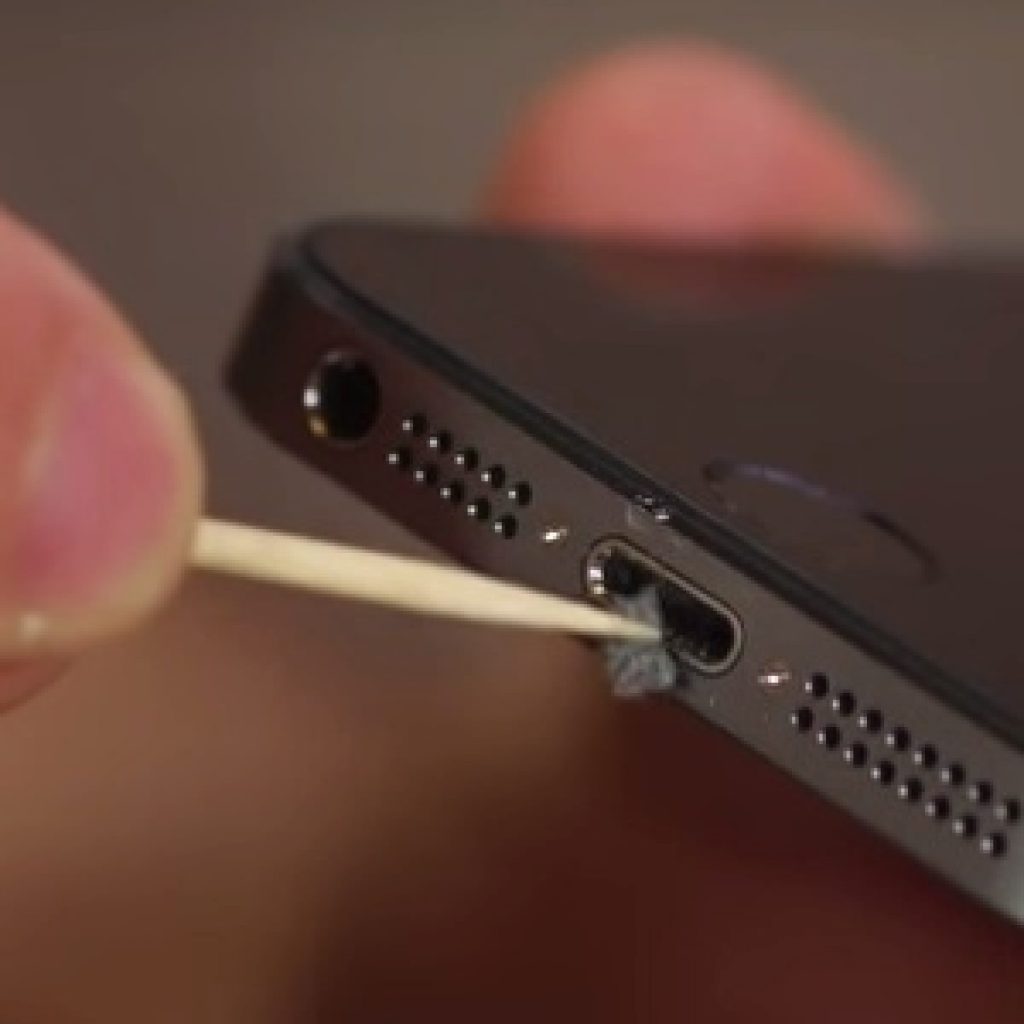
Keep a toothpick handy and begin digging the lightning port to remove all the clutter stored inside the port; be careful not to damage the inner components.
Reboot your iPhone
When you do not turn off your iPhone for a long time, it starts running into unexpected issues like this one. This is because an iPhone is an electronic device that needs to be shut down from time to time for its proper functioning. So let’s restart your iPhone and see if it starts charging on reboot.

iPhone without a home button: Long press either the volume up button or the volume down button along with the wake button until you see the power off slider on your iPhone screen. Now drag the slider all towards the right to shut down your Apple device. Now wait for some time and hit the wake button to power on your iPhone.
iPhone with home button: Long press the power button until the power off slider appears on the screen. Drag the slider towards the left to shut down your iPhone. Press the side button to turn it on.
Ensure your charger is in proper condition
If the about two methods did not do any good to your iPhone, you should ensure that the iPhone charger is in good condition. Check for signs of cuts and burns on the sockets and the charger cord. If the cable is loose, you should go for some other lightning port.
Note: Make sure to purchase the official charger by Apple or the brands recommended by Apple. Do not purchase any third-party charger as they can run into situations like these anytime.
If you keep getting Accessory isn’t supported error on your iPhone while your iPhone does not charge, it means you are using a third-party charger that Apple does not recommend at all.
Also Read: Fix ‘Accessory Not Supported’ Error On iPhone 13
Hard Reset Your iPhone
If your iPhone still refuses to charge, you should go for a hard reset. Hard reset or Force Restart clears the iPhone cache and fixes the random glitches persisting in your iPhone like this one. So let’s begin to hard reset your iPhone:
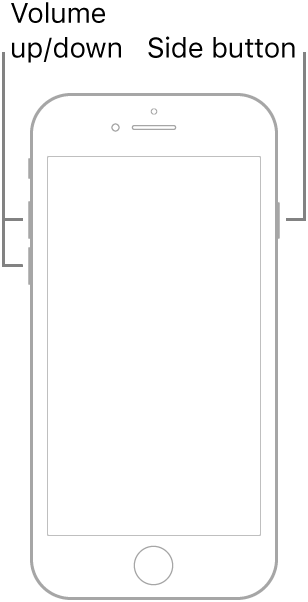
- iPhone 8 or later: Quickly press the volume up button followed by the volume down button. Now long press the wake button until the Apple logo is visible on the black screen.
- iPhone 7/7 Plus: Long press the wake button along with the volume down button until the screen goes black and the Apple logo appears.
- iPhone 6s/6s Plus or earlier: Long press the side button along with the home button until the screen goes black.
Reset All Settings
If the hard reset did not fix your charging problem with your iPhone, you should go for Factory Reset. This is because iPhone not charging is a complex issue and can be handled by wiping off the misconfigured settings that are bugging your iPhone. So let’s begin resetting your iPhone:
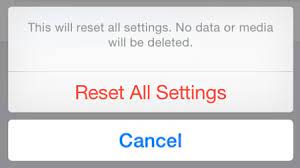
- In iOS 15 or later: head to iPhone settings. Now go to General > Transfer or Reset iPhone > Reset > Reset All Settings.
- In iOS 14 or above: Open Settings app on your iPhone > General > Reset > Reset All Settings.
Also Read: How To Fix ‘Last Line No Longer Available’ On iPhone 13
Conclusion
Hope you were able to charge your iPhone after troubleshooting with one of the fixes listed here. If your iPhone is unable to charge after trying the above fixes, this means there has been some serious damage to the inner components of your iPhone. Water damage can be the most probable cause of why your iPhone is not charging. So let’s best to take your iPhone to Apple Store to take expert advice regarding this issue.
Also Read: 6 Tips To Boost iPhone 13 Memory And Performance


