In this article, we will see four proven methods to fix the iPhone is disabled connect to iTunes error.
Are you seeing the “iPhone is disabled, connect to iTunes?” Error on your iPhone screen lately? We know this error is quite frustrating as it renders your iPhone useless. However, this error is for your protection. Your iPhone is programmed to display this message when someone tries to unlock your iPhone by entering the wrong password. So, if in case you have forgotten your iPhone’s passcode, you will see this error on your iPhone screen if you exceed to maximum attempts.
After you enter the incorrect password ten times on your iPhone, you will see this error. Now you will have to unlock your iPhone using one of the methods given below. Besides, doing so will wipe off your iPhone’s data and you will have to restore the data from the backup you’ve created recently.

So in this article, we have put down four different methods to unlock your iPhone after seeing the iPhone is disabled connect to iTunes error. So, let’s get started.
Also Read: How To Use iCloud Keychain On iPhone Or iPad
iPad or iPhone Disabled? Connect to iTunes
We will first try to resolve this error using iTunes. Follow the steps given below:
- Use a USB cable to plug in your iPhone to your PC or Mac.
- You will see that iTunes will open automatically in front of you. If it doesn’t, you can open it yourself.
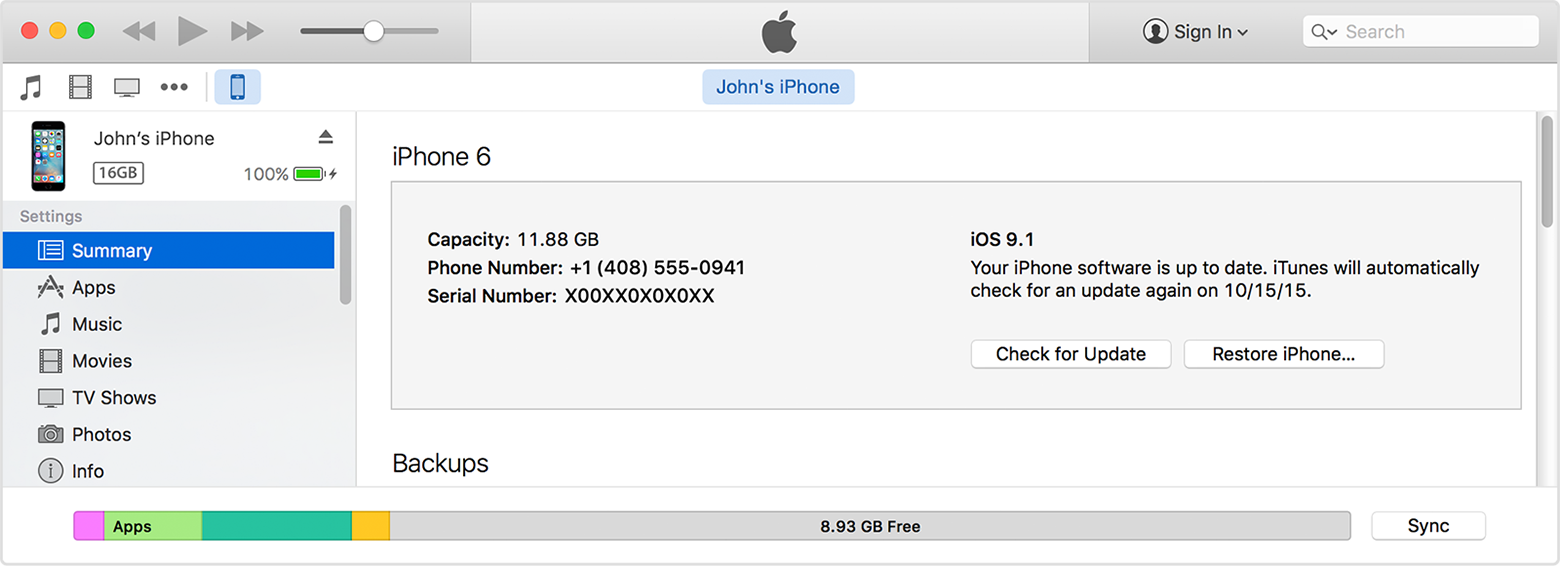
- When you are on the iTunes window, click on the icon of your iPhone; it is present on the top-left of the iTunes screen.
- Now you will see all the details related to your iPhone and what all is stored on it.
- Click on the Summary button and the Restore option will appear on the next screen. Click that too.
Note: Here if you see a notification saying ‘Find My iPhone must be turned off, you should quit this method and try one of the two methods given below- using the iCloud method or using the Recovery Mode.
- However, if you do not see this method, you’re good to go. Now stick to the instructions you see on the screen.
- Now you will be prompted to erase your iPhone.
- After your iPhone is restored through this method, it will be brand new just like the one you brought from the store.
- Follow the steps on the screen to set up your iPhone from scratch.
Also Read: 8 Tips To Fix Car Phone Issues With iPhone 13 pro
Use Finder to fix your disabled iPhone
If your Mac is running on macOS Catalina or a later version, you can unlock your device using the Finder option. Here’s are the steps to do fix the error:
- Once again connect your iPhone or iPad to your Mac using a USB cable.
- You will see a Trust This Computer prompt or you will be asked to enter the passcode for your iPhone.
- After you do it, go to the Finder and click on your iPhone.
- Next, Click on the Restore backup option.
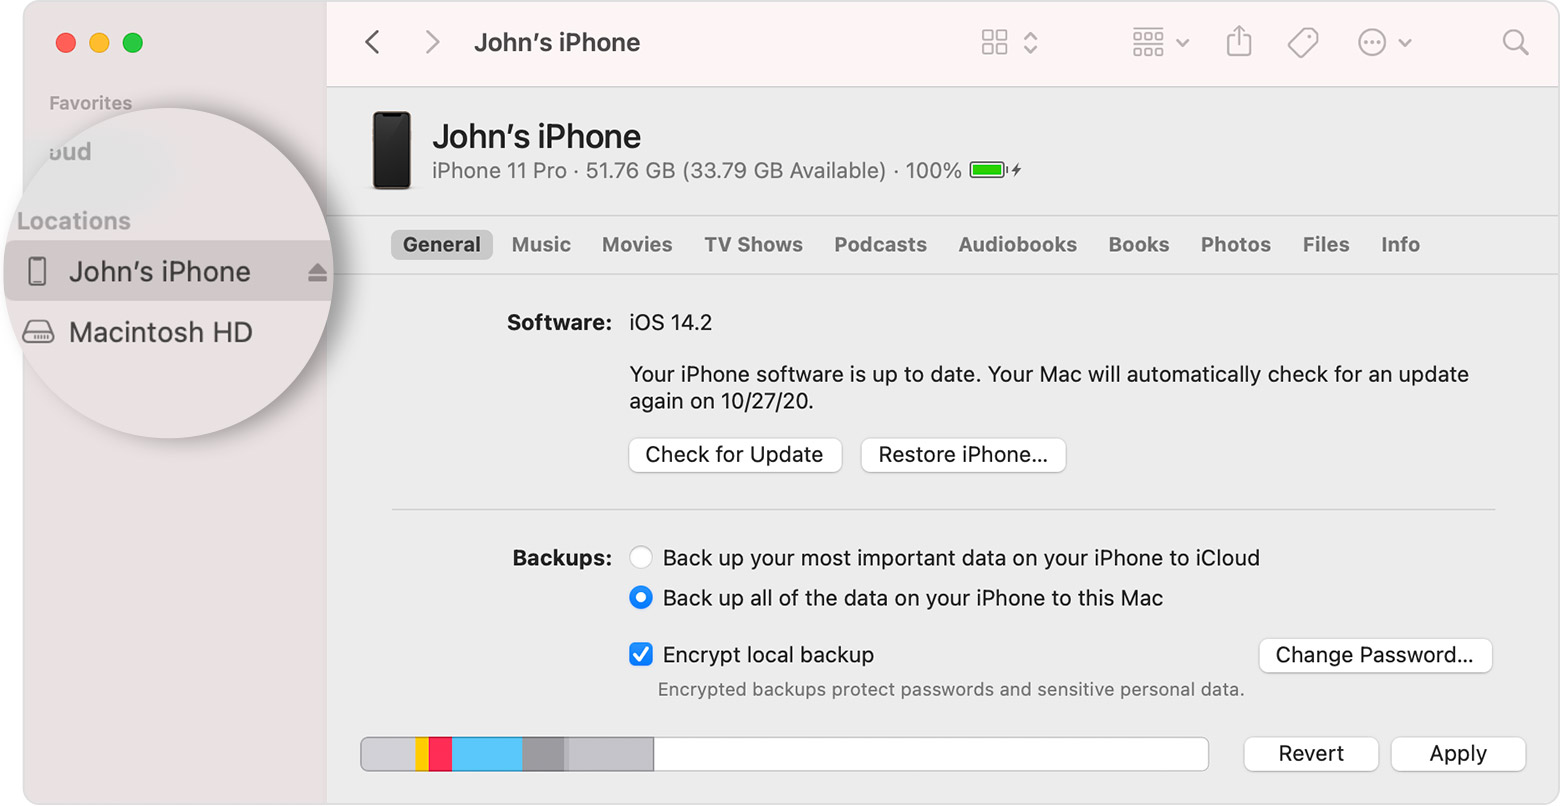
- Now pick the most recent backup you see in the list. You will be prompted to enter the password to encrypt the backup.
- As soon as you will do it, your iPhone will restart and sync with your backup.
- Make sure to keep your iPhone is connected to your Mac during the whole process. That’s it!
Also Read: What Do The Bars Mean On The iPhone Weather App?
Unlock your Disabled iPhone with iCloud
- Go to icloud.com/find URL on your Mac or Windows PC.
- Now enter your login details (Apple ID and password)
- Now you will see all the devices using this Apple ID.
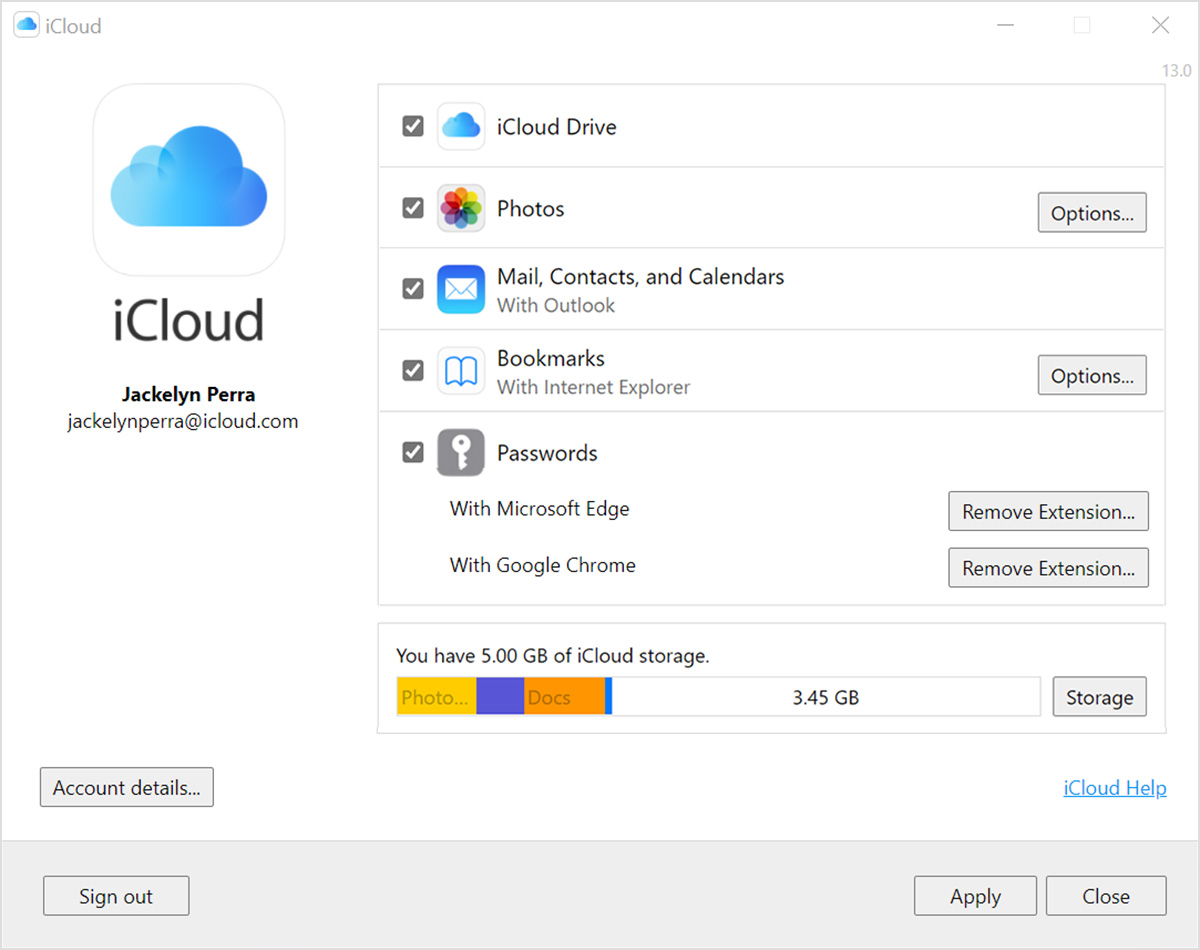
- Choose the Apple device that you need to unlock right now (iPhone, iPad, or iPod Touch).
- Press the Erase iPhone button and then the Confirm button to initiate the process.
- You may be prompted to enter the password once again to confirm the process.
Now all the data and settings from your iPhone will be erased. Later, your iPhone will start as a brand new one. You can set up your iPhone new and restore it using the backup created on iTunes or iCloud.
Also Read: 5 Ways To Fix “Apple ID Has Not Been Used In The iTunes Store” Issue
Fix Your Disabled iPhone via Recovery mode
Let’s see how to fix this error using the Recovery mode:
- Plugin your iPhone into your Mac and open Finder.
- Now you will have to force restart your iPhone:
For iPhone 6s or earlier: Press and hold the wake button and home button together. Keep holding these keys until your device enters recovery mode.
For iPhone 7 or 7 Plus: Long press the side button and volume down buttons together until your device enters Recovery Mode.
For iPhone 8, or later: Press and release the Volume Up button, and then the Volume Down button. Keep holding the side button now until you see recovery mode on your iPhone.
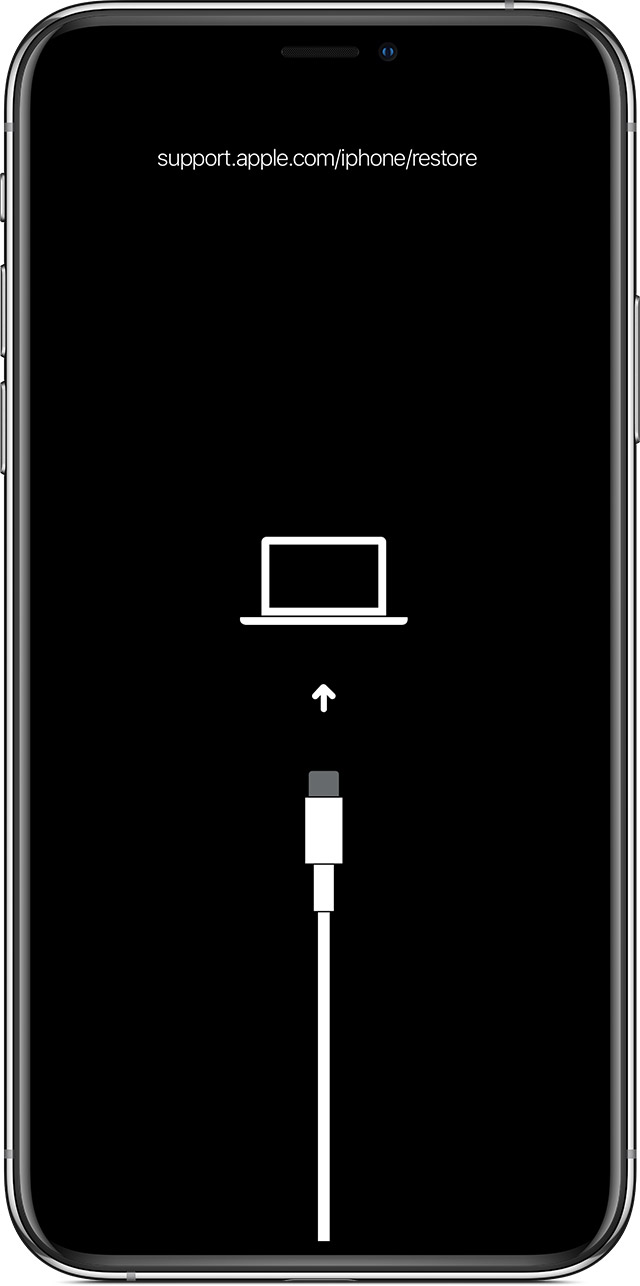
- Once you reach Recovery mode, click on your device in the Finder. Now a prompt will appear asking you to restore or update your iPhone. Choose to Restore here.
- Now, wait until your iPhone downloads its restored iOS software. It should not take more than fifteen minutes. After this, your iPhone will start up like you just brought it from the store.
- Now set up your iPhone using the iPhone instructions.
Conclusion
That’s how you can fix the iPhone’s Disabled Connect to iTunes error. Now that your iPhone is unlocked, you should set it up and restore your device from the backup you’ve created. If you need any further help regarding it error, let us know in the comments.


